Create a New Environment
Overview
Teaching: 20 min
Exercises: 0 minQuestions
How can I create a new conda environment?
Objectives
Create a new environment from an environment.yml file
Add this environment to Jupyter’s kernel list
This workshop utilizes some Python packages (such as Plotly) that cannot be installed in Anaconda’s base environment, because they will cause conflicts. To avoid these conflicts, we will create a new environment with only the packages we need for this workshop. These packages are:
- streamlit
- plotly
- plotly-geo
- jupyterlab
A note about anaconda
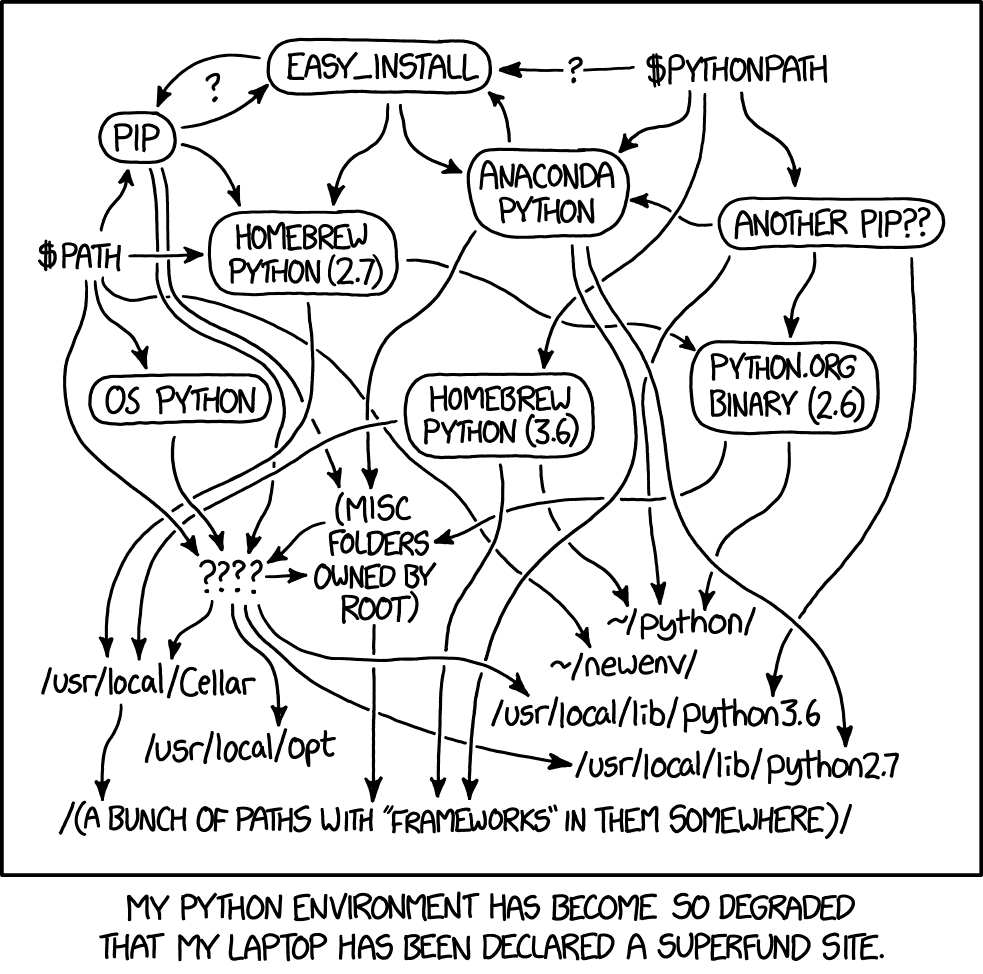
XKCD #1987: Python Environment

Python can live in many different places on your computer, and each source may have different packages already installed. By using an anaconda environment that we create, and by explicitly using only that environment, we can avoid conflicts… and know exactly what environment is being used to run our python code. And we avoid the mess indicated by the above comic!
Reflecting on environment mishaps
Have you ever been unable to install a package due to a conflict?
How did you solve the problem?
Create an environment from the environment.yml file
The necessary packages are specified in the environment.yml file.
Open your terminal, and navigate to the project directory. Then, take a look at the contents.
cd ~/Desktop/data_viz_workshop
ls -F
ls -F
For a refresher on bash commands, refer to the Unix Shell lesson.
lslists the contents of a directory, and the-Fflag will add a/to directories to more clearly distinguish between directories and files.
Data/ environment.yml
You should now see an environment.yml file and a Data directory.
Make sure that conda is working on your machine. You can verify this with:
conda env list
# conda environments:
#
base                  *   /opt/anaconda3

# other environments you have already created will be listed here.
# the * indicates the currently active environment
This will list all of your conda environments. You should make sure that you do not already have an environment called dataviz, or it will be overwritten. If you do already have an environment called dataviz, you can change the environment name by editing the first line in the environment.yml file.
Now, you need to create a new environment using this environment.yml file. To do this, type in the command line:
conda env create --file environment.yml
This process can take a while - about 2-3 minutes.
After the environment is created, go ahead and activate it. You can then see for yourself the packages that have been installed - both those listed in the file and all of their dependencies.
conda activate dataviz
conda list
# packages in environment at /opt/anaconda3/envs/dataviz:
#
# Name                    Version                   Build  Channel
abseil-cpp                20210324.2           he49afe7_0    conda-forge
altair                    4.1.0                      py_1    conda-forge
anyio                     3.3.0            py39h6e9494a_0    conda-forge
...
zipp                      3.5.0              pyhd8ed1ab_0    conda-forge
zlib                      1.2.11            h7795811_1010    conda-forge
zstd                      1.5.0                h582d3a0_0    conda-forge
Now we will need to tell Jupyter that this environment exists and should be made available as a kernel in Jupyter Lab.
python -m ipykernel install --user --name dataviz
Finally, we can go ahead and start Jupyter Lab
jupyter lab
Alternatives to Anaconda
Have you ever used a different solution for creating/managing virtual python environments? For example,
pipenvorvirtualenv?How does conda differ from these solutions?
Create the environment from scratch
If for some reason you are unable to create the environment from the environment.yml file, or you simply wish to do the process for yourself, you can follow these steps. These steps replace the conda env create --file environment.yml step in the instructions above.
First, create a new environment named dataviz and specify the python version.
Then, you will need to activate it and add the conda-forge channel.
Note that you can use any name for this new environment that you want, but you will need to make sure to continue to use that name for future steps.
conda create --name dataviz python=3.9
conda activate dataviz
conda config --add channels conda-forge
Next, you will need to install the top-level packages we will need for the workshop. Installing these packages will also install their dependencies.
conda install -c conda-forge streamlit
conda install -c plotly plotly=5.1.0
conda install -c plotly plotly-geo=1.0.0
conda install -c conda-forge jupyterlab
Note that this process will take a lot longer than installing from environment.yml, and you will also need to type y and press enter when prompted to complete the installation.
Learn more about using Anaconda to manage your environments
This episode only covers the bare minimum we need to get set up with using this new environment.
To learn more, please refer to the lesson Introduction to Conda for (Data) Scientists
Key Points
use
conda env create --file environment.ymlto create a new environment from a YAML filesee a list of all environments with
conda env listactivate the new environment with
conda activate <NAME>see a list of all installed packages with
conda list