Setup - GPU
Last updated on 2024-02-27 | Edit this page
IMPORTANT NOTICE: IF YOU HAVE ALREADY CREATED A CPU ENVIRONMENT YOU DO NOT NEED TO DO ANYTHING ON THIS PAGE. CONTINUE TO THE INTRODUCTION EPISODE.
This lesson is designed for Software Carpentry users who have completed Plotting and Programming in Python and want to jump straight into image classification. We recognize this jump is quite large and have done our best to provide the content and code to perform these types of analyses.
The default Setup is for CPU only environments.
These instructions are for setting up tensorflow in a GPU capable environment. Because this is a more advanced topic and installation varies depending on your computer’s architecture, please make sure you set up and test your installation before the workshop begins. We will not be able to spend class time assisting on GPU setups.
Software Setup
Install Python using Anaconda
Python is a popular language for scientific computing, and a frequent choice for machine learning as well. Installing all of its scientific packages individually can be a bit difficult, however, so we recommend the installer Anaconda which includes most (but not all) of the software you need. Make sure you install the latest Python version 3.xx.
Also, please set up your python environment at least a day in advance of the workshop. If you encounter problems with the installation procedure for Anaconda, ask your workshop organizers via e-mail for assistance so you are ready to go as soon as the workshop begins.
Check out the Windows - Video tutorial or:
Open [https://www.anaconda.com/products/distribution] with your web browser.
Download the Python 3 installer for Windows.
Double-click the executable and install Python 3 using MOST of the default settings. The only exception is to check the Make Anaconda the default Python option. (Note this may already be checked.)
Check out the Mac OS X - Video tutorial or:
Open [https://www.anaconda.com/products/distribution] with your web browser.
Download the Python 3 installer for Mac.
Install Python 3 using all of the defaults for installation.
Note the following installation steps require you to work from the shell. If you run into any difficulties, please request help before the workshop begins.
Open [https://www.anaconda.com/products/distribution] with your web browser.
Download the Python 3 installer for Linux.
-
Install Python 3 using all of the defaults for installation.
Open a terminal window.
Navigate to the folder where you downloaded the installer
Type
and press tab. The name of the file you just downloaded should appear.
Press enter.
Follow the text-only prompts. When the license agreement appears (a colon will be present at the bottom of the screen) hold the down arrow until the bottom of the text. Type
yesand press enter to approve the license. Press enter again to approve the default location for the files. Typeyesand press enter to prepend Anaconda to yourPATH(this makes the Anaconda distribution the default Python).
Install the required packages
Conda is the package management system associated with Anaconda and runs on Windows, macOS and Linux.
Conda should already be available in your system once you installed Anaconda successfully. Conda thus works regardless of the operating system. Make sure you have an up-to-date version of Conda running. See these instructions for updating Conda if required.
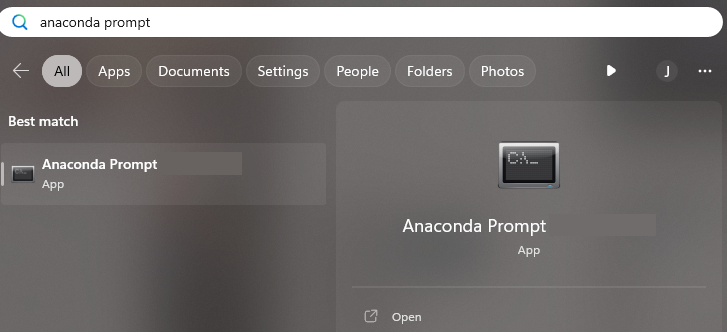
The easiest way to create a conda environment for this lesson is to use the Anaconda Prompt. You can search for “anaconda prompt” using the Windows search function (Windows Logo Key) or Spotlight on macOS (Command + spacebar).
A terminal window will open with the title ‘Anaconda Prompt’:
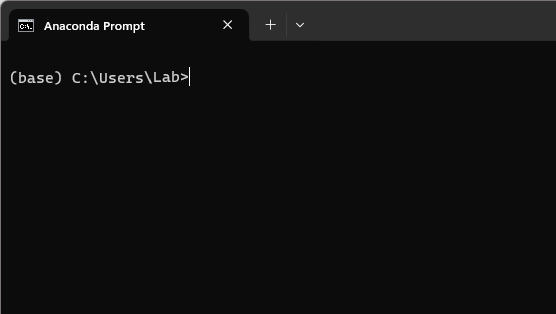
Note the notation of the prompt inside the terminal window. The name inside the parentheses refers to which conda environment you are working inside of, and ‘base’ is the name given to the default environment included with every Anaconda distribution.
To create a new environment for this lesson, the command starts with
the conda keywords conda create. This command can be
followed by a name for the new environment and the package(s) to install
but to make things easier, inside the script download folder, we have
given you an environment.yml file to use instead. (See download link
below if you haven’t already.)
(base) C:\Users\Lab> conda env create --file cnn_workshop_gpu_environment.ymlIf the yml is not in your current directory, you can specify the full path to the file, eg:
(base) C:\Users\Lab> conda env create --file C:\Users\Lab\intro-image-classification-cnn\files\cnn_workshop_gpu_environment.ymlBe patient because it might take a while (15-20 min) for conda to work out all of the dependencies.
After the environment is created we tell Anaconda to use the new
environment with the conda keywords conda activate followed
by the environment name:
(base) C:\Users\Lab> conda activate cnn_workshop_gpu
(cnn_workshop_gpu) C:\Users\Lab>
You will know you are in the right environment because the prompt changes from (base) to (cnn_workshop_gpu).
Callout
To set up a GPU environment, make sure you have the appropriate hardware, system, and software necessary for GPU support. Here we are following the Windows TensorFlow installation instructions starting at Step 5. GPU setup. Specific instructions can also be found there for MacOS and Linux environments.
NVIDIA GPU
First install NVIDIA GPU driver [https://www.nvidia.com/download/index.aspx] if you have not.
Then install the CUDA, cuDNN with conda.
(cnn_workshop_gpu) C:\Users\Lab> conda install -c conda-forge cudatoolkit=11.2 cudnn=8.1.0First install AMD GPU driver [https://www.amd.com/en/support] if you have not.
TODO Finish these instructions
Start Spyder
We teach this lesson using Python in Spyder (Scientific Python Development Environment), a free integrated development environment (IDE) included with Anaconda. Editing, interactive testing, debugging, and introspection tools are all included in Spyder.
To start Spyder, type the command spyder, making sure
you are still in the workshop environment:
(cnn_workshop) C:\Users\Lab> spyder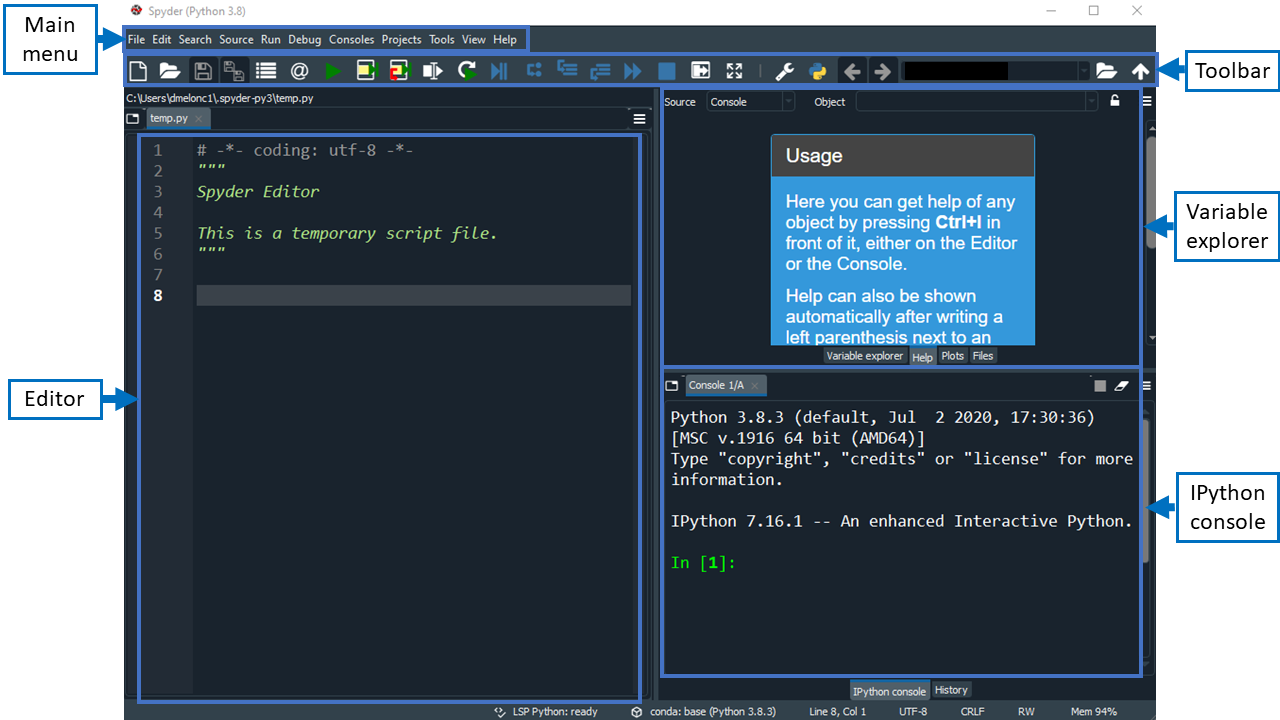
Check your setup
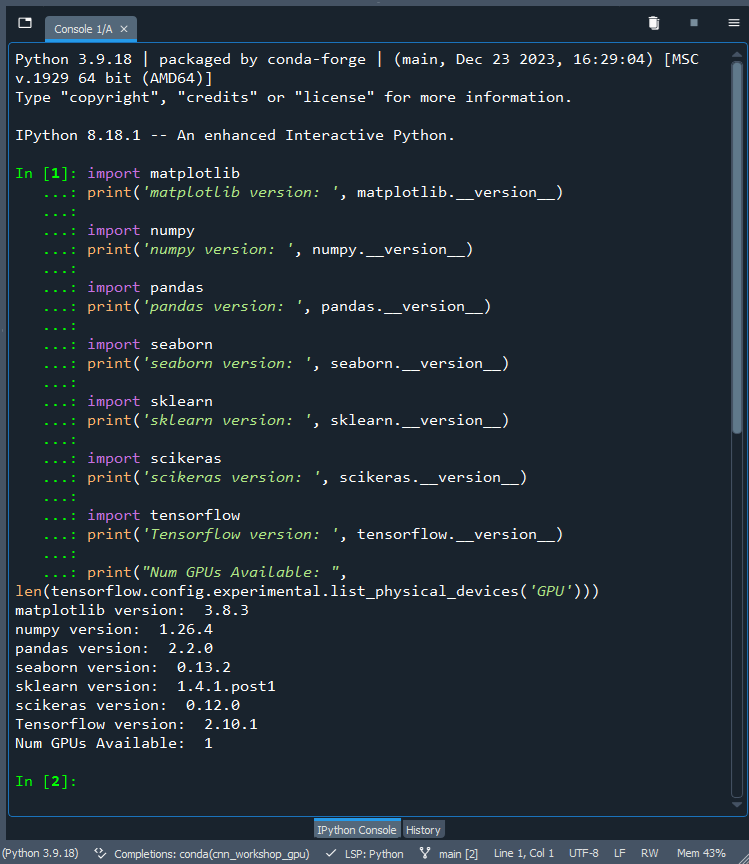
To check whether all packages installed correctly, go to the
interactive IPython Console in Spyder (lower right hand
side panel) and type in the following commands:
PYTHON
import matplotlib
print('matplotlib version: ', matplotlib.__version__)

import numpy
print('numpy version: ', numpy.__version__)

import pandas
print('pandas version: ', pandas.__version__)

import seaborn
print('seaborn version: ', seaborn.__version__)

import sklearn
print('sklearn version: ', sklearn.__version__)

import scikeras
print('scikeras version: ', scikeras.__version__)

import tensorflow
print('Tensorflow version: ', tensorflow.__version__)

print("Num GPUs Available: ", len(tensorflow.config.experimental.list_physical_devices('GPU')))
This should output the versions of all required packages without giving errors and well as the number of GPU’s tensorflow has detected.
Download the scripts, files and model outputs
Download the scripts, files, and model outputs.
Get the data
This lesson uses the CIFAR-10 image data that comes prepackaged with Keras.