Summary and Setup
This is a new lesson built with The Carpentries Workbench.
This lesson is designed for Software Carpentry users who have completed Plotting and Programming in Python and want to jump straight into image classification. We recognize this jump is quite large and have done our best to provide the content and code to perform these types of analyses.
It uses the Miniforge software installer and conda-forge package repository to download the required Python packages, including the Spyder IDE.
These instructions are for setting up tensorflow in a CPU only environment.
Software Setup
Open [https://conda-forge.org/download/] with your web browser.
Download the latest release of the Miniforge for Windows Installer.
Double-click the executable and install Python 3 using MOST of the default settings. The only exception is to check the Make Anaconda the default Python option.
Open [https://conda-forge.org/download/] with your web browser.
Download the appropriate Miniforge installer for macOS.
Open a terminal window and navigate to the directory where the executable is downloaded (e.g., cd ~/Downloads).
Type
bash Miniforge3-and then pressTabto autocomplete the full file name. The name of file you just downloaded should appear. PressEnter(orReturndepending on your keyboard).Install Python 3 using all of the defaults for installation.
Open [https://conda-forge.org/download/] with your web browser.
Download the appropriate Miniforge installer for Linux.
Open a terminal window and navigate to the directory where the executable is downloaded (e.g., cd ~/Downloads).
Type
bash Miniforge3-and then pressTabto autocomplete the full file name. The name of file you just downloaded should appear. PressEnter(orReturndepending on your keyboard).Install Python 3 using all of the defaults for installation.
Download workshop files
Download the data, files, and scripts.
Create a project folder on your local device for this course and move the downloaded materials to the project folder. Extract all of the download contents here.
Check your folder and file structures looks like this:

In Spyder, when you execute a script in its entirety (Run File F5), the working directory will automatically be set to the directory that contains that script file.
For this lesson, after launching Spyder, make sure to set the working directory to the ‘scripts’ folder included in the download. This will help to ensure that all of the scripts we provide run as intended.
Install the required packages
Using Conda to install packages
Conda is an open-source package and environment manager that runs on Windows, macOS and Linux.
If you installed Miniforge successfully, Conda should already be available in your system.
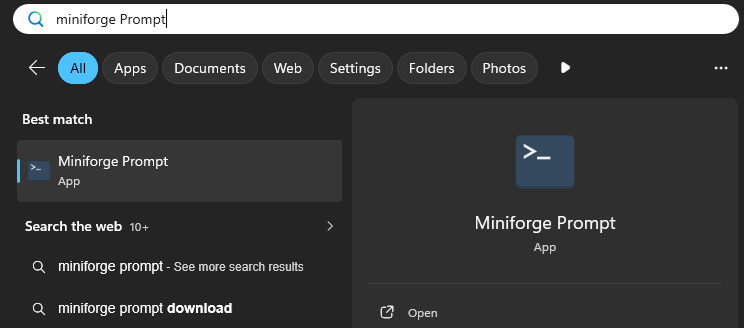
From the Start menu, search for “Miniforge Prompt” using the Windows
search function (Windows Logo Key) and a terminal window will open with
the title Miniforge Prompt:
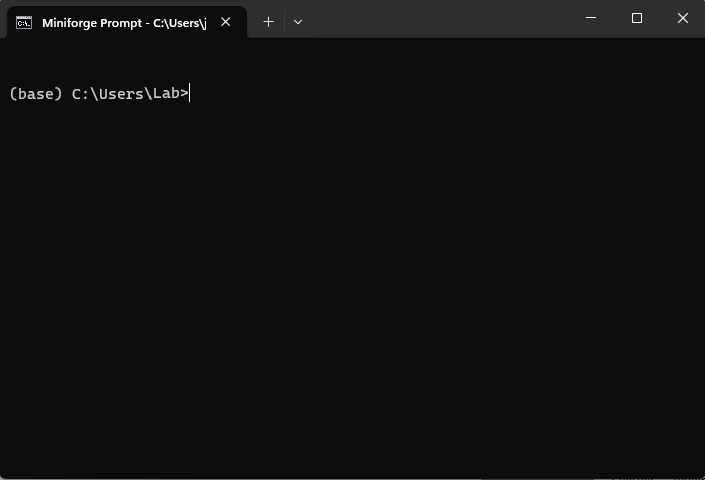
Note the prompt notation inside the terminal window. The name inside
the parentheses refers to which conda environment you are working in.
base is the name given to the default environment included
with every conda distribution.
To create a new environment, the command starts with the conda
keywords conda env create followed by a name for the new
environment and the package(s) to install.
To make things easier for this lesson, use the
cnn_workshop_environment.yml file inside the
files folder of the workshop files.
(base) C:\Users\Lab> conda env create --file cnn_workshop_environment.ymlIf the yml is not in your current directory, you can specify the full path to the file, eg:
(base) C:\Users\Lab> conda env create --file C:\Users\Lab\intro-image-classification-cnn\files\cnn_workshop_environment.ymlBe patient because it might take a while (15-20 min) for conda to work out all of the dependencies.
After the environment is created we tell Conda to use the new
environment with the keywords conda activate followed by
the name of the environment:
(base) C:\Users\Lab> conda activate cnn_workshop
(cnn_workshop) C:\Users\Lab>
You will know you are in the right environment because the prompt
changes from (base) to (cnn_workshop).
Start a terminal session:
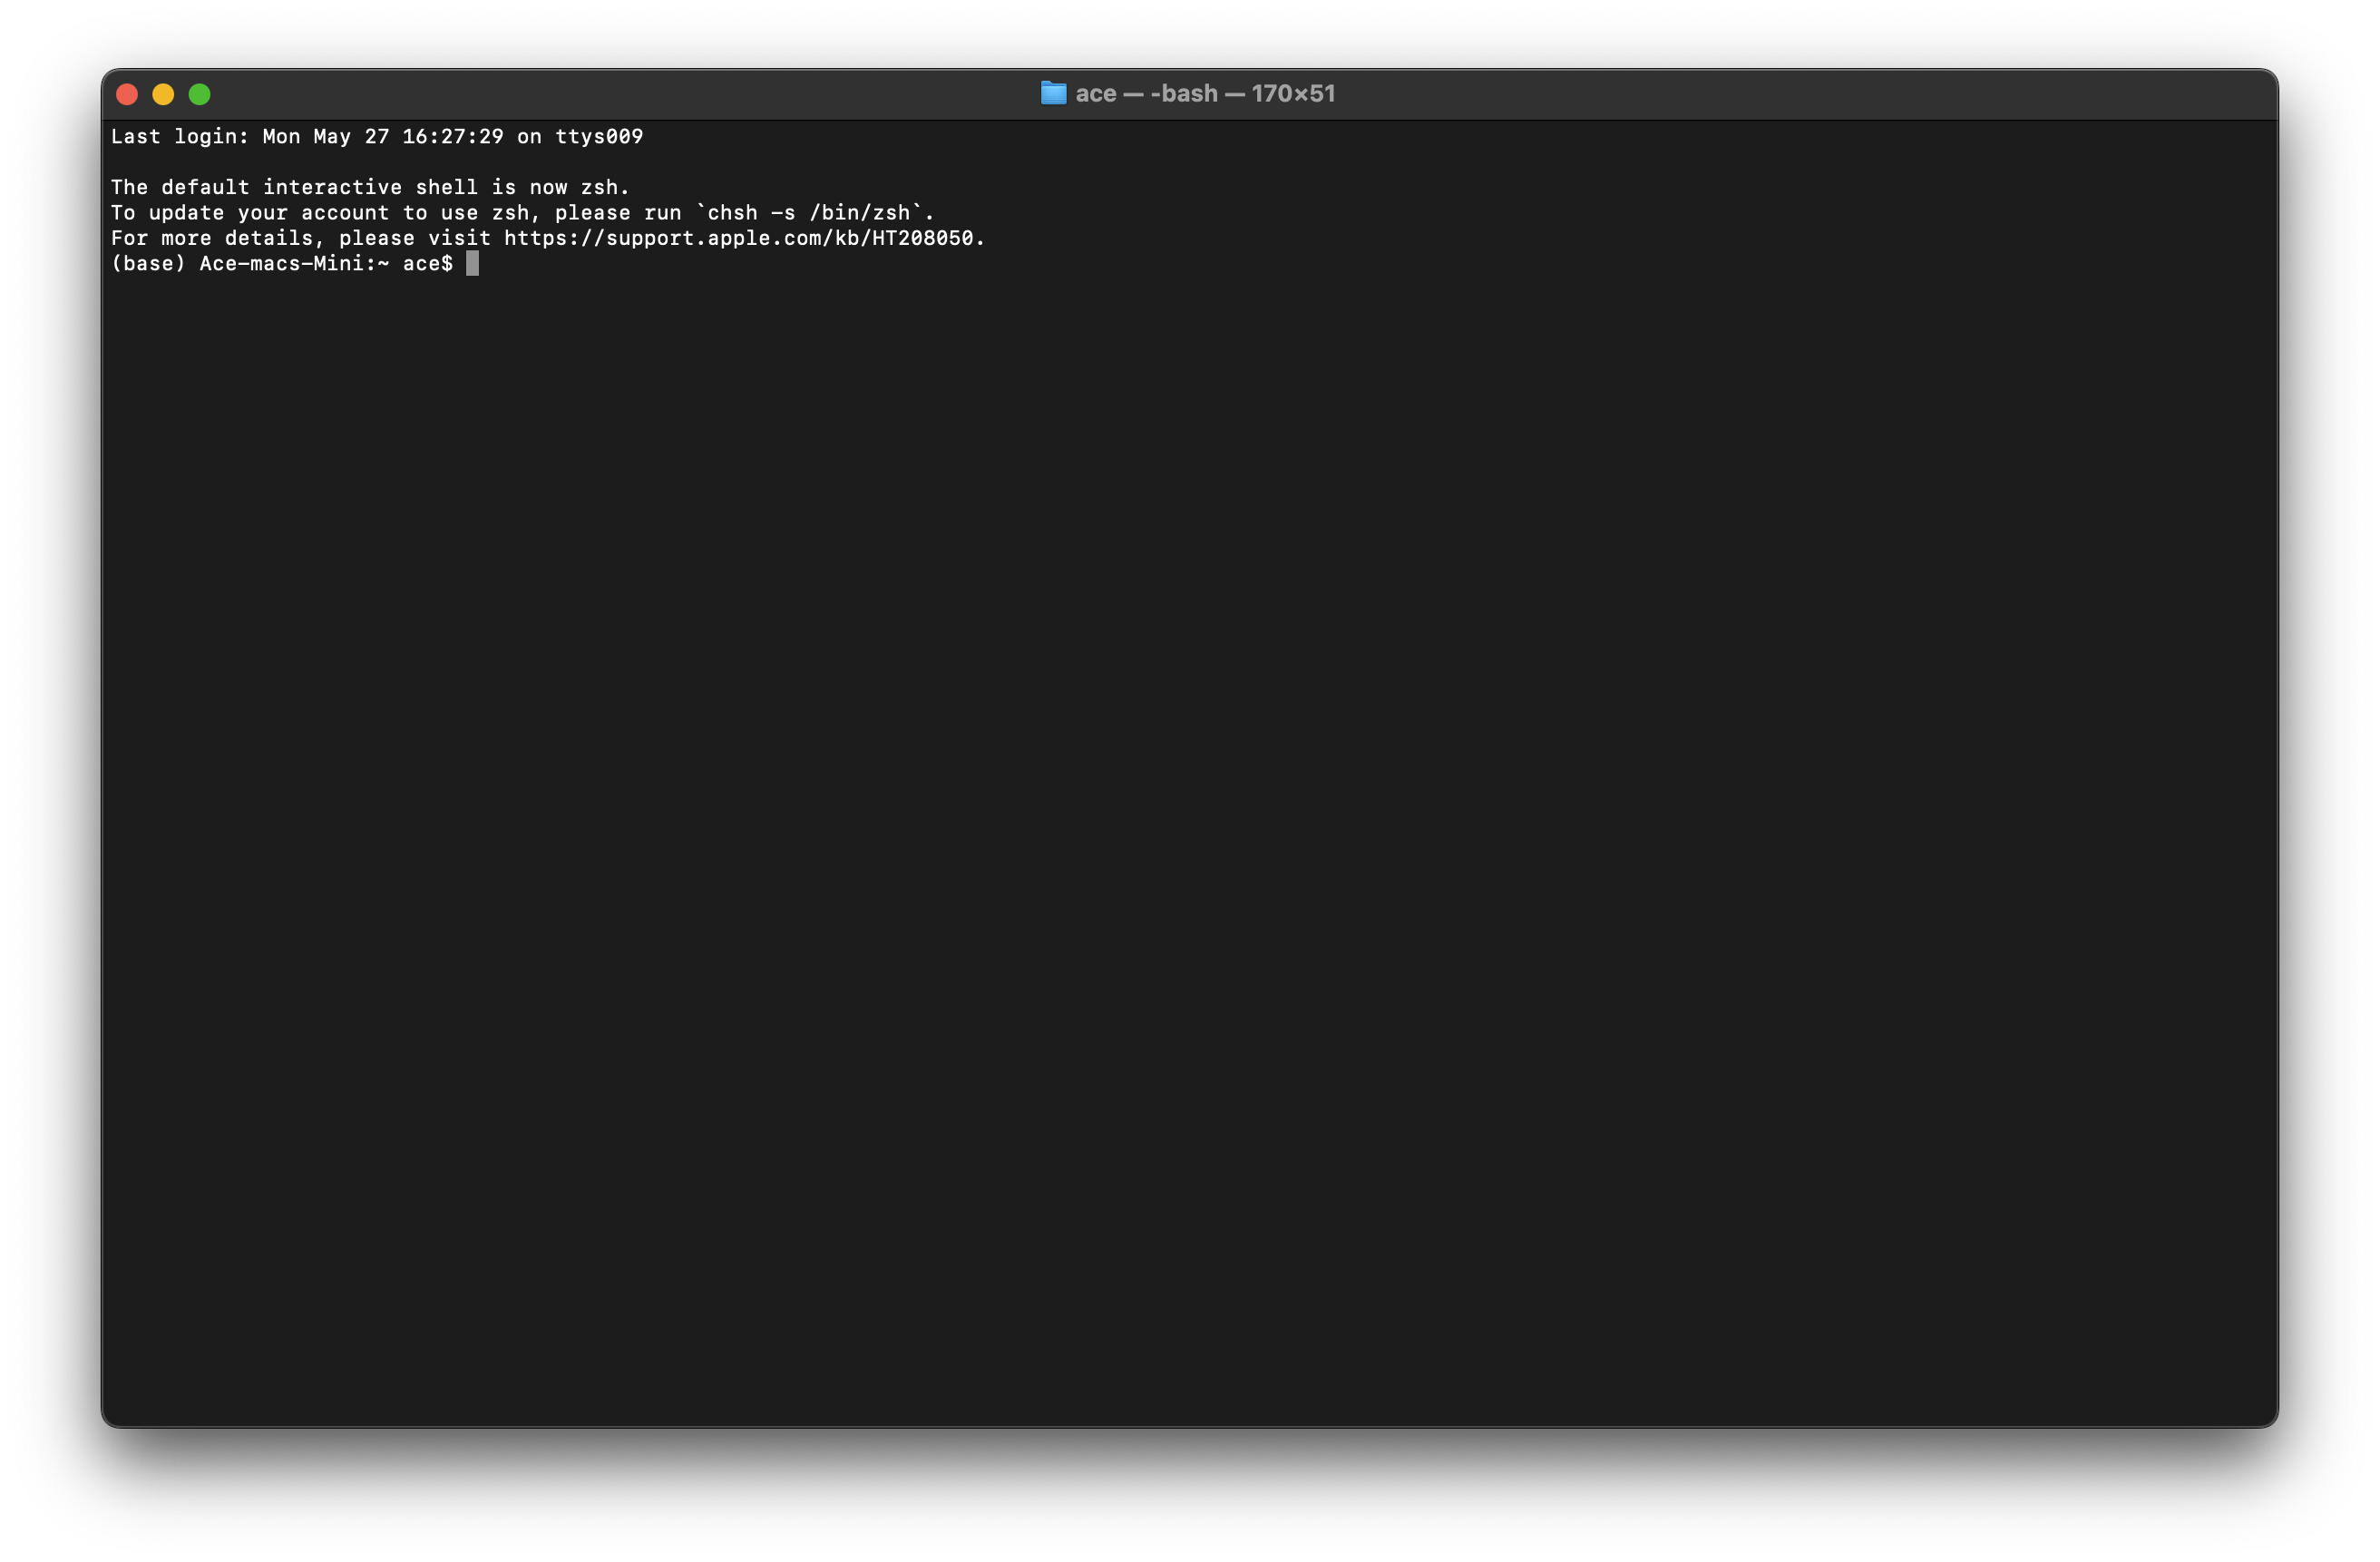
Note the prompt notation inside the terminal window. The name inside
the parentheses refers to which conda environment you are working in.
base is the name given to the default environment included
with every conda distribution.
To create a new environment, the command starts with the conda
keywords conda env create followed by a name for the new
environment and the package(s) to install.
To make things easier for this lesson, use the
cnn_workshop_MACOS_environment.yml file inside the
files folder of the workshop files.
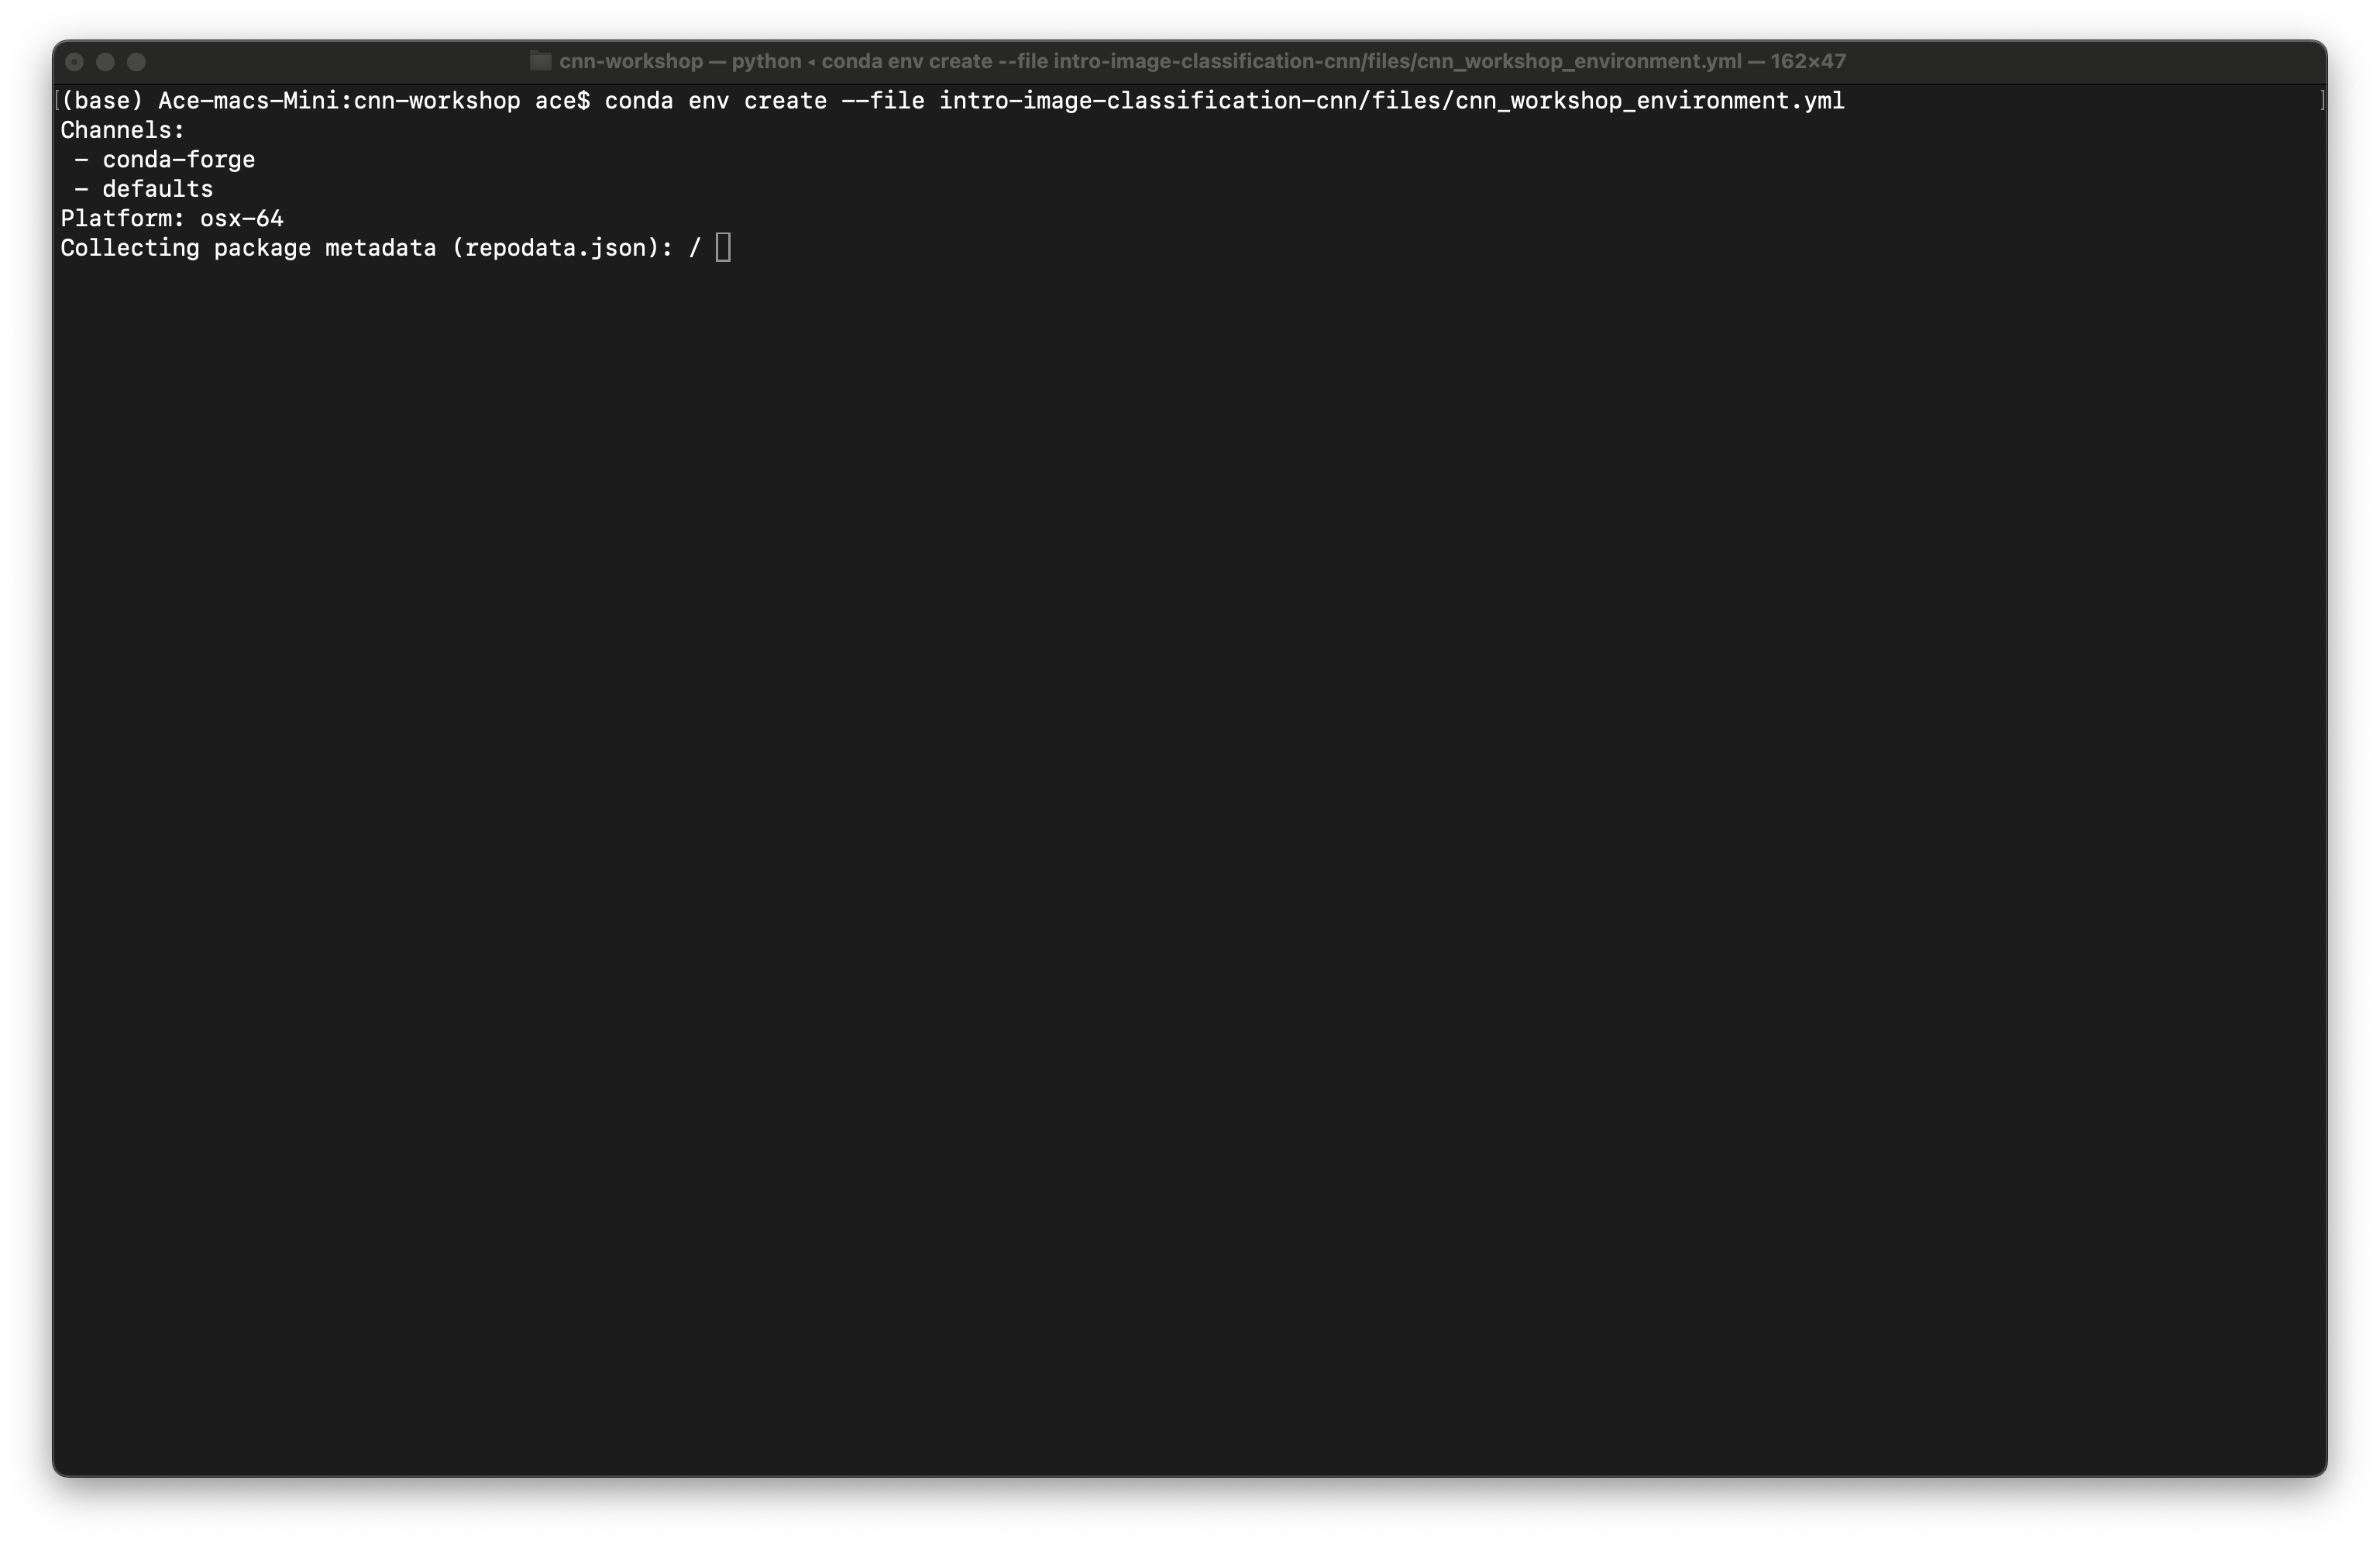
(base) Mac$ conda env create --file cnn_workshop_MACOS_environment.ymlIf the yml is not in your current directory, you can specify the full path to the file, eg:
(base) Mac$ conda env create --file intro-image-classification-cnn/files/cnn_workshop_MACOS_environment.yml
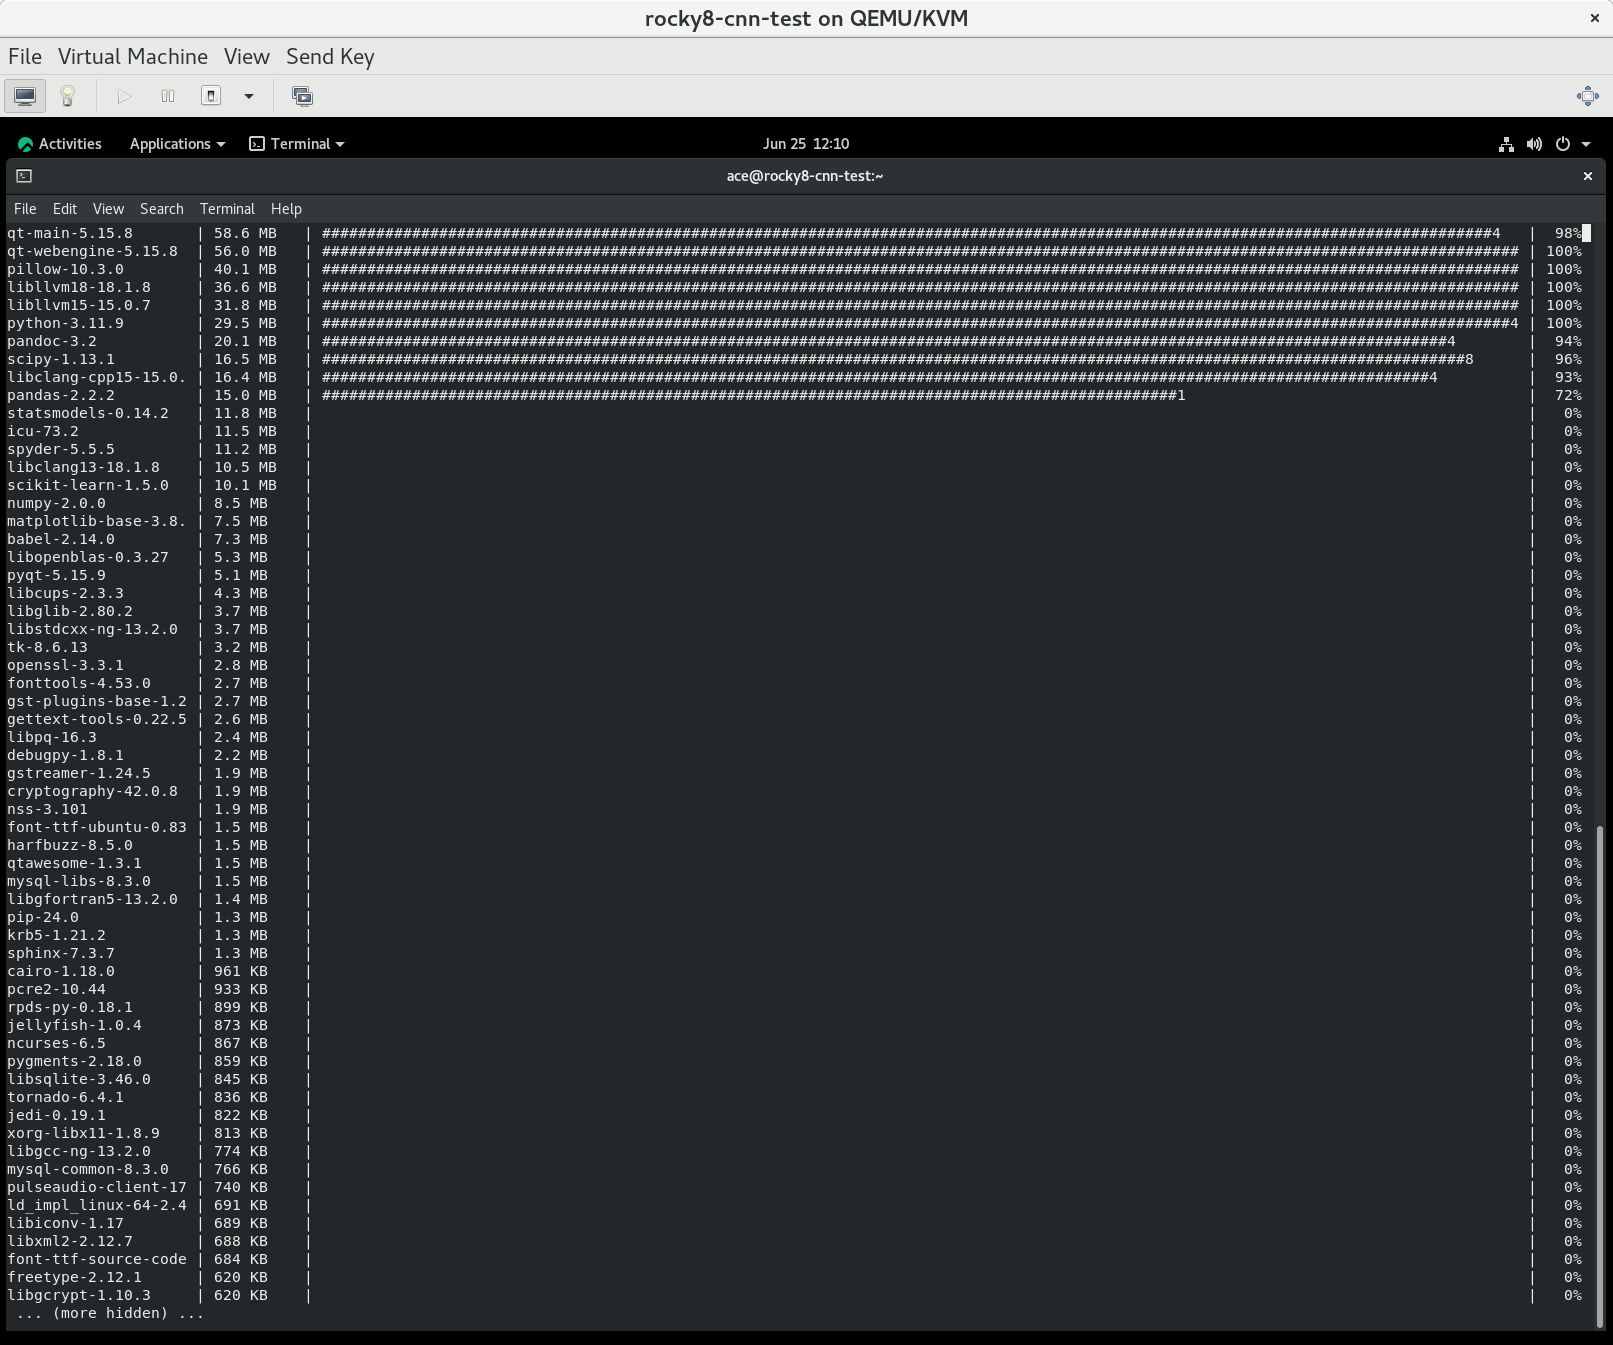
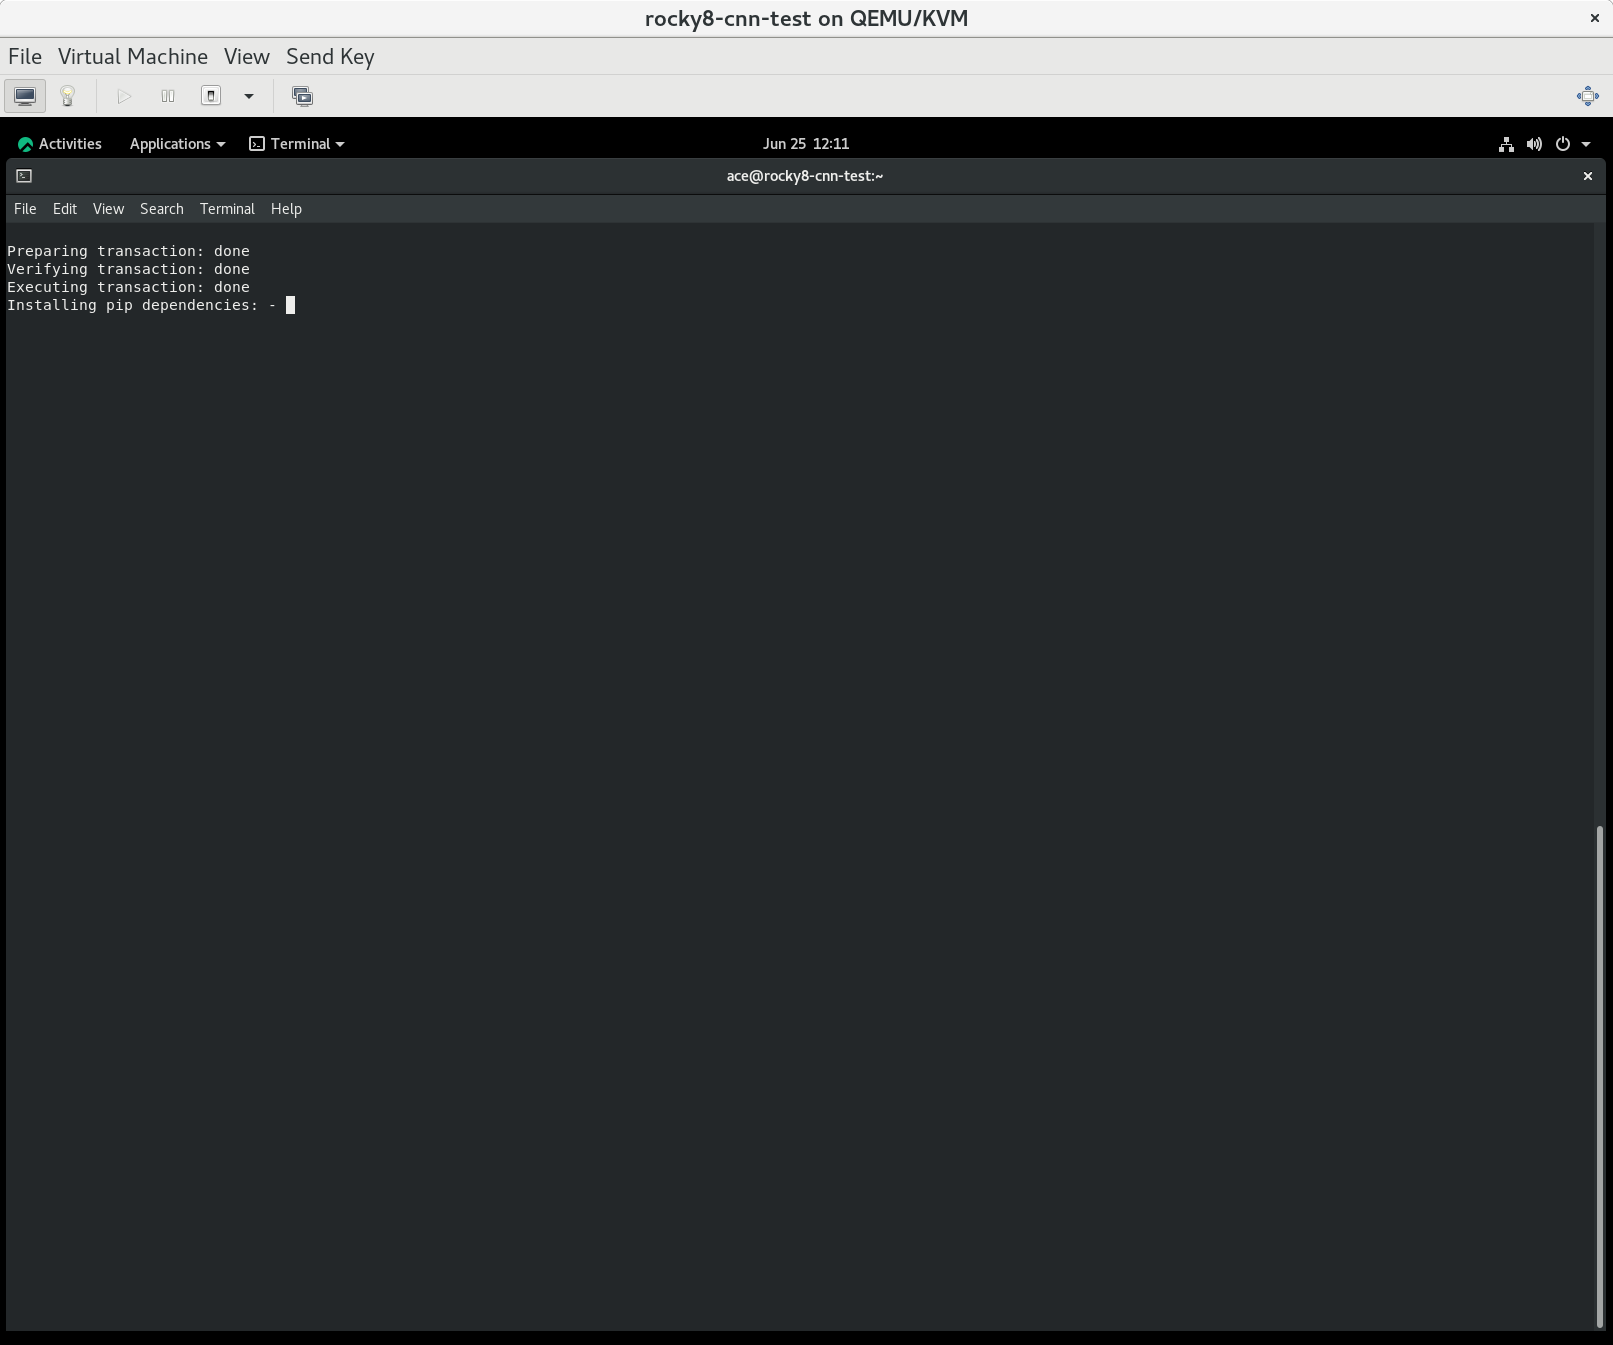
Be patient because it might take a while (15-20 min) for conda to work out all of the dependencies.
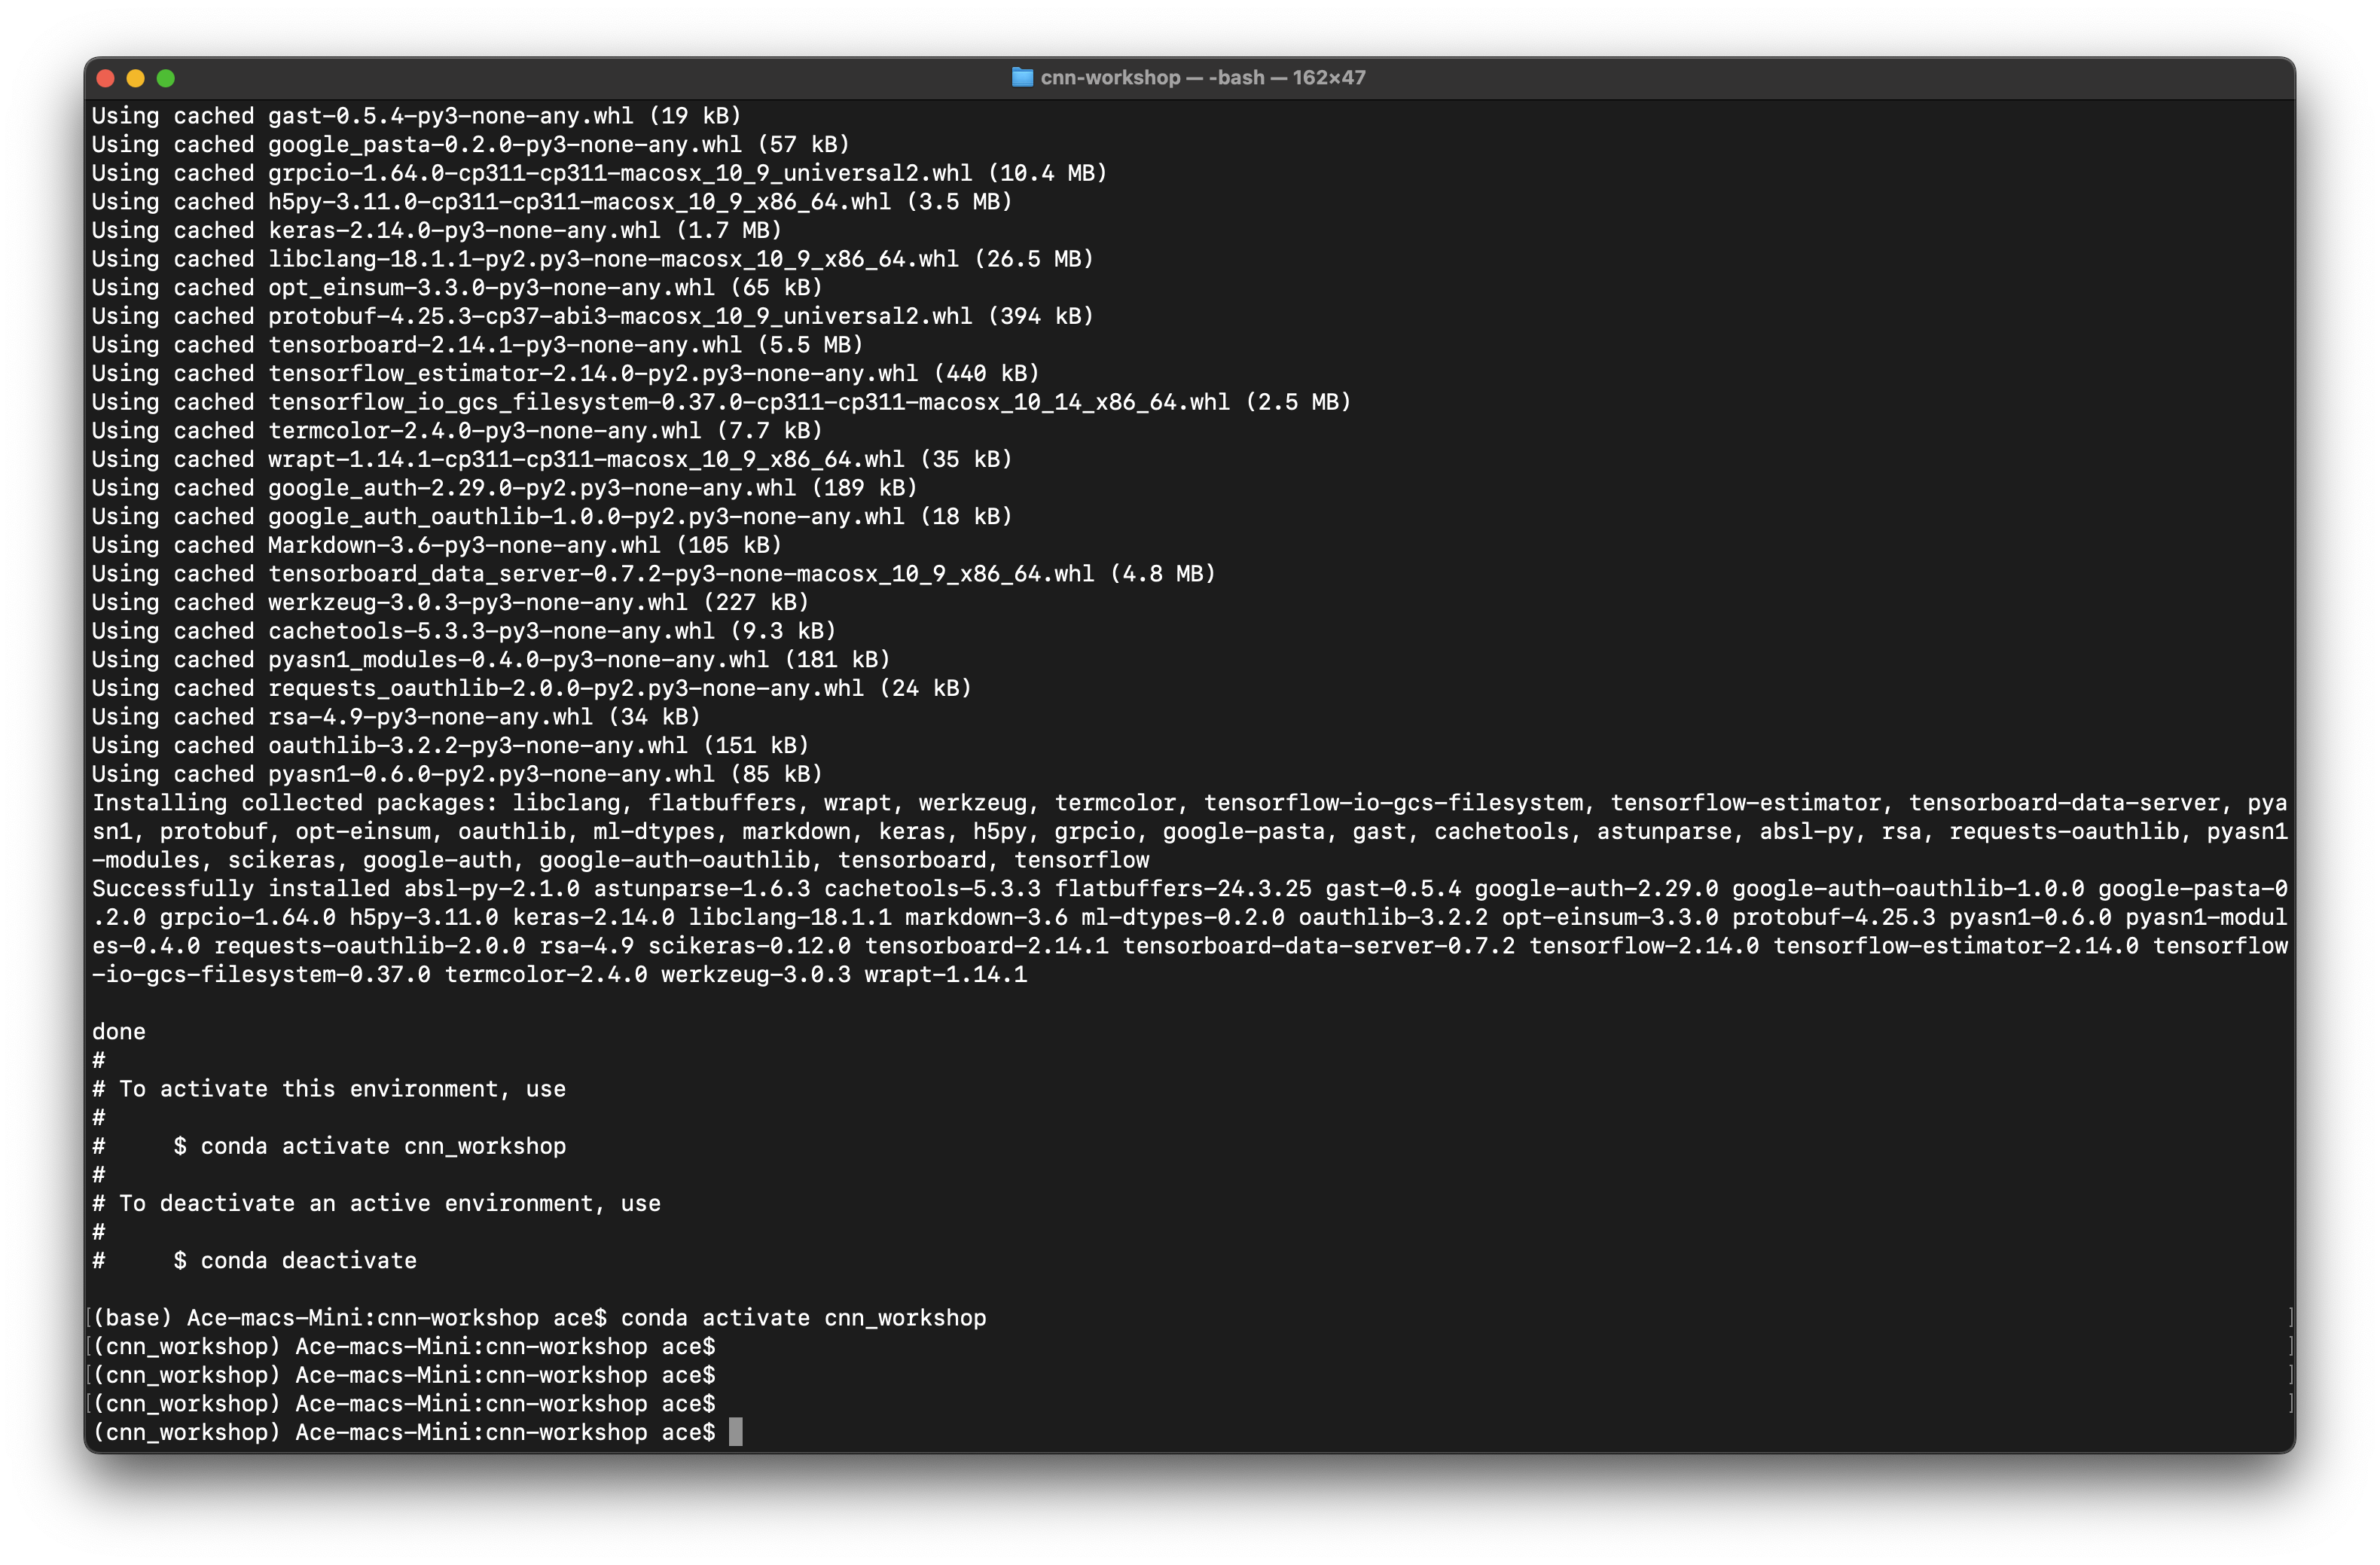
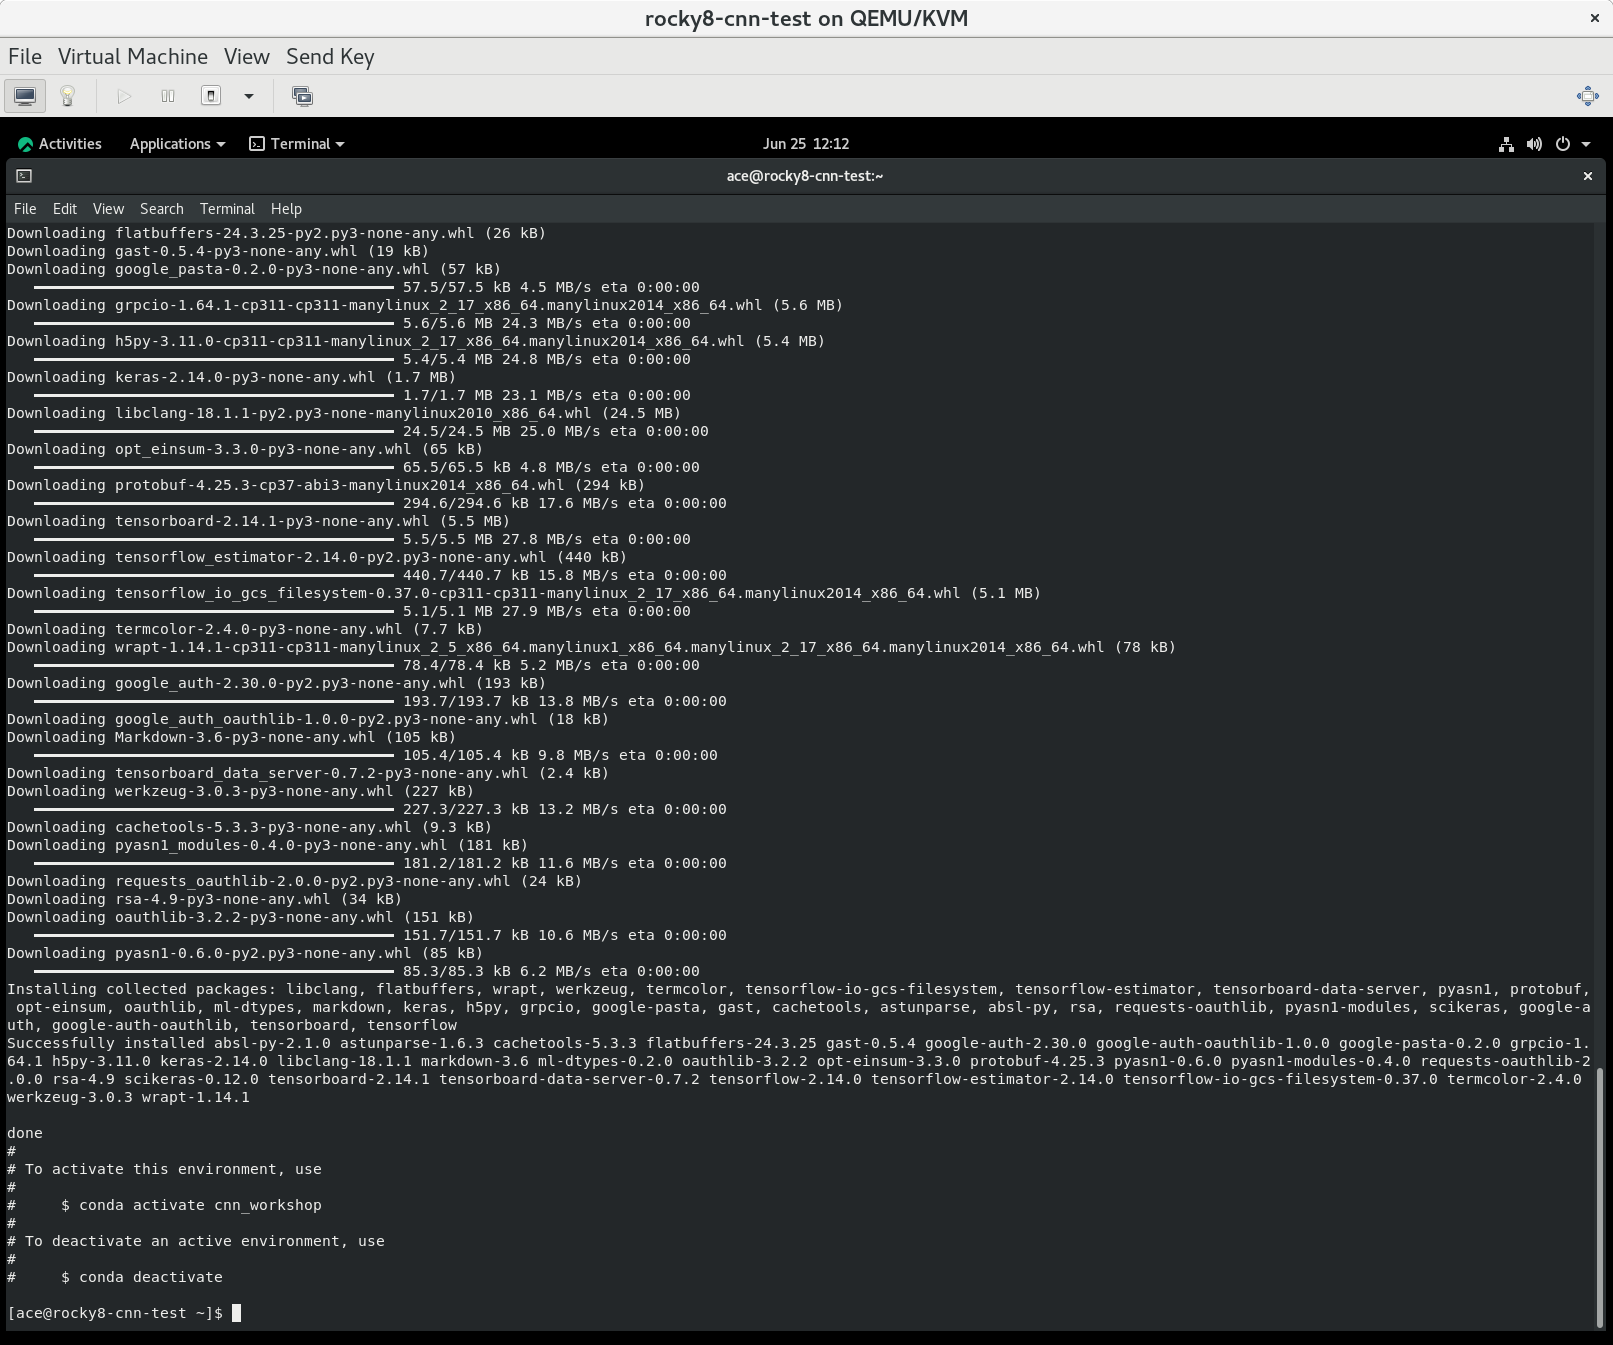
If it installs correctly, you should get the following output on the screen.
done
#
# To activate this environment, use
#
#     $ conda activate cnn_workshop
#
# To deactivate an active environment, use
#
#     $ conda deactivate
After the environment is created we tell Conda to use the new
environment with the keywords conda activate followed by
the name of the environment:
(base) Mac:cnn-workshop ace$ conda activate cnn_workshop
(cnn_workshop) Mac:cnn-workshop ace$
You will know you are in the right environment because the prompt
changes from (base) to (cnn_workshop).
Macos - Silicon (M1 and M2) - This sections needs to be tested and confirmed
After creating the MACOS environment with the yml, M1 and M2 computers (Apple Silicon) require an additional package to be installed.
TODO check if this is because of the integrated GPU and if so, can Intel version also use the graphics card and how?
(cnn_workshop_macos) C:\Users\Lab> pip install tensorflow-metalStart a terminal session:
Note the prompt notation inside the terminal window. The name inside
the parentheses refers to which conda environment you are working in.
base is the name given to the default environment included
with every conda distribution.
To create a new environment, the command starts with the conda
keywords conda env create followed by a name for the new
environment and the package(s) to install.
To make things easier for this lesson, use the
cnn_workshop_MACOS_environment.yml file inside the
files folder of the workshop files.
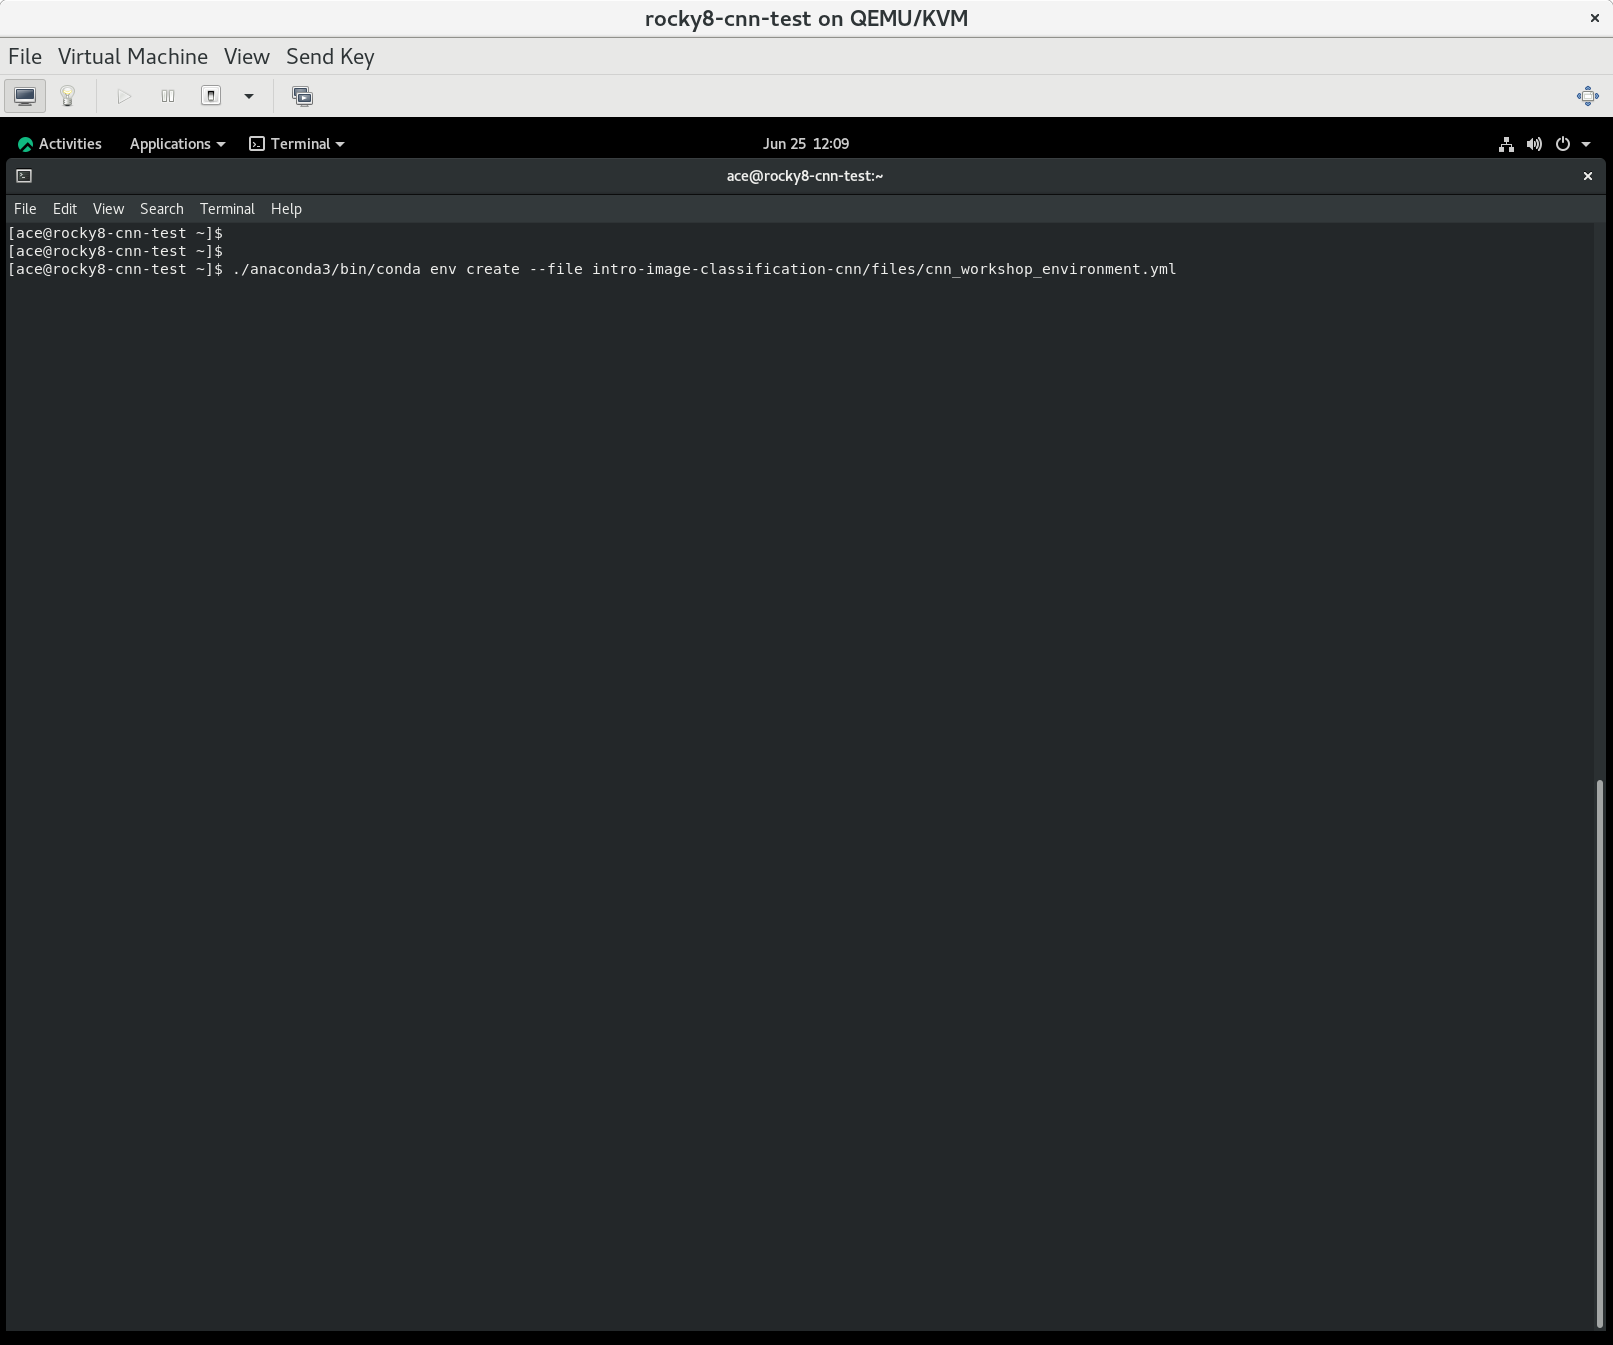
$ conda env create --file cnn_workshop_environment.ymlIf the yml is not in your current directory, you can specify the full path to the file, eg:
$ conda env create --file intro-image-classification-cnn/files/cnn_workshop_environment.ymlBe patient because it might take a while (15-20 min) for conda to work out all of the dependencies.
Note, in the screen shots below, I haven’t initilised conda, so I had to give it the path to where Miniforge was installed.
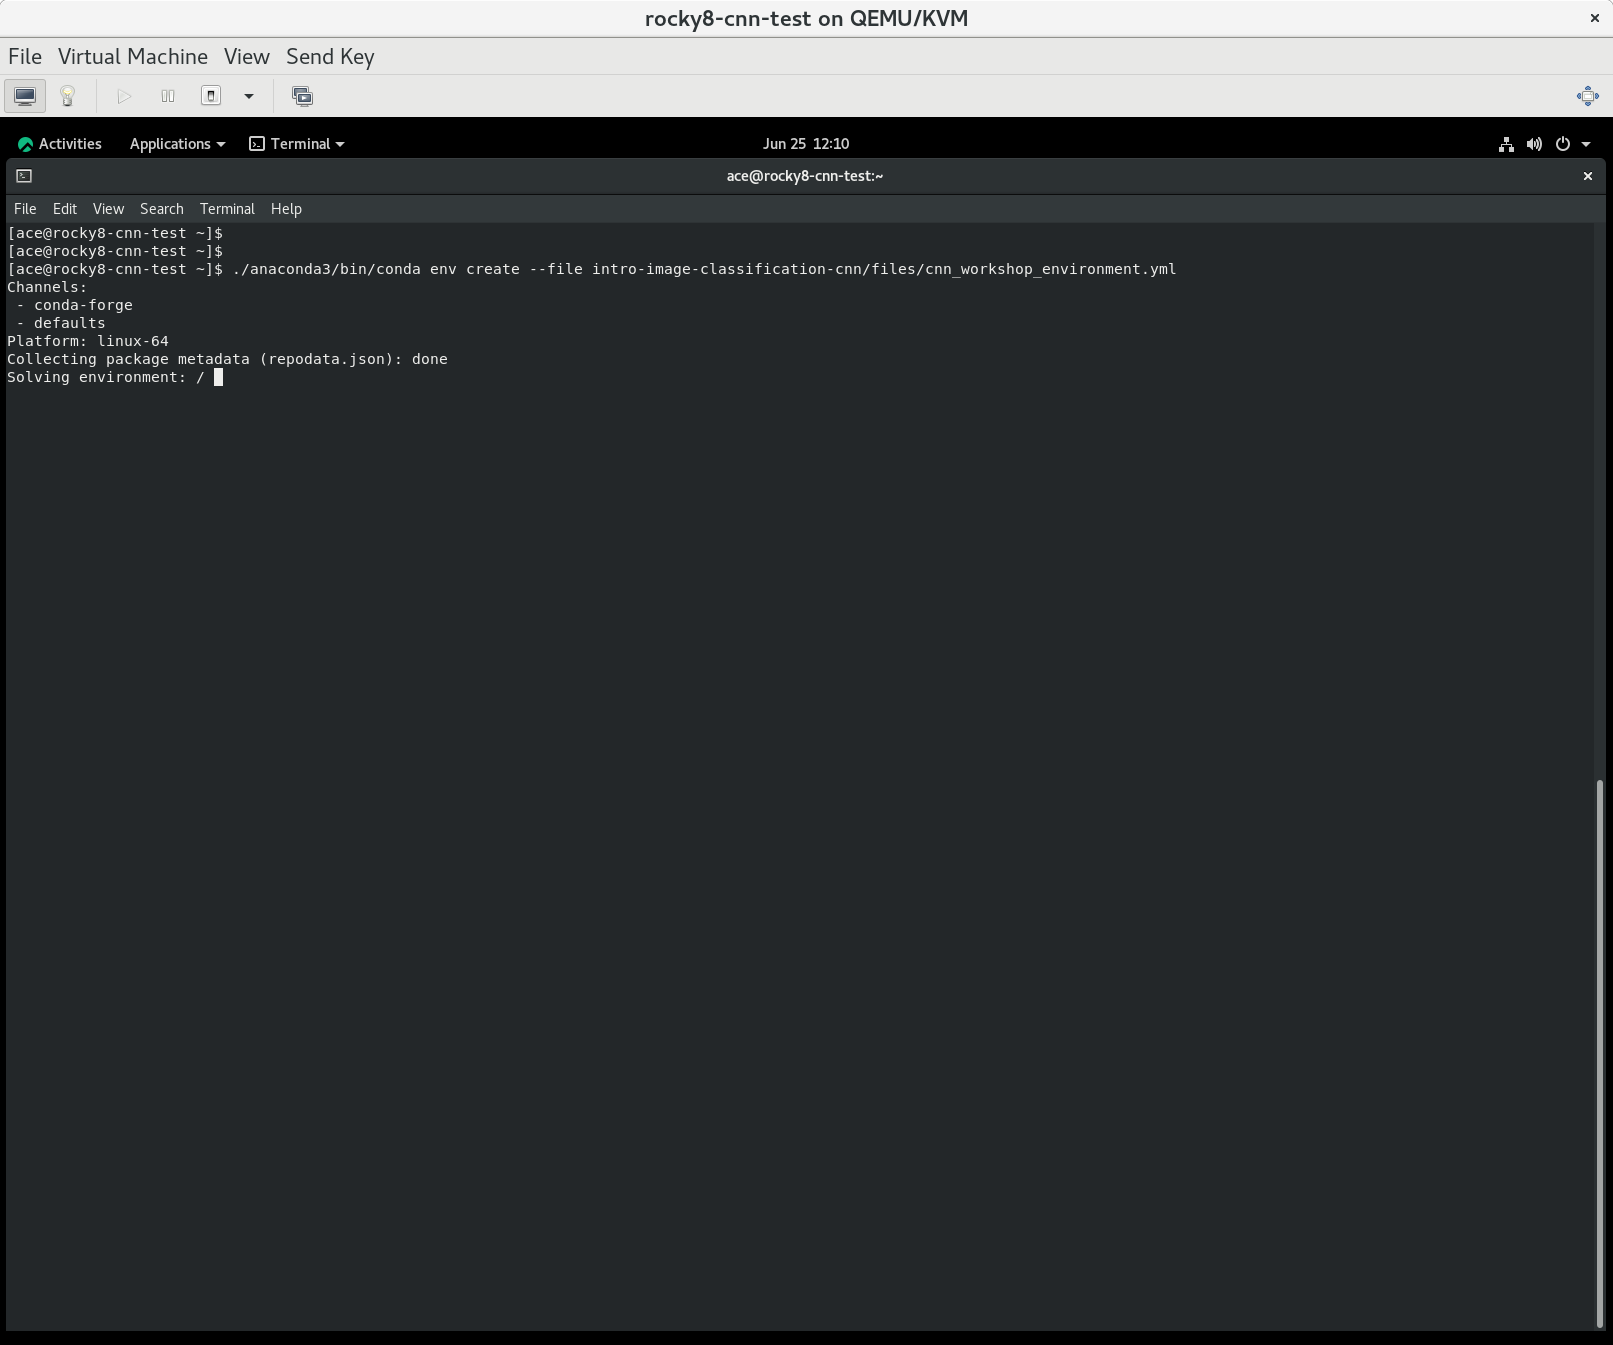
If it installs correctly, you should get the following output on the screen.
done
#
# To activate this environment, use
#
#     $ conda activate cnn_workshop
#
# To deactivate an active environment, use
#
#     $ conda deactivate
Note you will need to initialise conda to be able to activate the conda enviroment.
Additonally, you will need to install scikeras and tensorflow within the conda environment to get everything working.
To do this, issue the following commands:
$ conda activate cnn_workshop

(base) $ pip install scikeras tensorflow
Start Spyder
We teach this lesson using Python in Spyder (Scientific Python Development Environment), a free integrated development environment (IDE) and offers code development, interactive testing, debugging, and introspection tools.
To start Spyder, type the command spyder, making sure
you are still in the workshop environment:
(cnn_workshop) C:\Users\Lab> spyder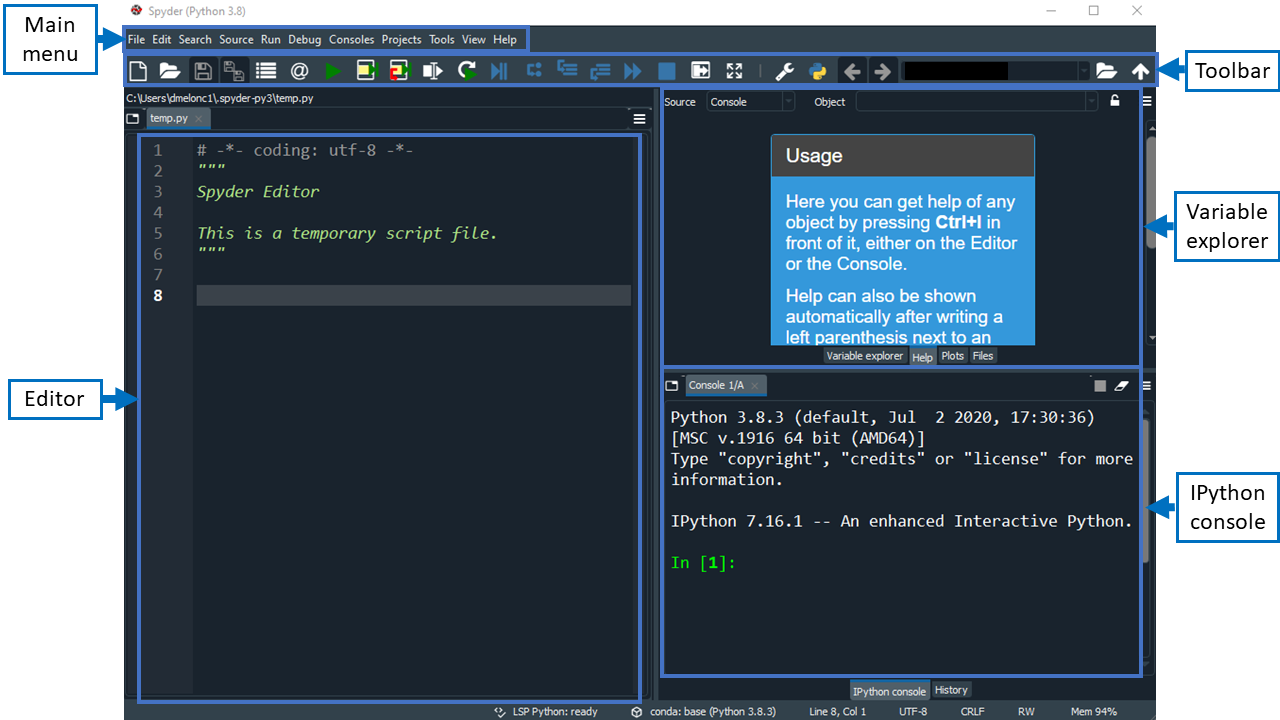
Check your setup
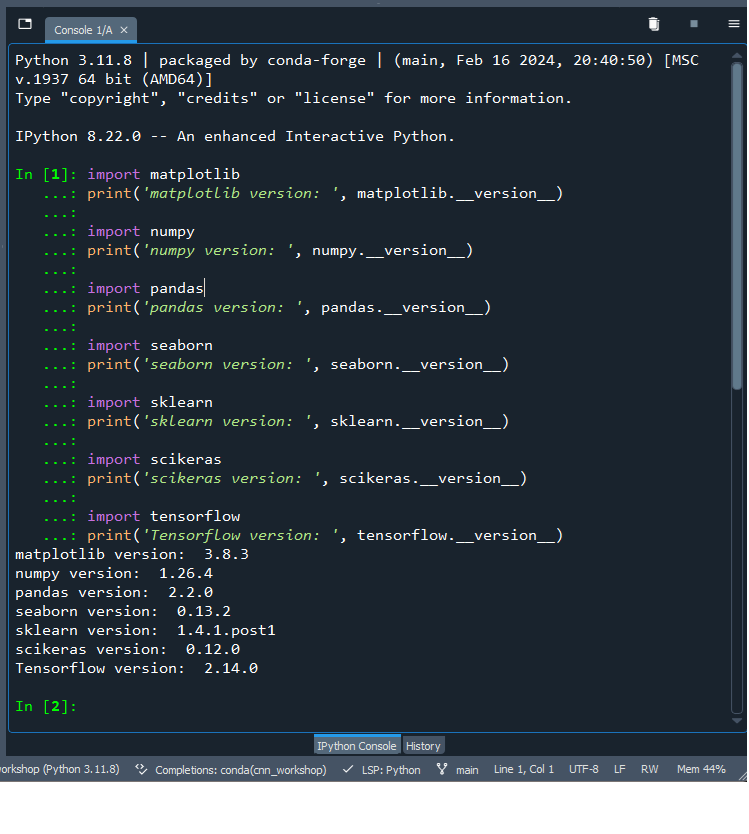
To check that all packages installed correctly, go to the interactive
IPython Console in Spyder (lower right hand side panel) and
type in the following commands:
PYTHON
import matplotlib
print('matplotlib version: ', matplotlib.__version__)

import numpy
print('numpy version: ', numpy.__version__)

import pandas
print('pandas version: ', pandas.__version__)

import seaborn
print('seaborn version: ', seaborn.__version__)

import sklearn
print('sklearn version: ', sklearn.__version__)

import scikeras
print('scikeras version: ', scikeras.__version__)

import tensorflow
print('Tensorflow version: ', tensorflow.__version__)
Your package versions may vary from the screenshot below but this is similar to what your output will look like. The important thing is that there are no errors.
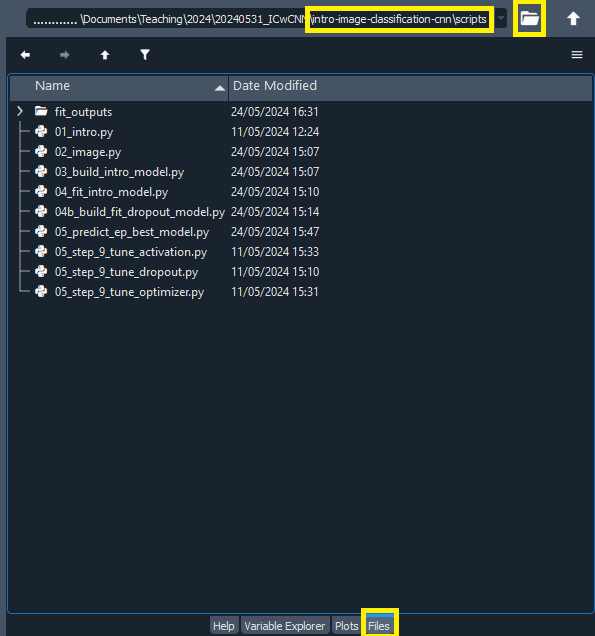
Set the working directory
To set the working directory in Spyder, click on the folder icon
(upper right hand side of the toolbar) and navigate to
.../intro-image-classification-cnn/scripts where ‘…’ is
your project folder.
Verify you are in the right place by selecting the Files
pane just below the toolbar and check its contents.
Get the data
This lesson uses a subset of the CIFAR-10 image dataset. The data is included in the workshop files.