Commit changes
Overview
Teaching: 5 min
Exercises: 10 minQuestions
How to describe the steps in a project?
Objectives
Add and commit new code to the repository.
Add file and commit changes
In Git, changes are tracked by taking snapshots of the project folder, triggered by the user. A snapshot is taken by a commit, which is combined with a user defined commit message. It logs the username, date/time and defines the changes with the previous commit (added and removed lines/files).
Commit changes of a .gitignore file
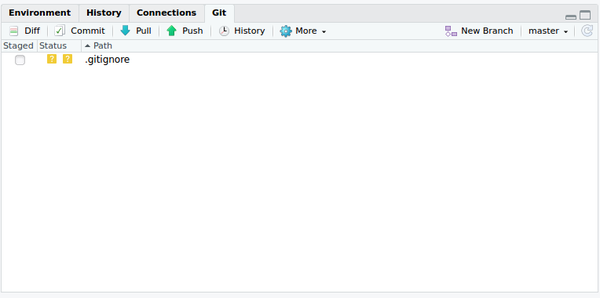
In the previous episode, a .gitignore file was created, but this file itself is new and not yet part of version control. The status of the .gitignore file before the file is added to the Git history is clarified with the yellow question mark defining that the file is yet unknown to Git:
By checking the box and clicking commit, we add the file and are able to commit this addition with a commit message:
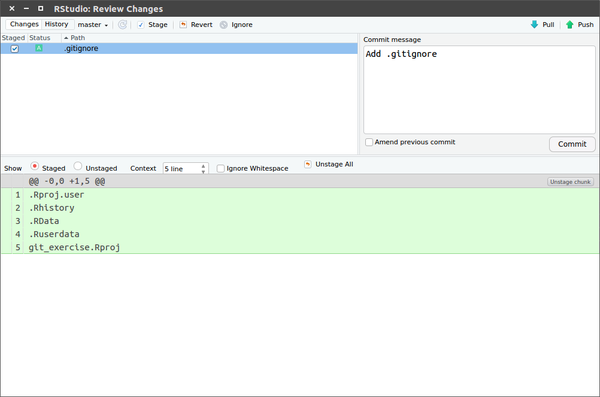
We get a small technical overview of the alterations we provided with this commit:

Add the
gitignorefile to the history
- Go to
gitpane- Check the box next to
.gitignore- Click
Commit- Add a
commit messageand click commit- Click
Closeto remove the commit summary
Provide project info in README
It is good practice to commit often, so you will do this a lot. Each commit should only contain changes related to a single problem/element/… Each commit is a snapshot of your project and the messages describe the new steps taken in your project.
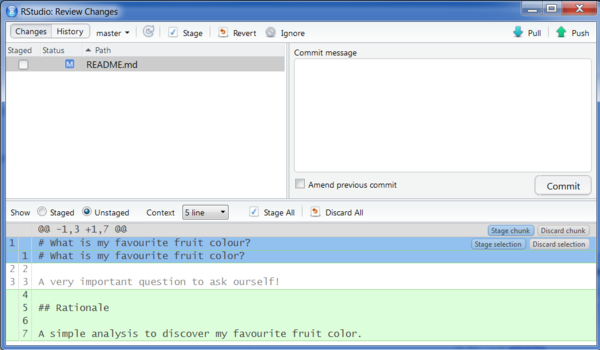
As documentation is crucial, providing some more information in the README.md file will help others (and yourself in a couple of months/years) to understand the aim of the project. Just as we adapted the README.md file online earlier, we can do the same locally.
Update the
README.mdof the project
- Update the
README.mdinside Rstudio- Commit your changes in Rstudio
Project structure
During a project, new files are added to the project folder, which need to be version controlled as well. New directories and files can be added and committed, just as we did before.
Remark that we aim to have a clean directory structure in our projects with the data, scripts and output figures separated, for example:
|_ DCEcology
    |_ scripts
    |_ plots
    |_ data
By clicking the box next to a file, the file is staged (i.e. ready to be committed). Staging a new directory will stage all files in the directory. However, you can not stage empty directories!
Add data file to the project
- Add the
surveys.csvfile in a new/datasubdirectory- Describe the purpose of this file in the
README.md- Commit both changes (new data file and the
README.mdadaptation) in a single commit message- Add and commit an R script as well, but put this into the
scriptsdirectory.
Create logical commits
As mentioned earlier, you should commit often and make sure each commit links to a specific change/problem. Sometimes, this means that you have to split the additions in a single file into two individual commits. Rstudio provides the interface to include specific lines of code into a commit message.
To summarize, the following actions can be executed:
stage xyz: add the xyz from the commitunstage xyz: remove the xyz from the commitdiscard xyz: revert the changes in the xyz (be careful, can’t be undone!)
and xyz can be
- a single
line - a
selectionof lines - a
chunk- RStudio will automatically split the changes in chunks
- Chunks are defined by 10 unchanged lines between changes
commitguidelinesSome guidelines to write nice commits:
- Limit the subject message to 50 characters
- Capitalize the subject message line
- Do not end the subject message with a period
- Use the imperative mood in the subject line
- Use the body to explain what and why vs. how
Make logical commits
- Make 2 unrelated changes to your R script
- Create one
commitfor each change:
- Select the changes you want to commit and click
stage selection- Add a
commit messageand clickCommit
Key Points
A commit is a snapshot of the project with a user defined commit message
Commit often!