Visual Studio Code (VS Code), not to be confused with Visual Studio, is an Integrated Development Environment (IDE) by Microsoft. You can use it as your IDE for this course instead of PyCharm - bellow are some instructions to help you set up.
Installation
You can download VS Code from the VS Code project website.
Extensions
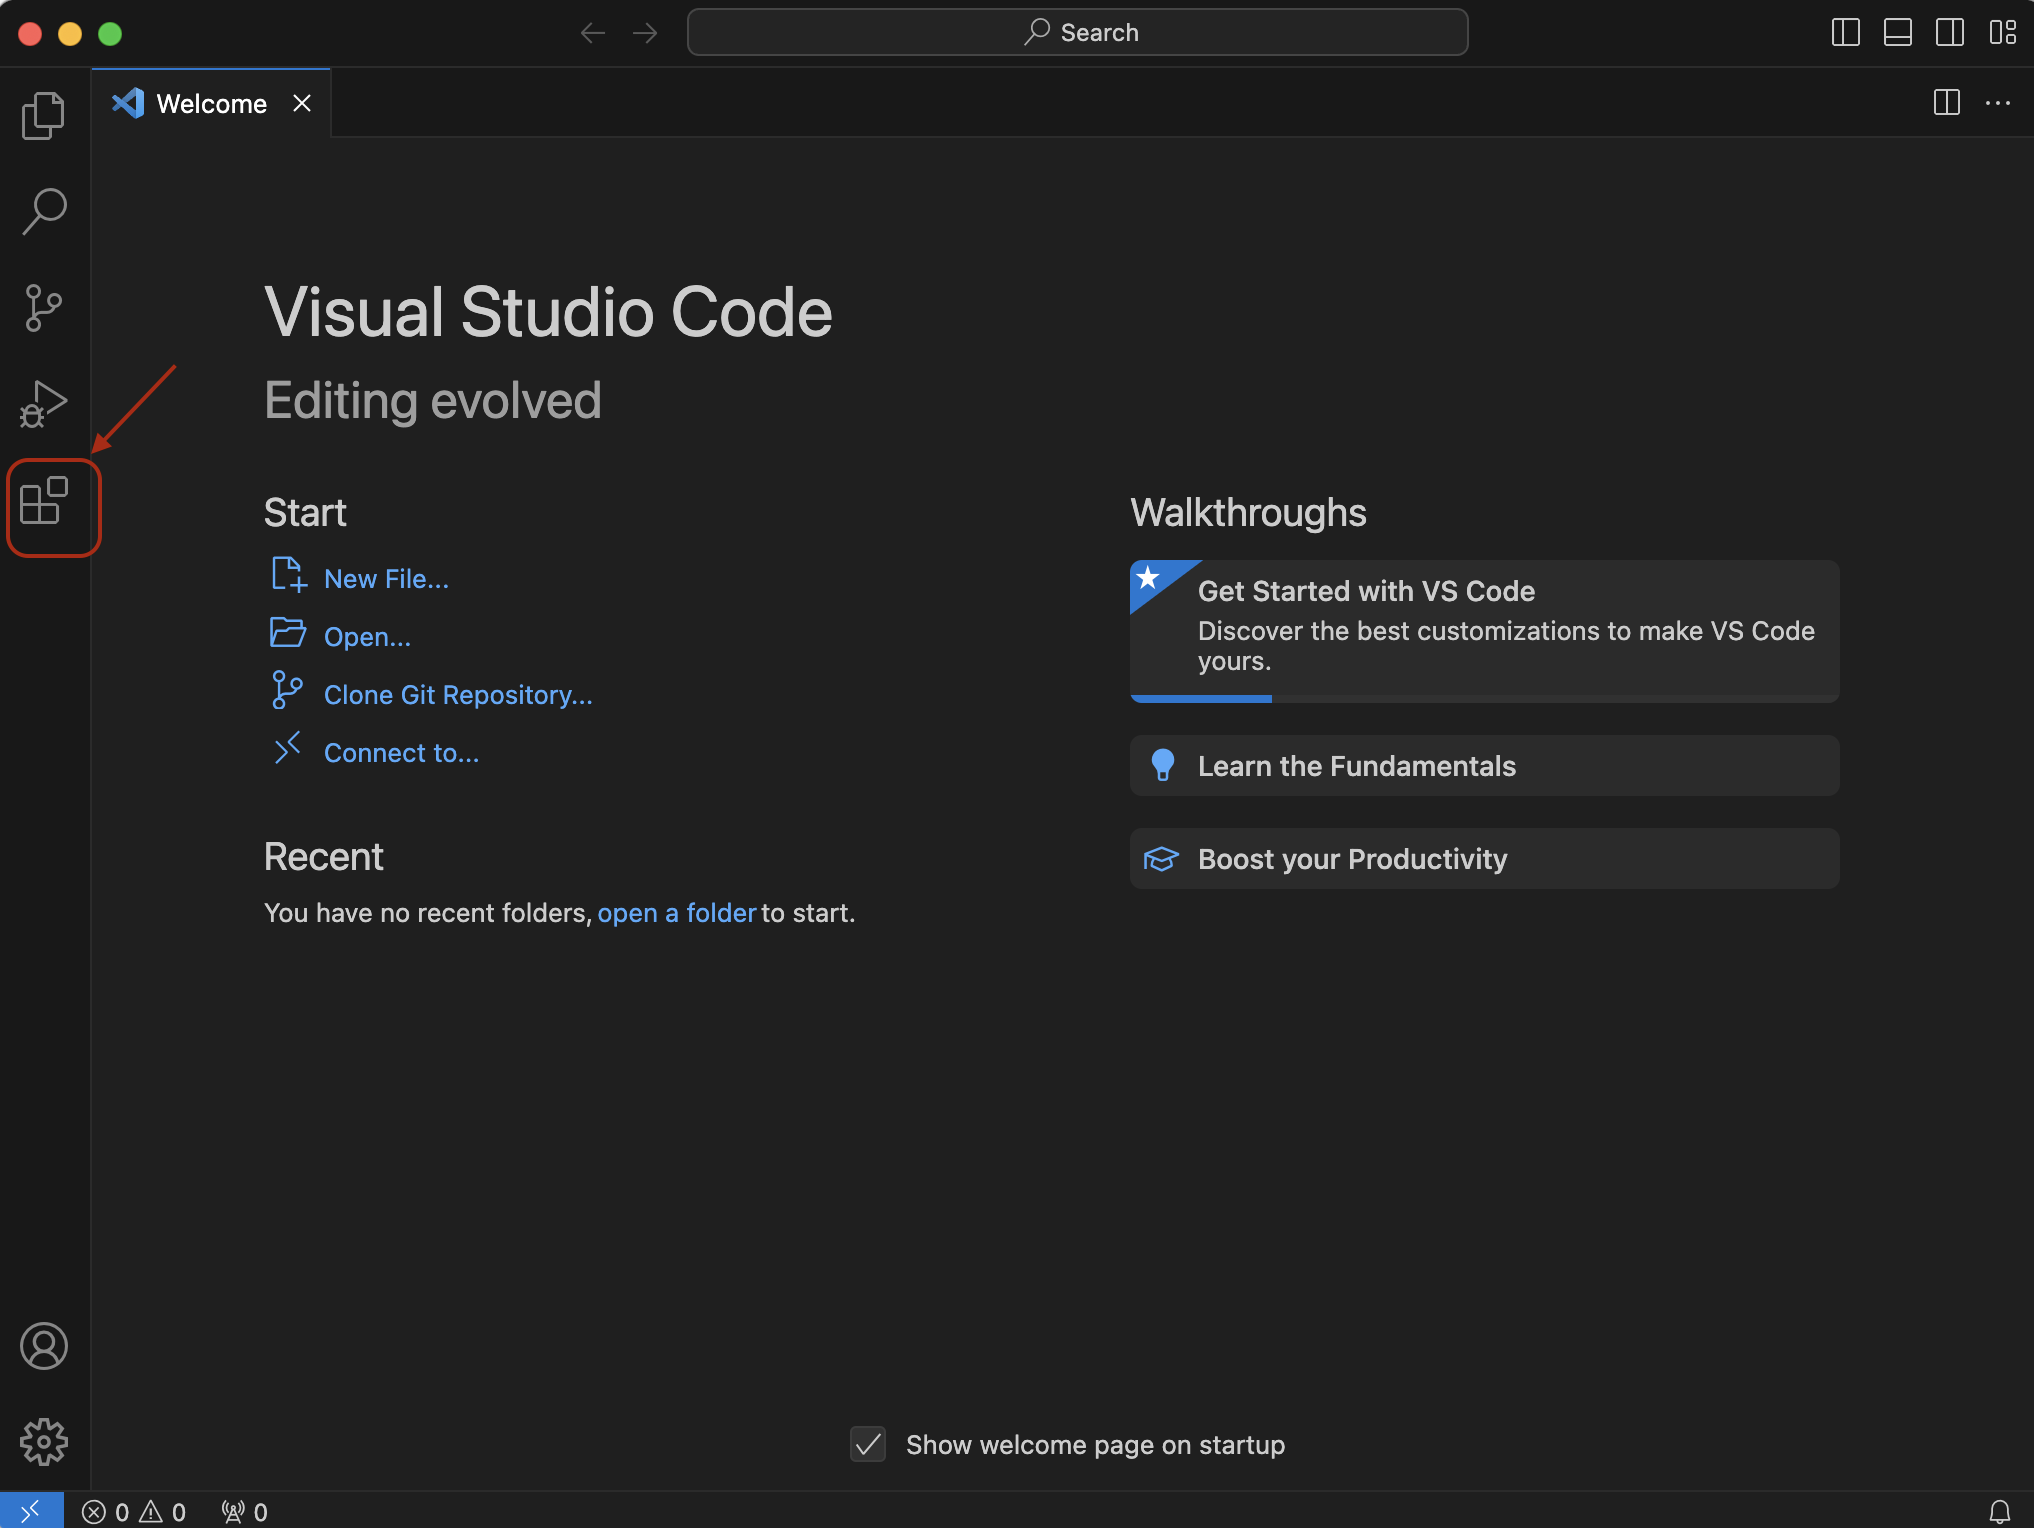
VS Code can be used to develop code in many programming languages, provided the appropriate extensions have been installed. For this course we will require the extensions for Python. To install extensions click the icon highlighted below in the VS Code sidebar:
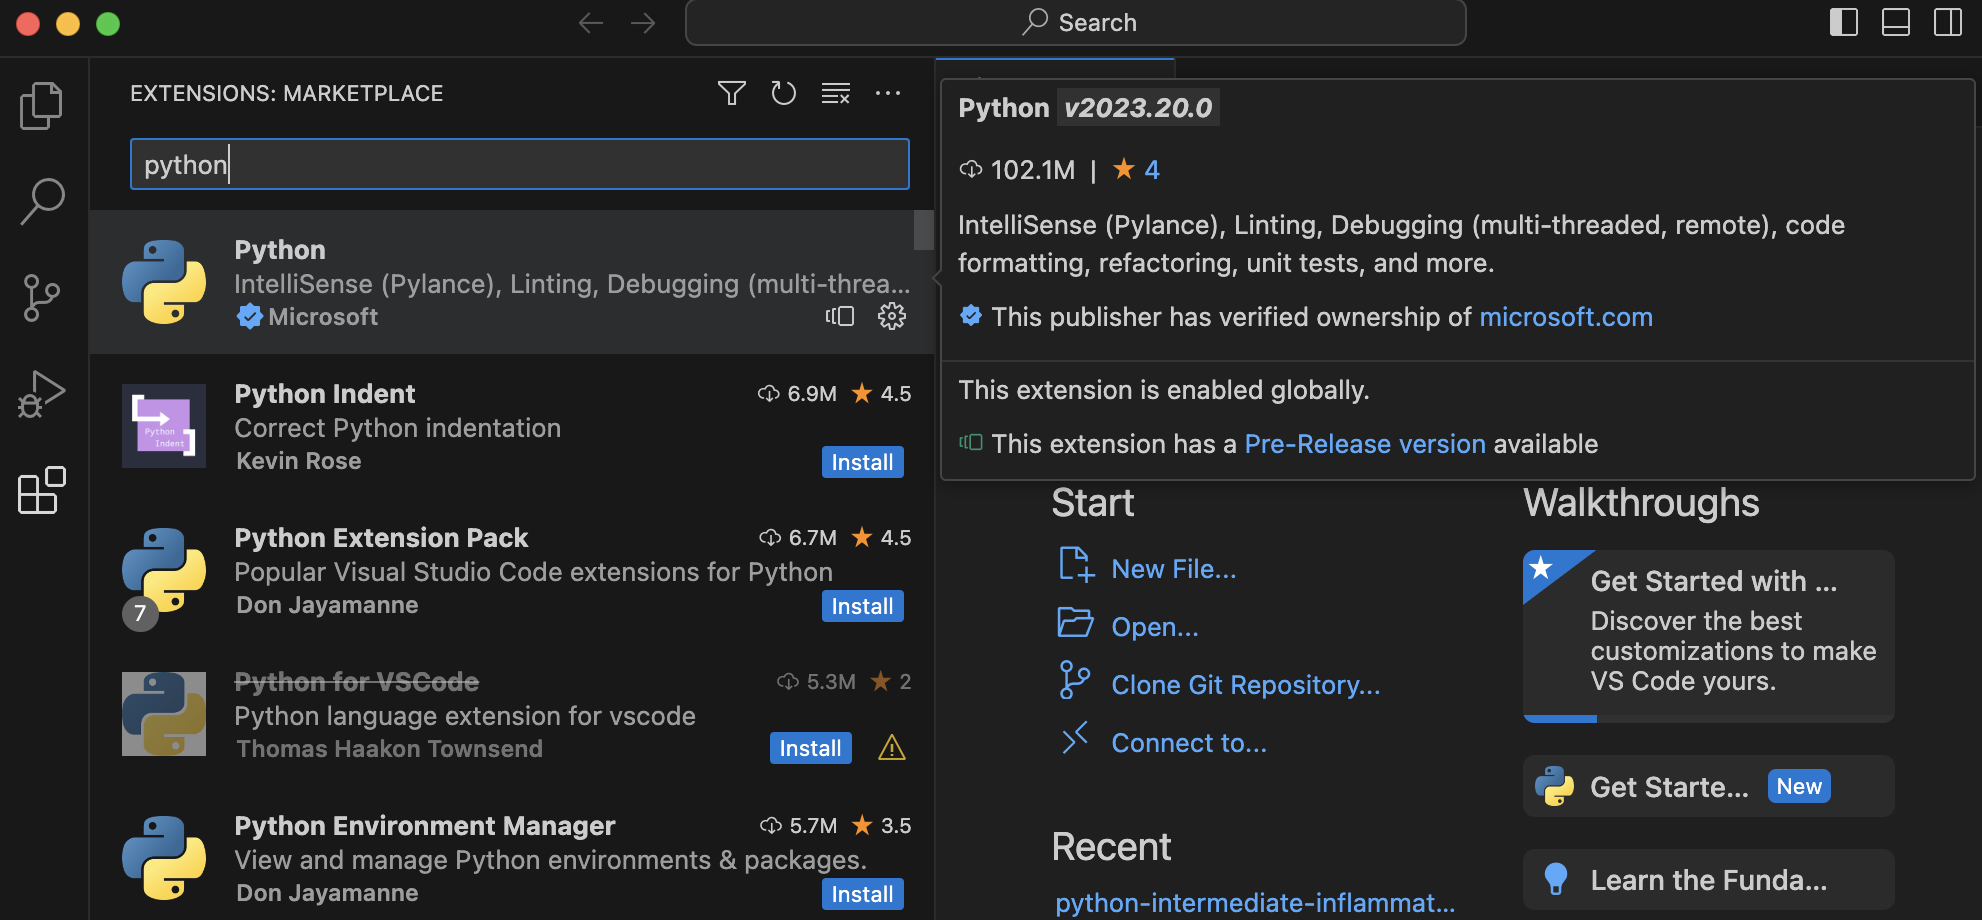
In the search box, type “python” and select the Intellisense Python extension by Microsoft, then click the “Install” button to install the extension. You may be asked to reload the VS Code IDE for the changes to take effect.
Using VS Code with Windows Subsystem for Linux
If you are developing software on Windows, and particularly software that comes from or targets Unix or Linux systems, it can be advantageous to use WSL (Windows Subsystem for Linux). Although this course does not explicitly support WSL, we will provide some guidance here on how to best link up WSL with VS Code (if that is your use case). In your WSL terminal, navigate to the project folder for this course and execute the command:
code .
This should launch VS Code in a way that ensures it performs most operations within WSL. To do this, the WSL - Remote extension for VS Code should automatically be installed. If this does not happen, please install the extension manually. You can also launch WSL sessions from VS Code itself using the instructions on the extension page.
Using the VS Code IDE
Let us open our software project in VS Code and familiarise ourselves with some commonly used features needed for this course.
Opening a Software Project
Select File > Open Folder from the top-level menu and navigate to the directory where you saved the
python-intermediate-inflammation project,
which we are using in this course.
Configuring a Virtual Environment in VS Code
As in the episode on
virtual environments for software development,
we would want to create a virtual environment for our project to work in (unless you have already done so earlier in the course).
From the top menu, select Terminal > New Terminal to open a new terminal (command line) session within the project directory,
and run the following command to create a new environment:
python3 -m venv venv
This will create a new folder called venv within your project root.
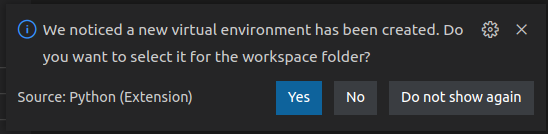
VS Code will notice the new environment and ask if you want to use it as the default Python interpreter for this project -
click “Yes”.
Troubleshooting Setting the Interpreter
If the prompt did not appear, you can manually set the interpreter.
- Navigate to the location of the
pythonbinary within the virtual environment using the file browser sidebar (see below). The binary will be located in<virtual environment directory>/bin/pythonwithin the project directory. - Right-click on the binary and select
Copy Path. - Use the keyboard shortcut
CTRL-SHIFT-Pto bring up the command palette, then search forPython: Select Interpreter. - Click
Enter interpreter path..., paste the path you copied followed by Enter.
You can verify the setup has worked correctly by selecting an existing Python script in the project folder (or creating a blank
new one, if you do not have it, by right-clicking on the file explorer sidebar, selecting New File and creating a new file
with the extension .py).
If everything is setup correctly, when you select a Python file in the file explorer you should see the interpreter and virtual environment stated in the information bar at the bottom of VS Code, e.g., something similar to the following:

Any terminal you now open will start with the activated virtual environment.
Adding Dependencies
For this course you will need to install pytest, numpy and matplotlib. Start a new terminal and run the
following:
python3 -m pip install numpy matplotlib pytest
Troubleshooting Dependencies
If you are having issues with pip, it may be that pip version you have is too old.
Pip will usually inform you via a warning if a newer version is available.
You can upgrade pip by running the following from the terminal:
python3 -m pip install --upgrade pip
You can now try to install the packages again.
Running Python Scripts in VS Code
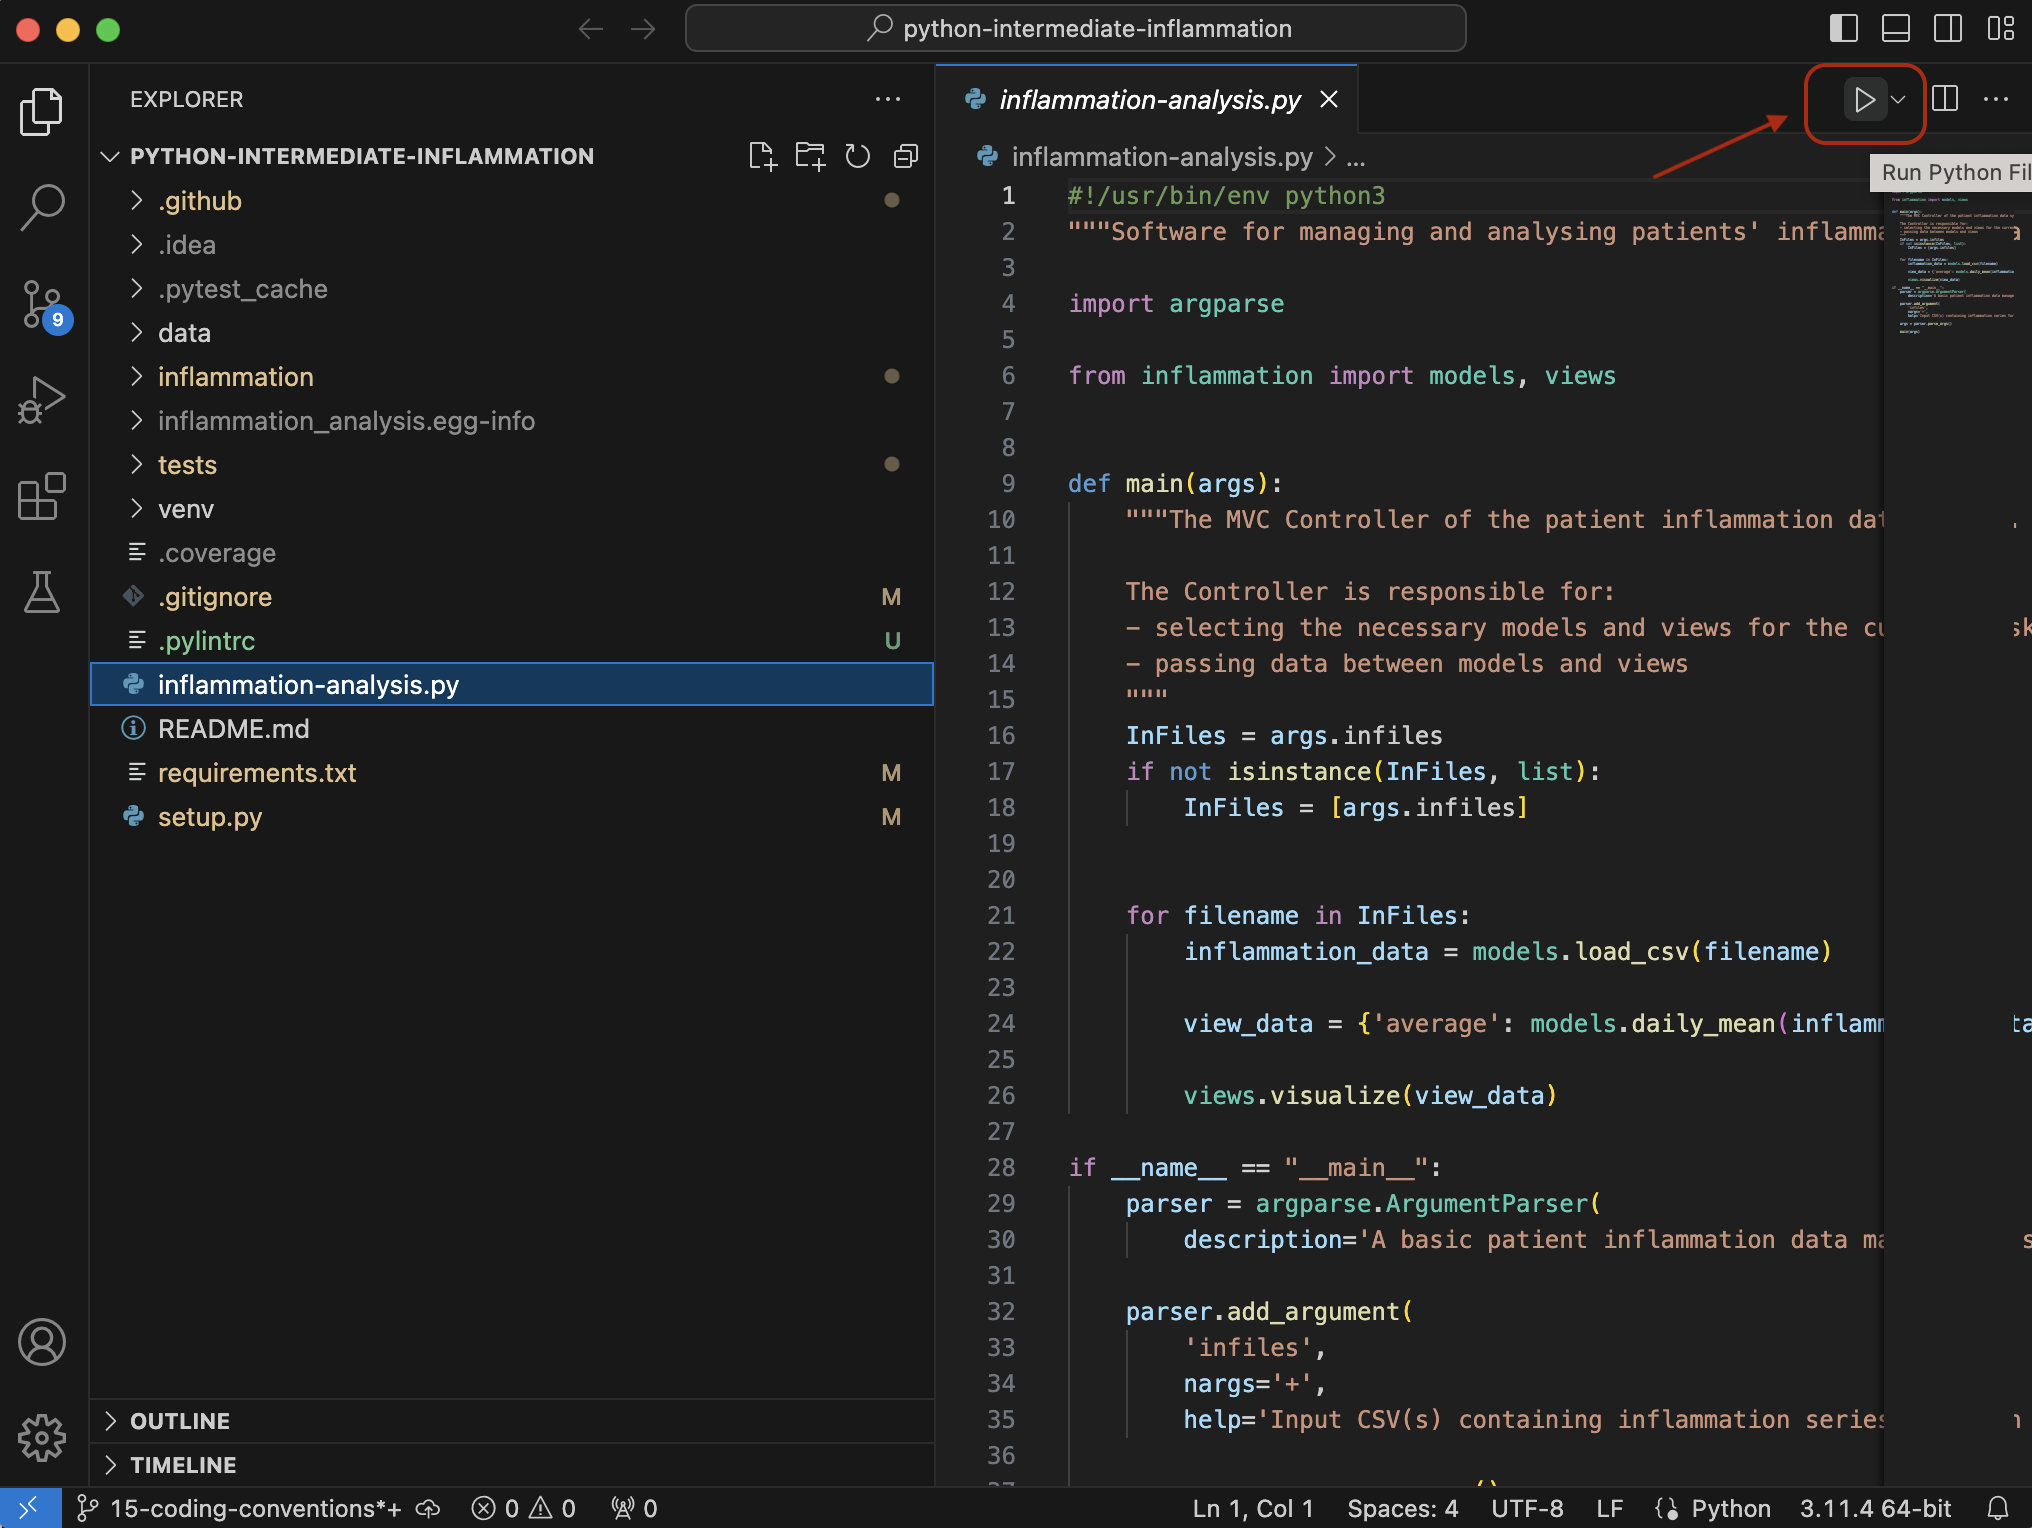
To run a Python script in VS Code, open the script by clicking on it,
and then either click the Play icon in the top right corner,
or use the keyboard shortcut CTRL-ALT-N.
Adding a Linter in VS Code
In the episode on coding style and the subsequent episode on linters, you are asked to use an automatic feature in PyCharm that picks up linting issues with the source code. Because it is language agnostic, VS Code does not have a linter for Python built into it. Instead, you will need to install an extension to get linting hints. Get to the “Extensions” side pane by one of these actions:
- Bring up the command palette with
CTRL-SHFT-P, search forView: Show Extensions - Use the direct keyboard shortcut
CTRL-SHFT-X - Click on the “Extensions” icon on the left side panel we used previously.
In the Extensions panel, type “pylint” into the search bar. Select Pylint from the result panel
that comes up and then the Install button:

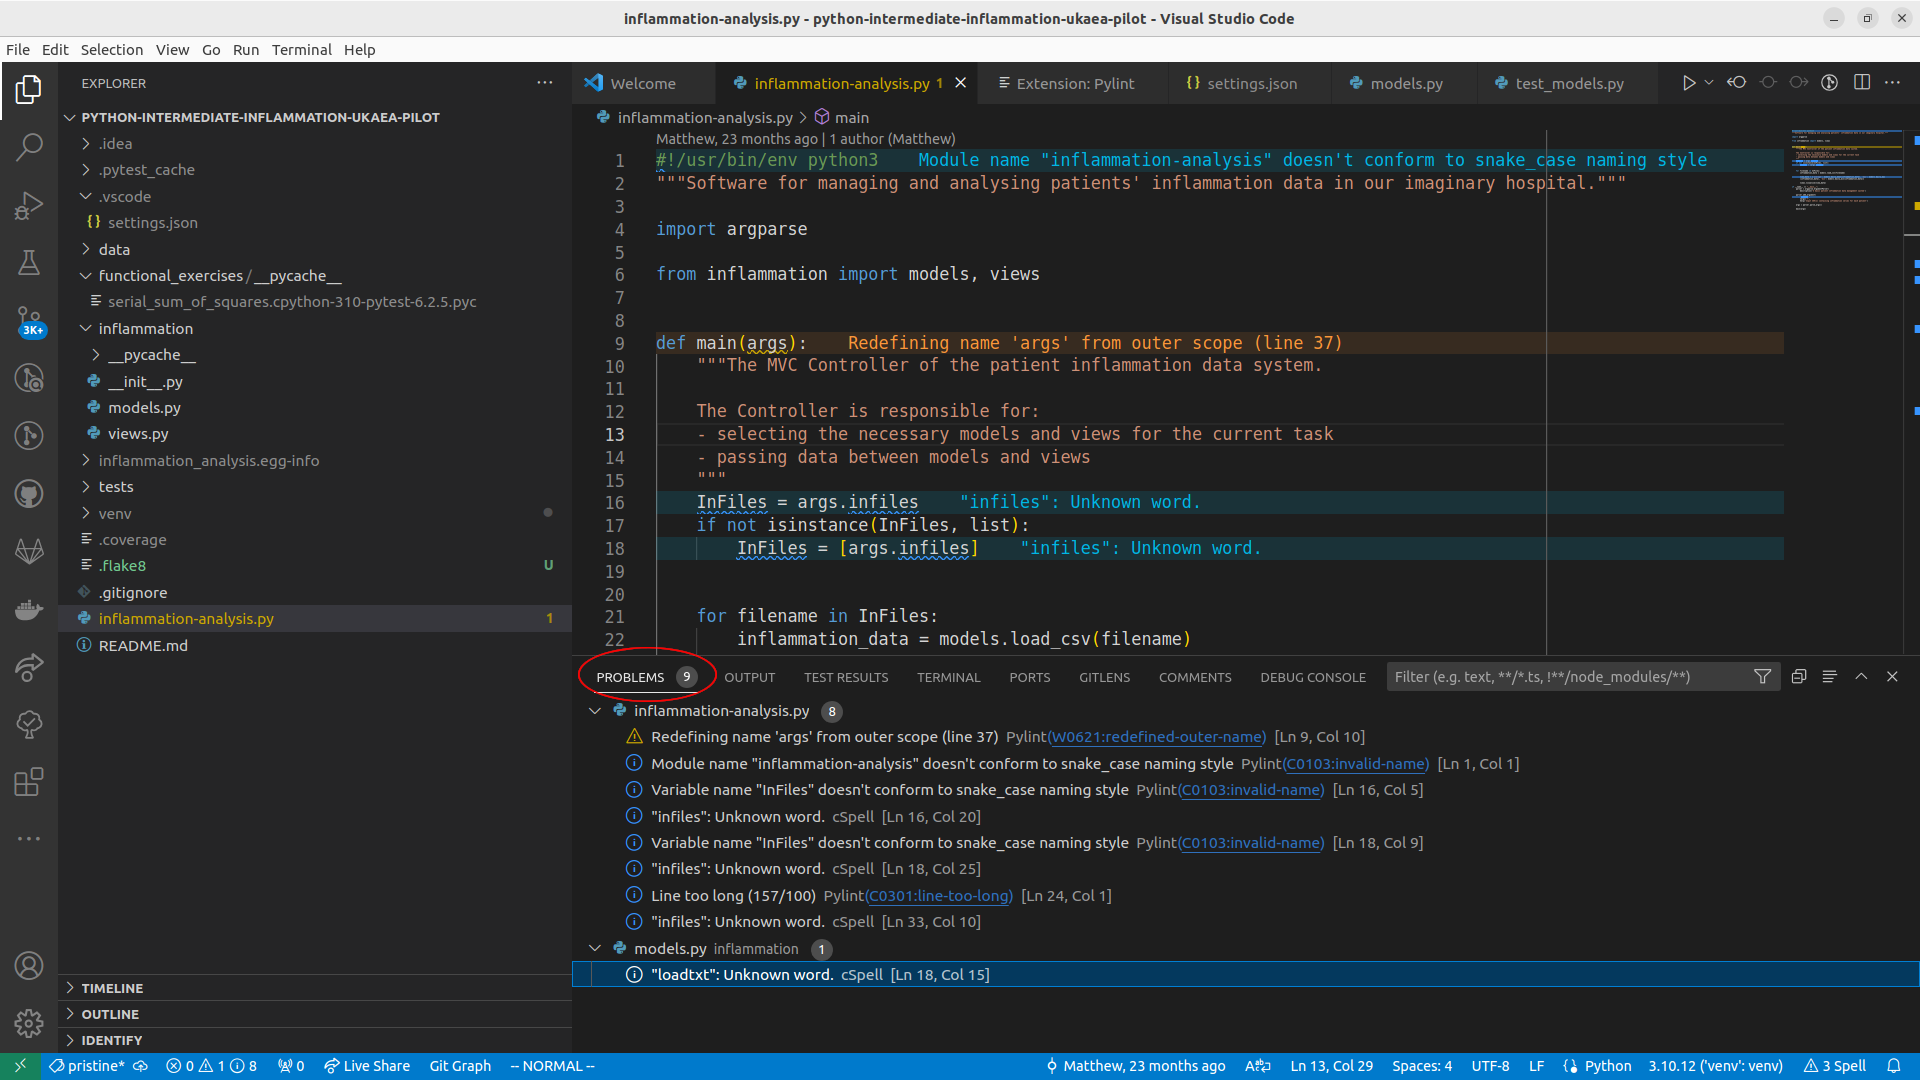
Once installed, Pylint warnings about your code should automatically populate the “Problems” panel
at the bottom of VS Code window, as shown below. You can also bring up the “Problems” panel using the keyboard shortcut CTRL-SHFT-M.
There are other Python linters available, such as Flake8, and Python code formatters, such as Black. All are available as extensions that can be installed in a similar manner from the “Extensions” panel.
We also recommend that you install these linters and formatters in your virtual environment,
since then you will be able to run them from the terminal as well.
For example, if you want pylint and black packages, execute the following from the terminal:
$ python3 -m pip install pylint black
They will now both be available to run as command line applications,
and you will find the details of how to run pylint in the lesson material (black in not covered).
Running Tests
VS Code also allows you to run tests from a dedicated test viewer. Clicking the “laboratory flask” button in the sidebar allows you to set up test exploration:

Click Configure Python Tests,
select pytest as the test framework,
and the tests directory as the directory for searching.
You should now be able to run tests individually
using the test browser (available from the top level menu View > Testing) and selecting the test of interest.
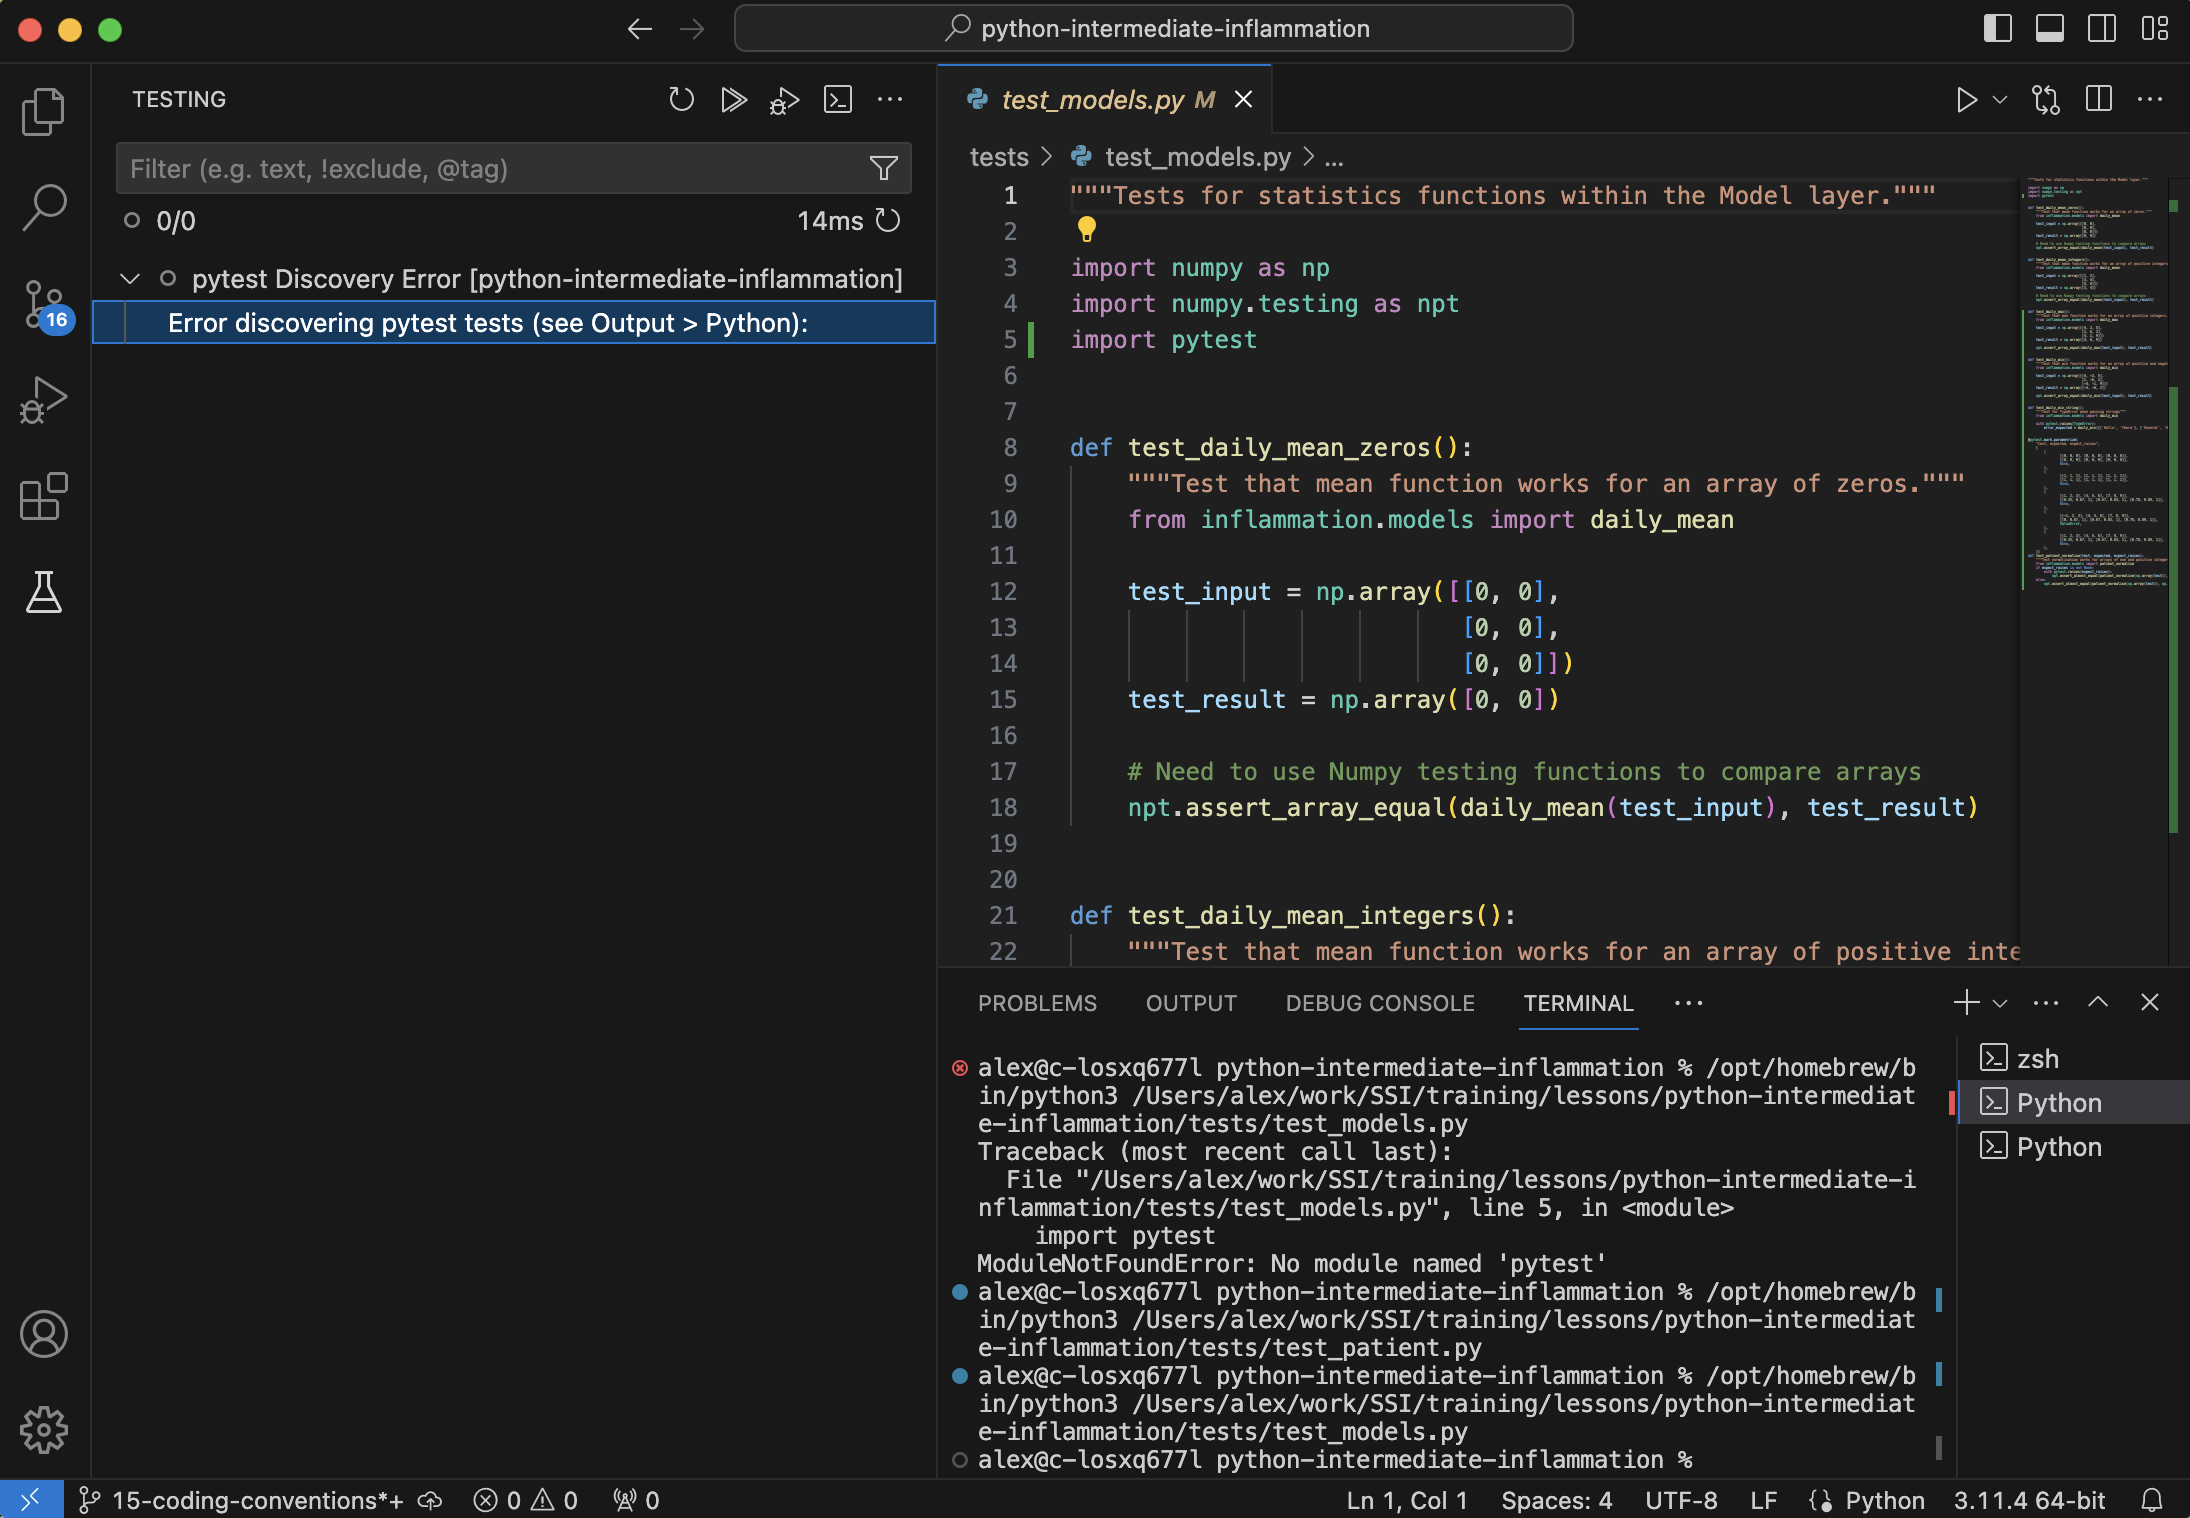
Running Code in Debug Mode
When clicking on a test you will see two icons, the ordinary Run/Play icon, and a Run/Play icon with a bug. The latter allows you to run the tests in debug mode useful for obtaining further information as to why a failure has occurred - this will be covered in the main lesson material.