1.3 Integrated Software Development Environments
Last updated on 2025-07-30 | Edit this page
Estimated time: 35 minutes
Overview
Questions
- What are Integrated Development Environments (IDEs)?
- What are the advantages of using IDEs for software development?
Objectives
- Set up a (virtual) development environment in an IDE
- Use the IDE to run a Python script
Introduction
As we have seen in the previous episode - even a simple software project is typically split into smaller functional units and modules, which are kept in separate files and subdirectories. As your code starts to grow and becomes more complex, it will involve many different files and various external libraries. You will need an application to help you manage all the complexities of, and provide you with some useful (visual) facilities for, the software development process. Such clever and useful graphical software development applications are called Integrated Development Environments (IDEs).
Integrated Development Environments
An IDE normally consists of at least a source code editor, build automation tools and a debugger. The boundaries between modern IDEs and other aspects of the broader software development process are often blurred. Nowadays IDEs also offer version control support, tools to construct graphical user interfaces (GUI) and web browser integration for web app development, source code inspection for dependencies and many other useful functionalities. The following is a list of the most commonly seen IDE features:
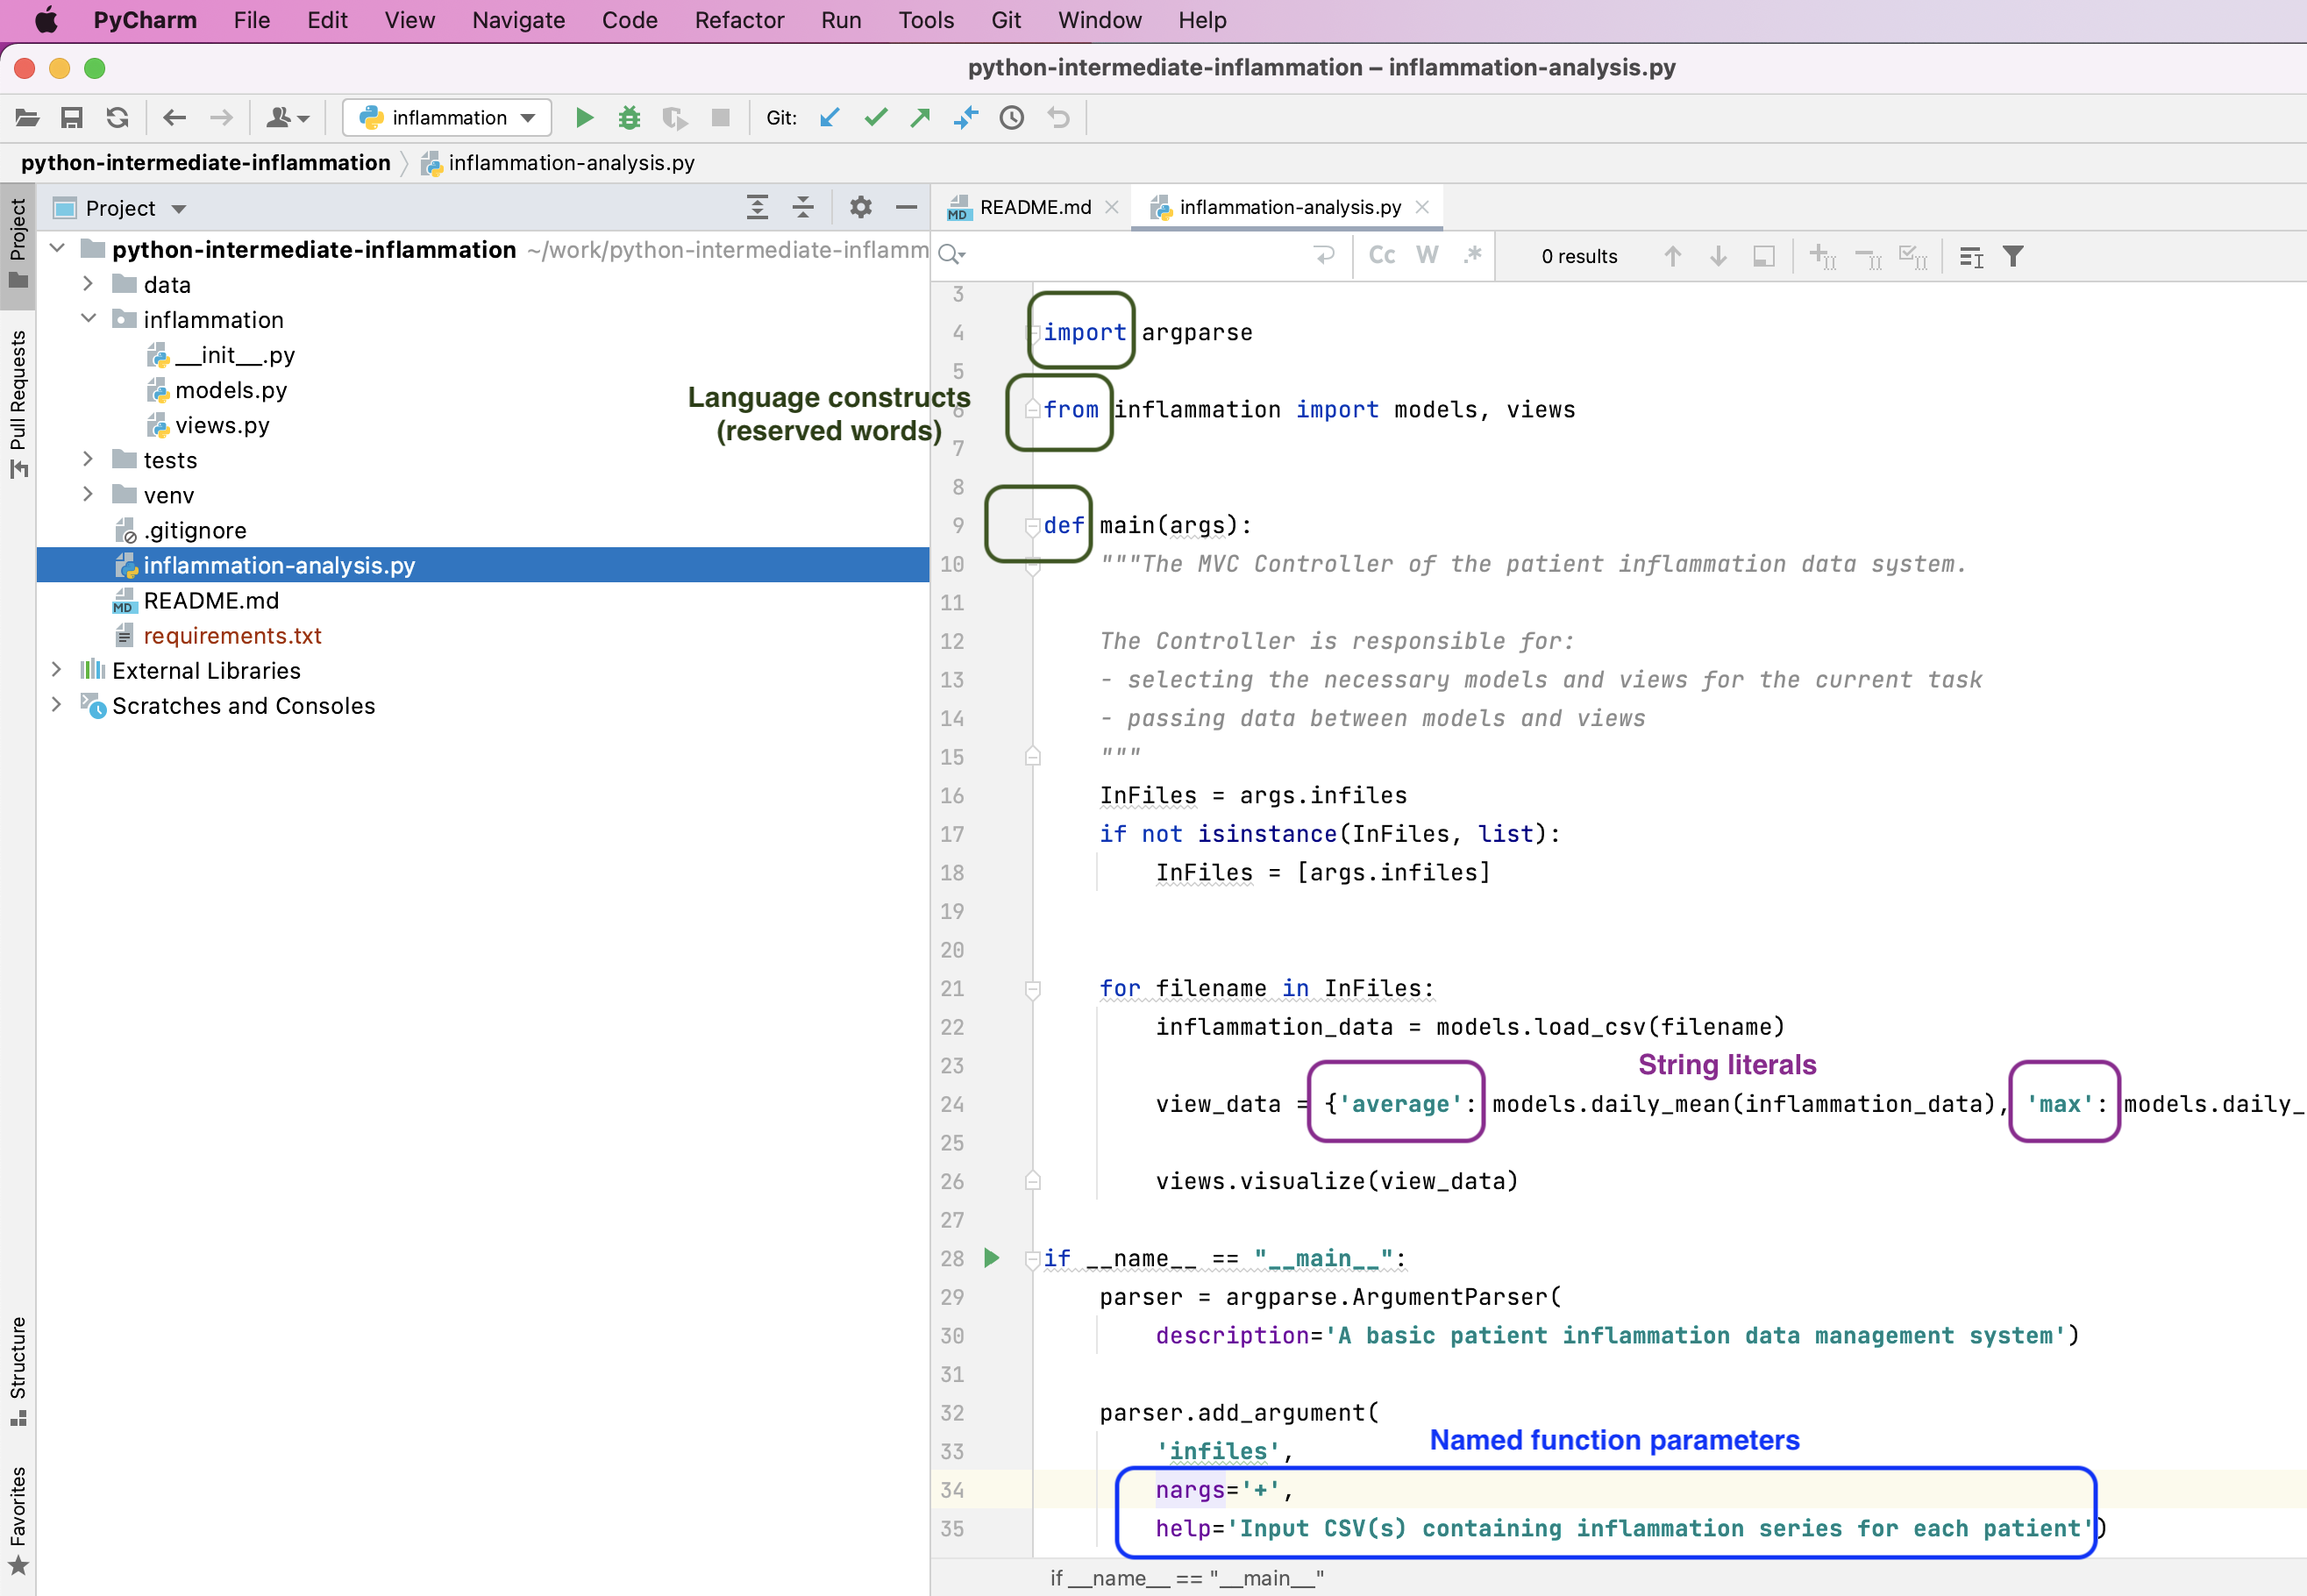
- syntax highlighting - to show the language constructs, keywords and the syntax errors with visually distinct colours and font effects
- code completion - to speed up programming by offering a set of possible (syntactically correct) code options
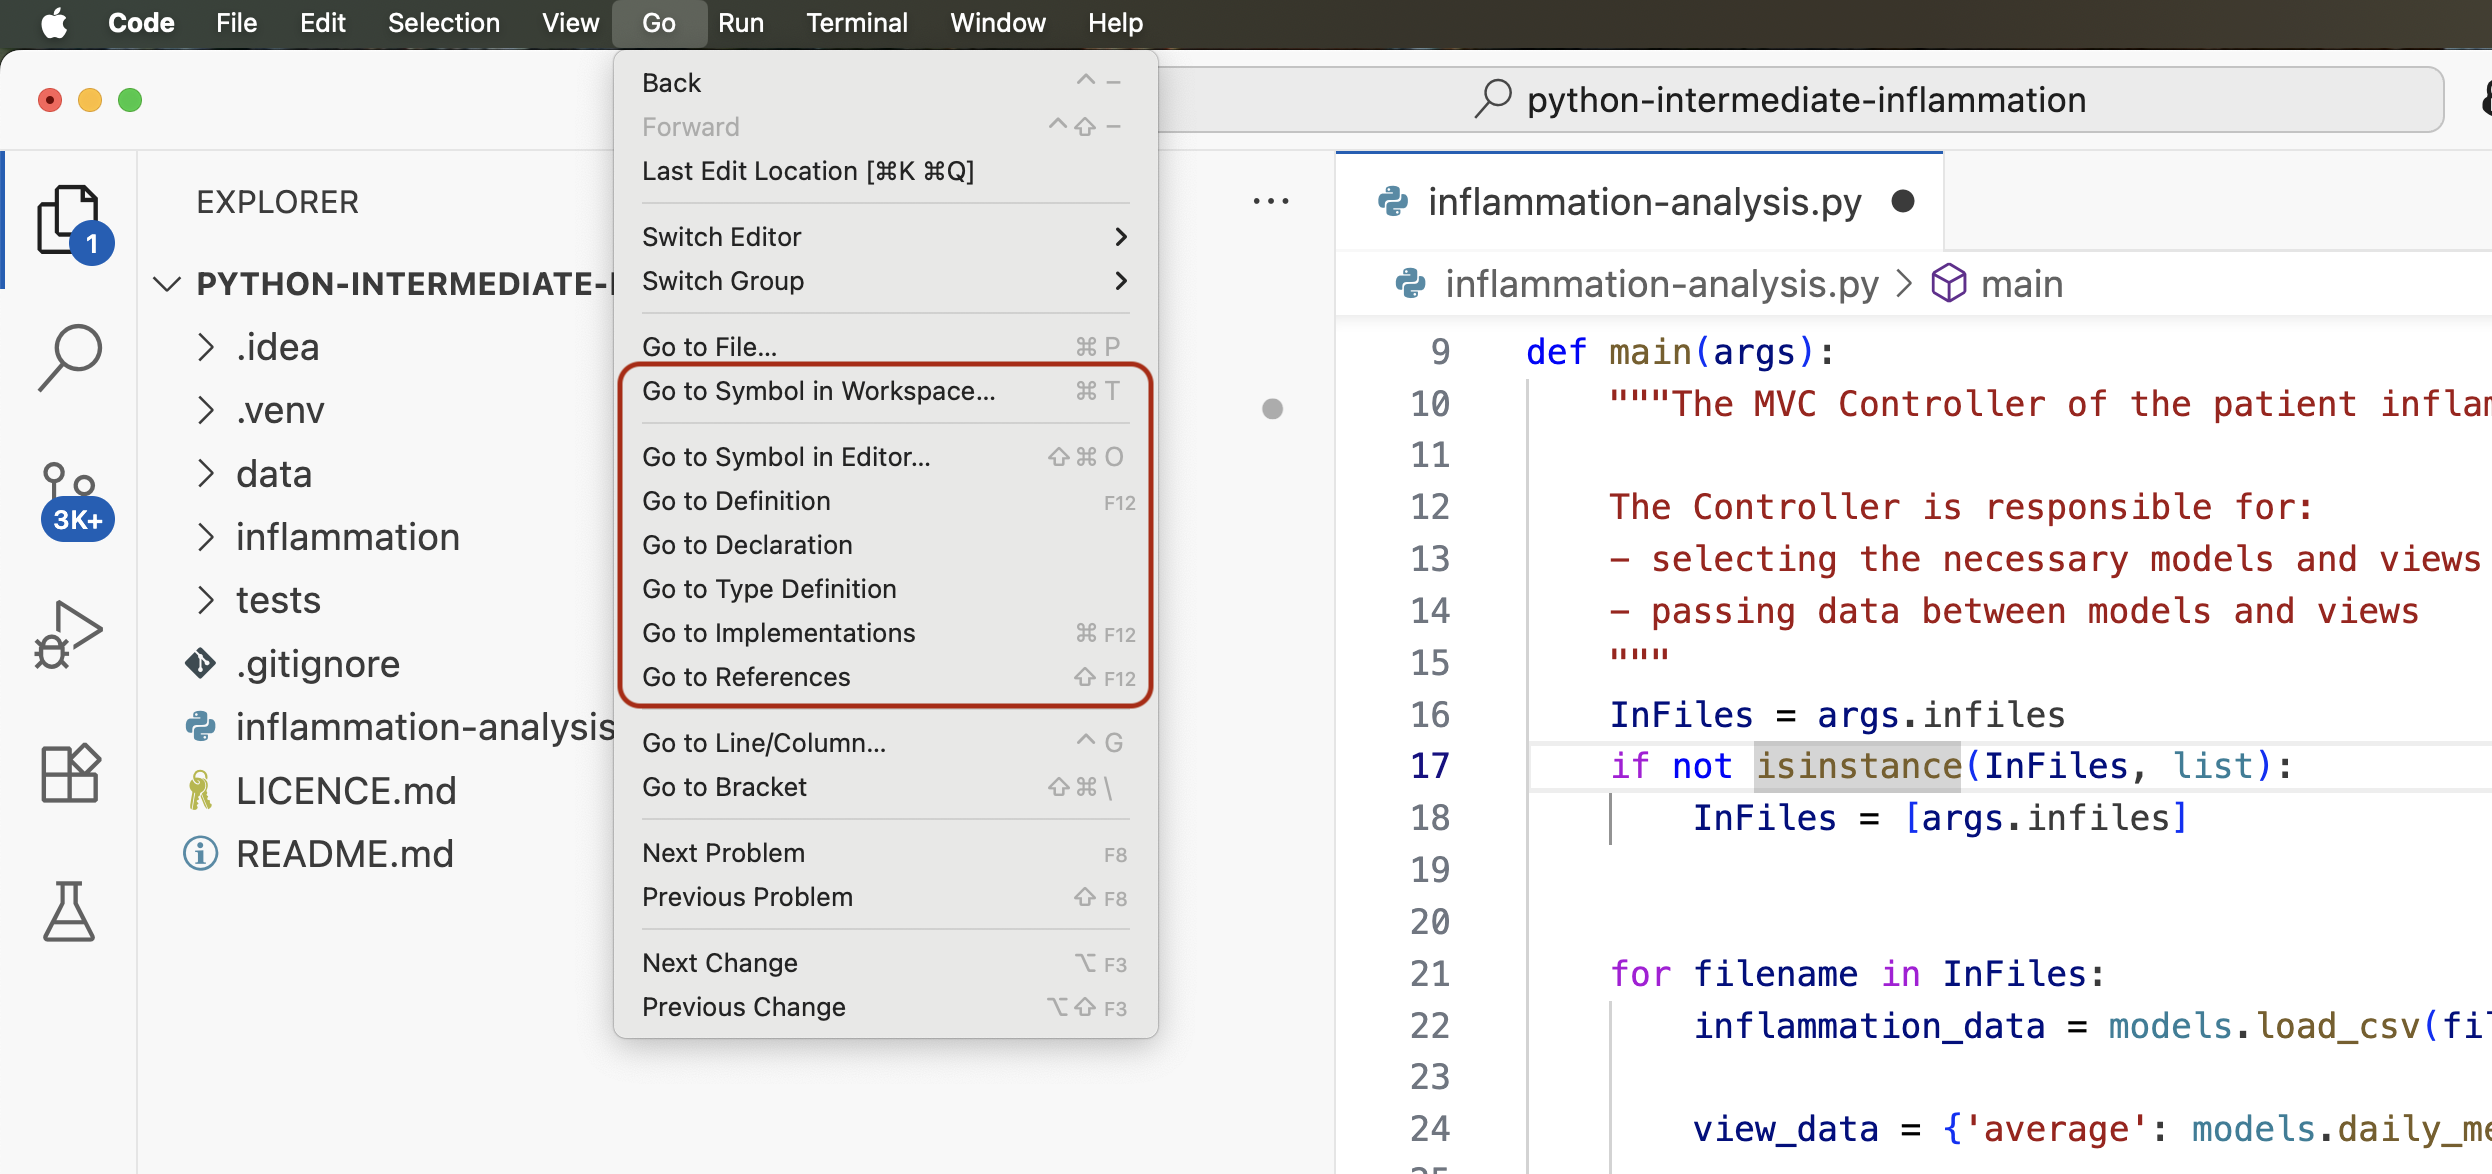
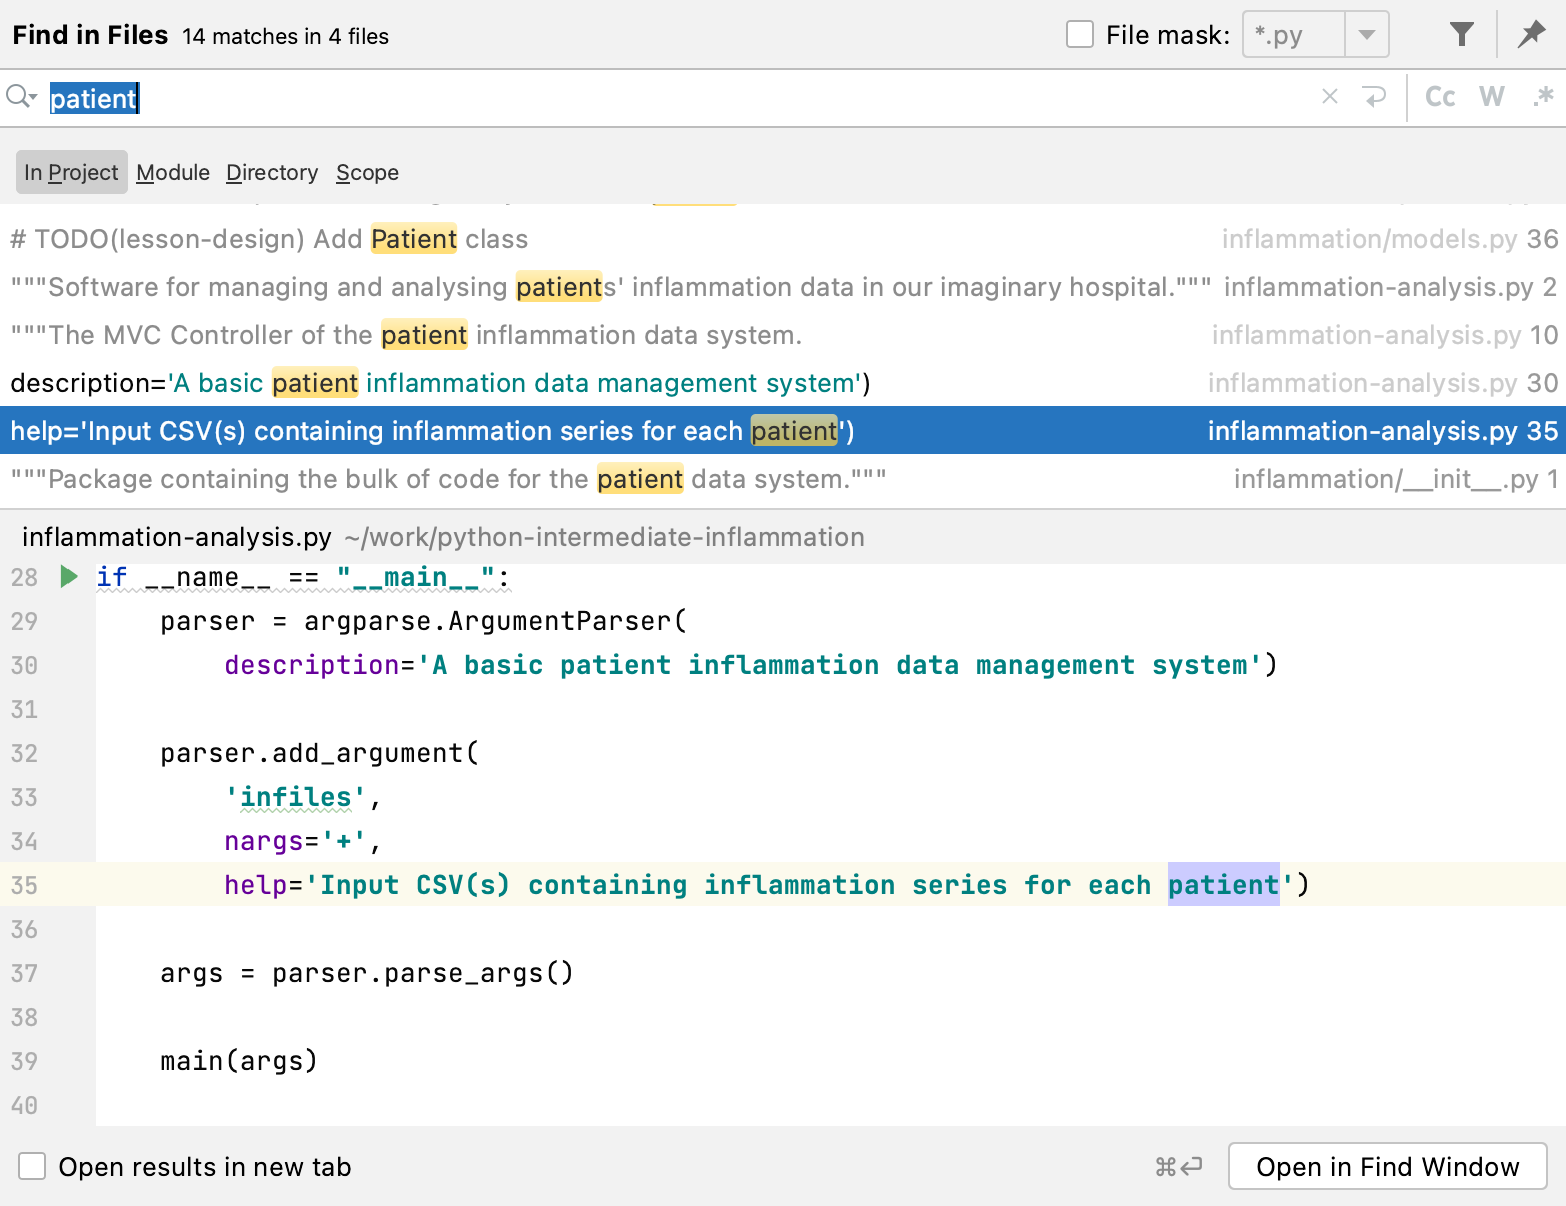
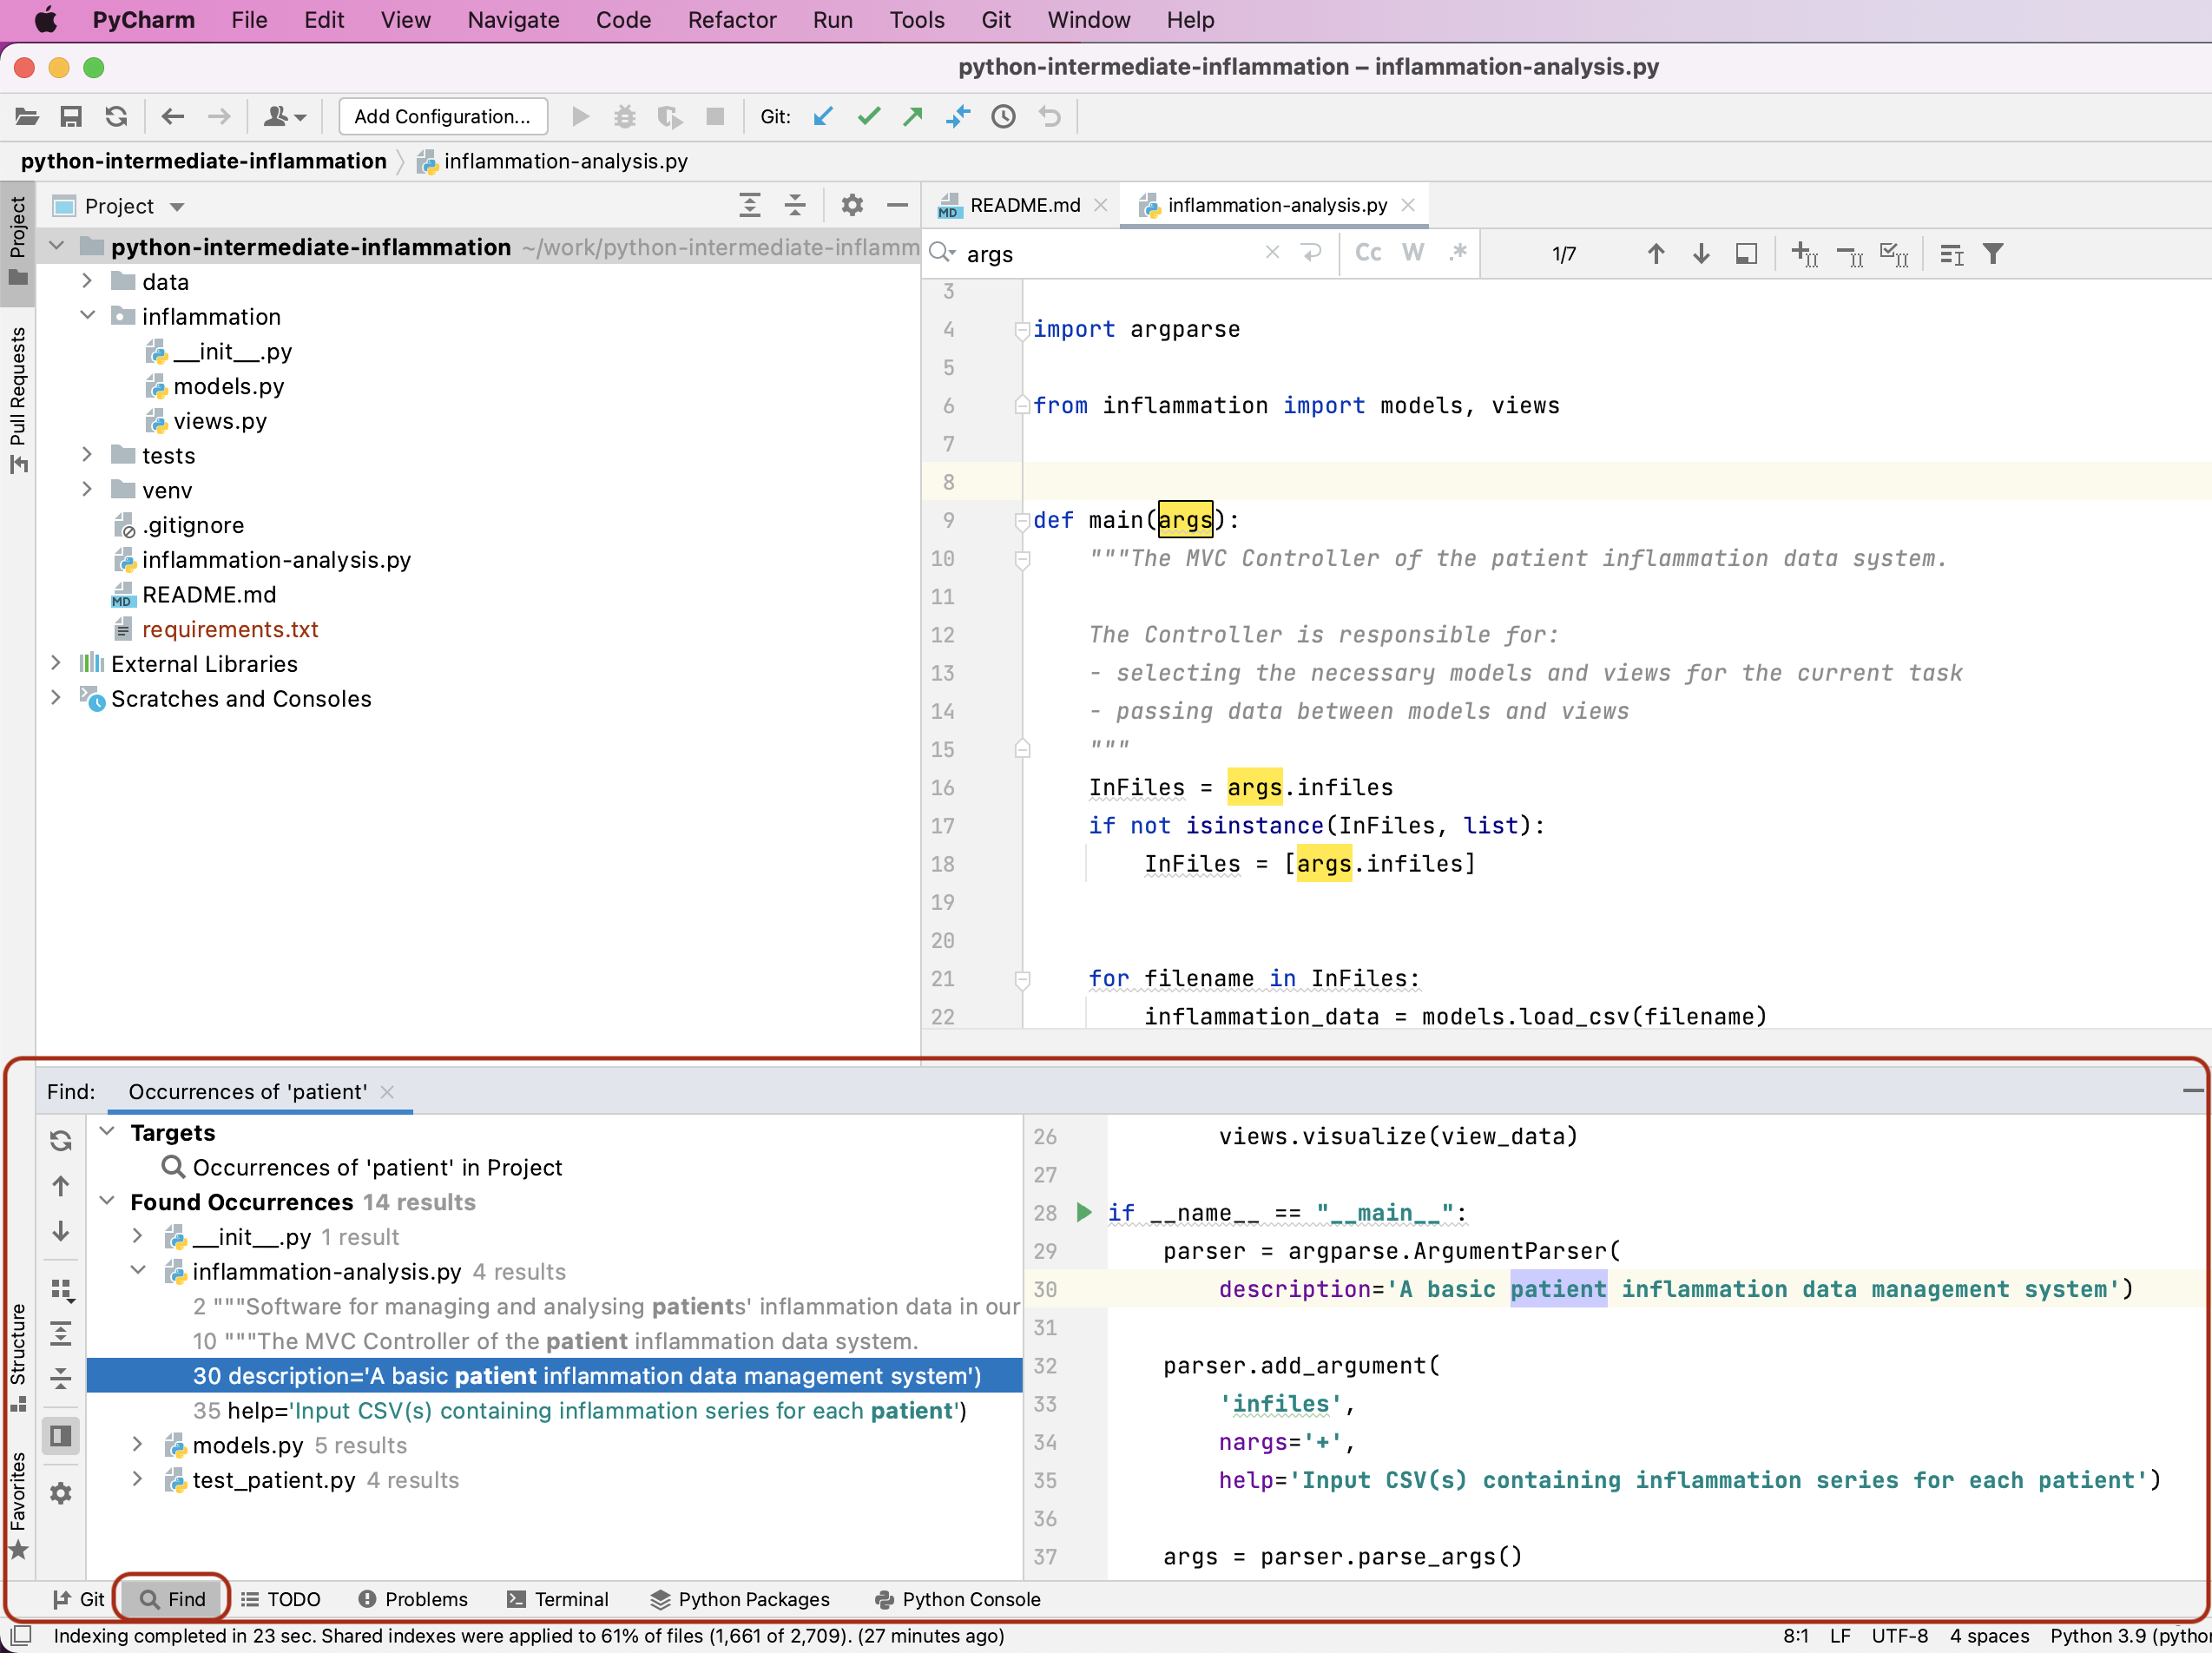
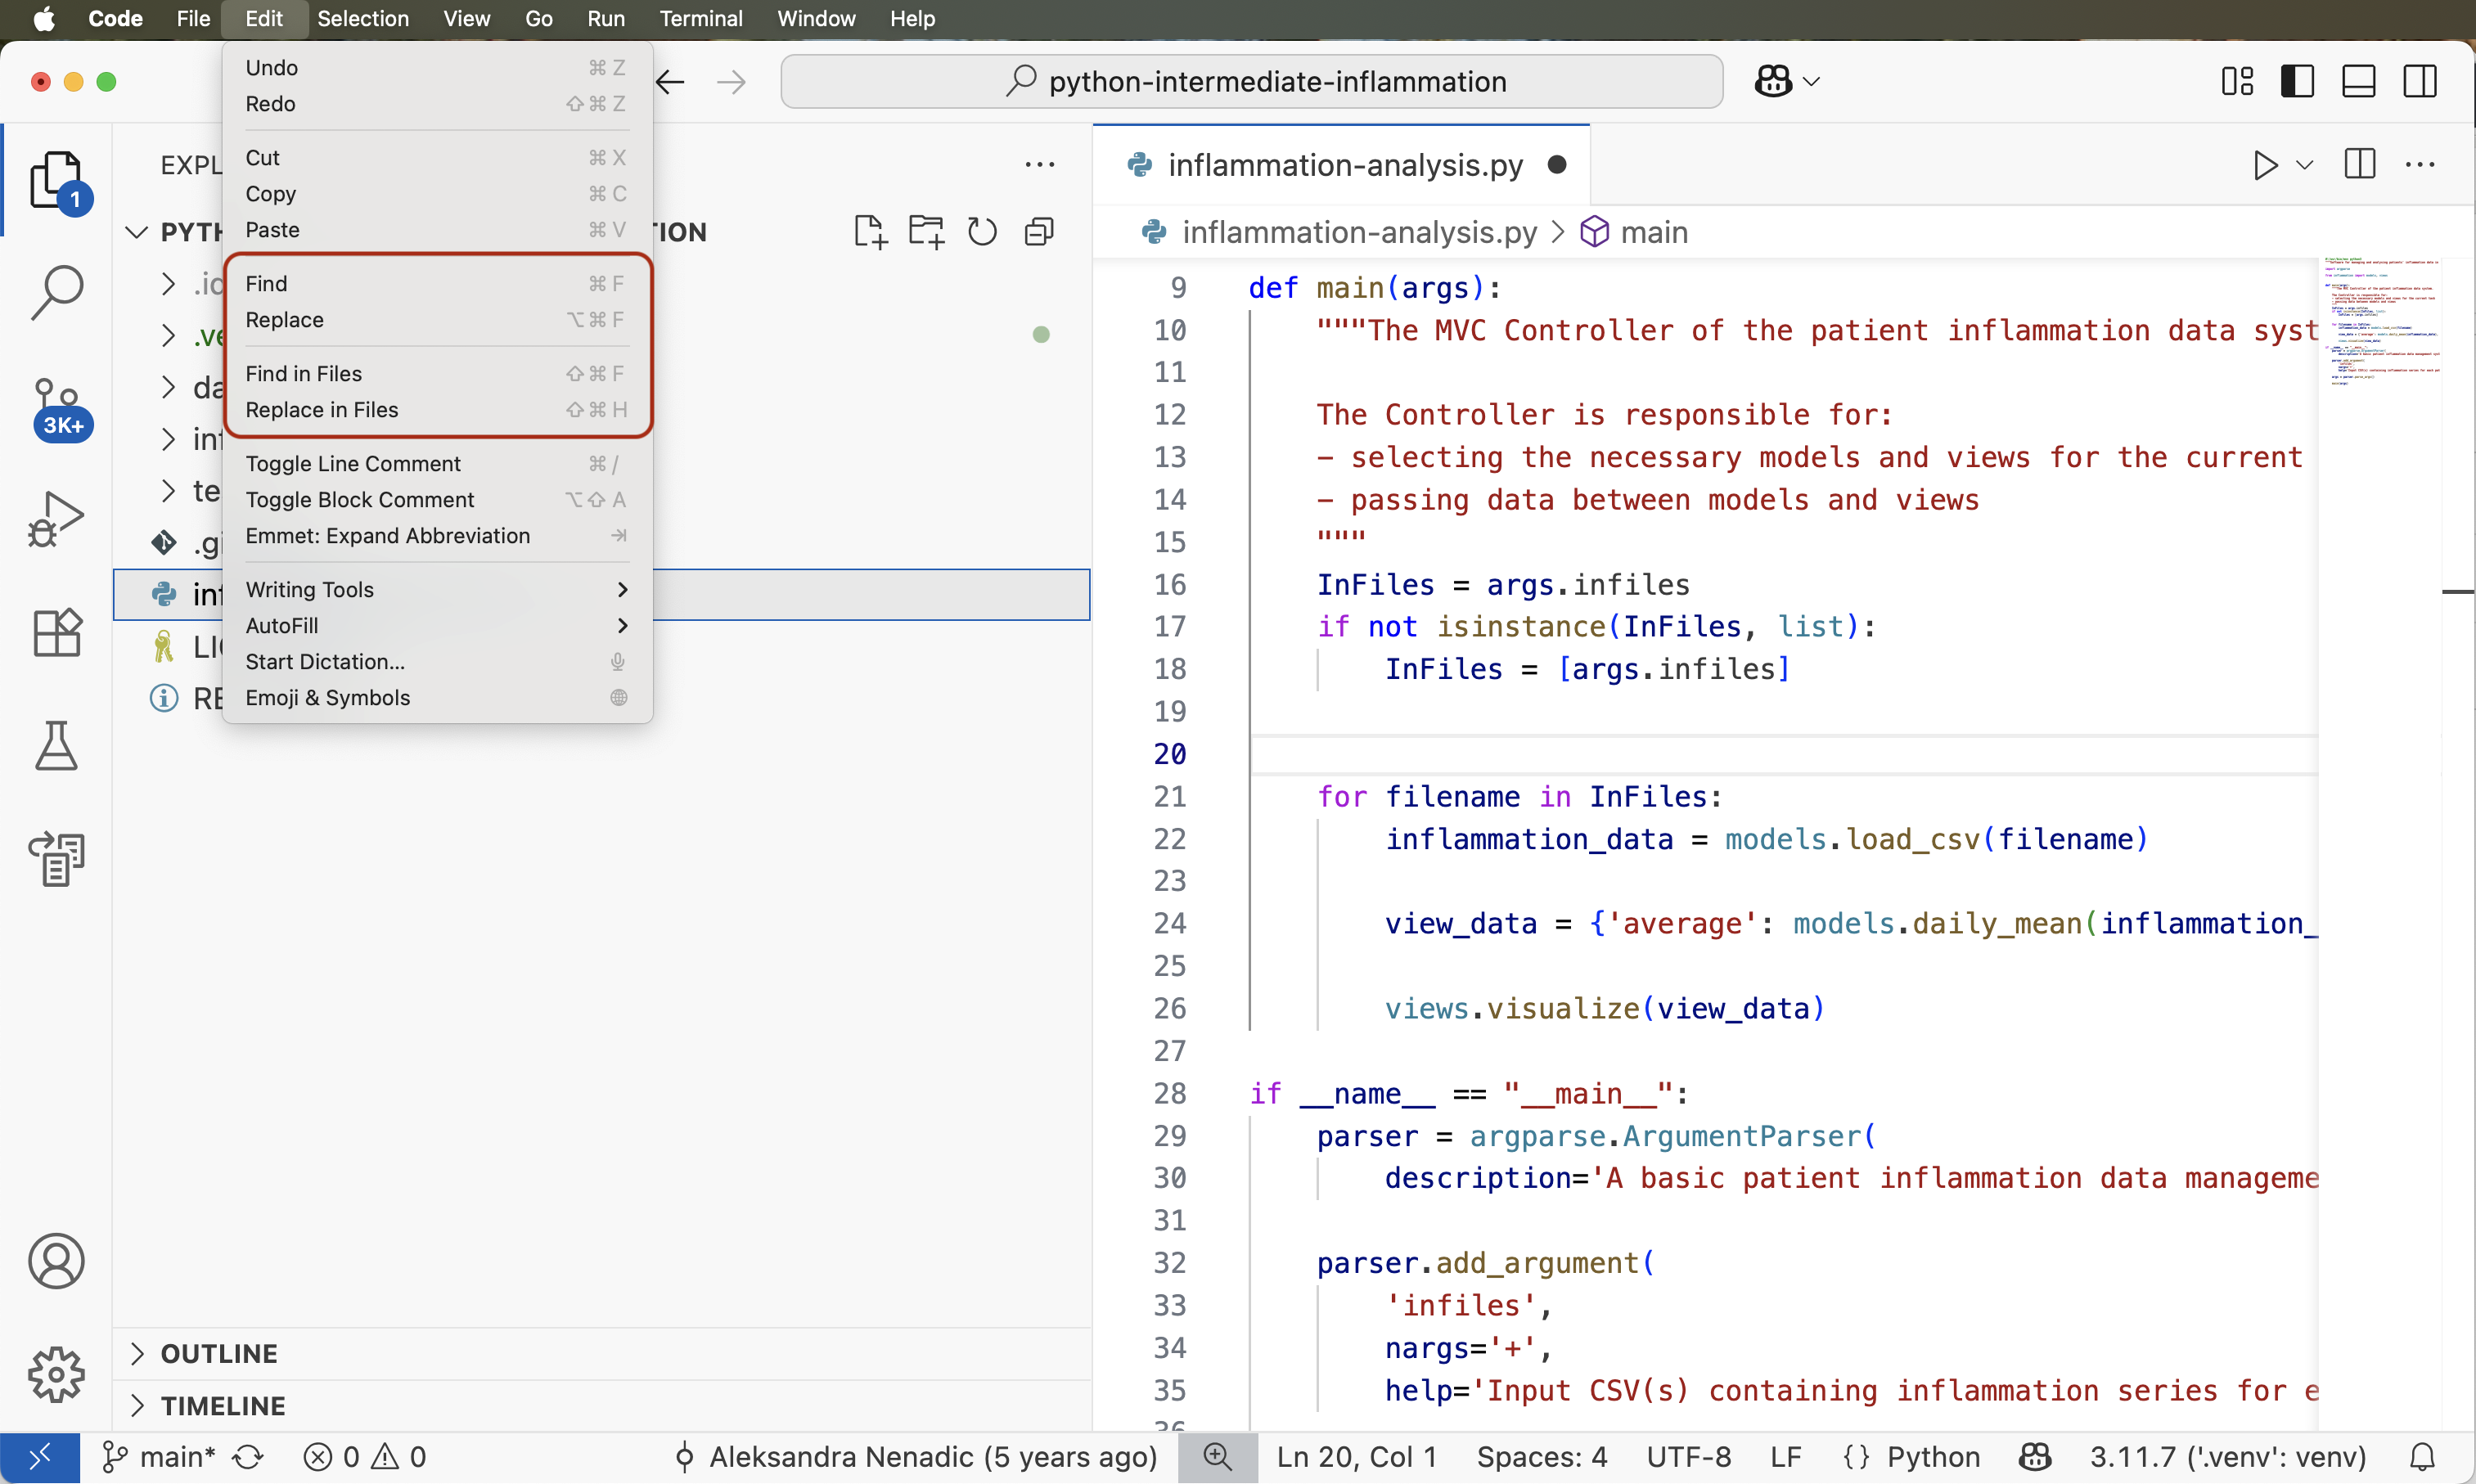
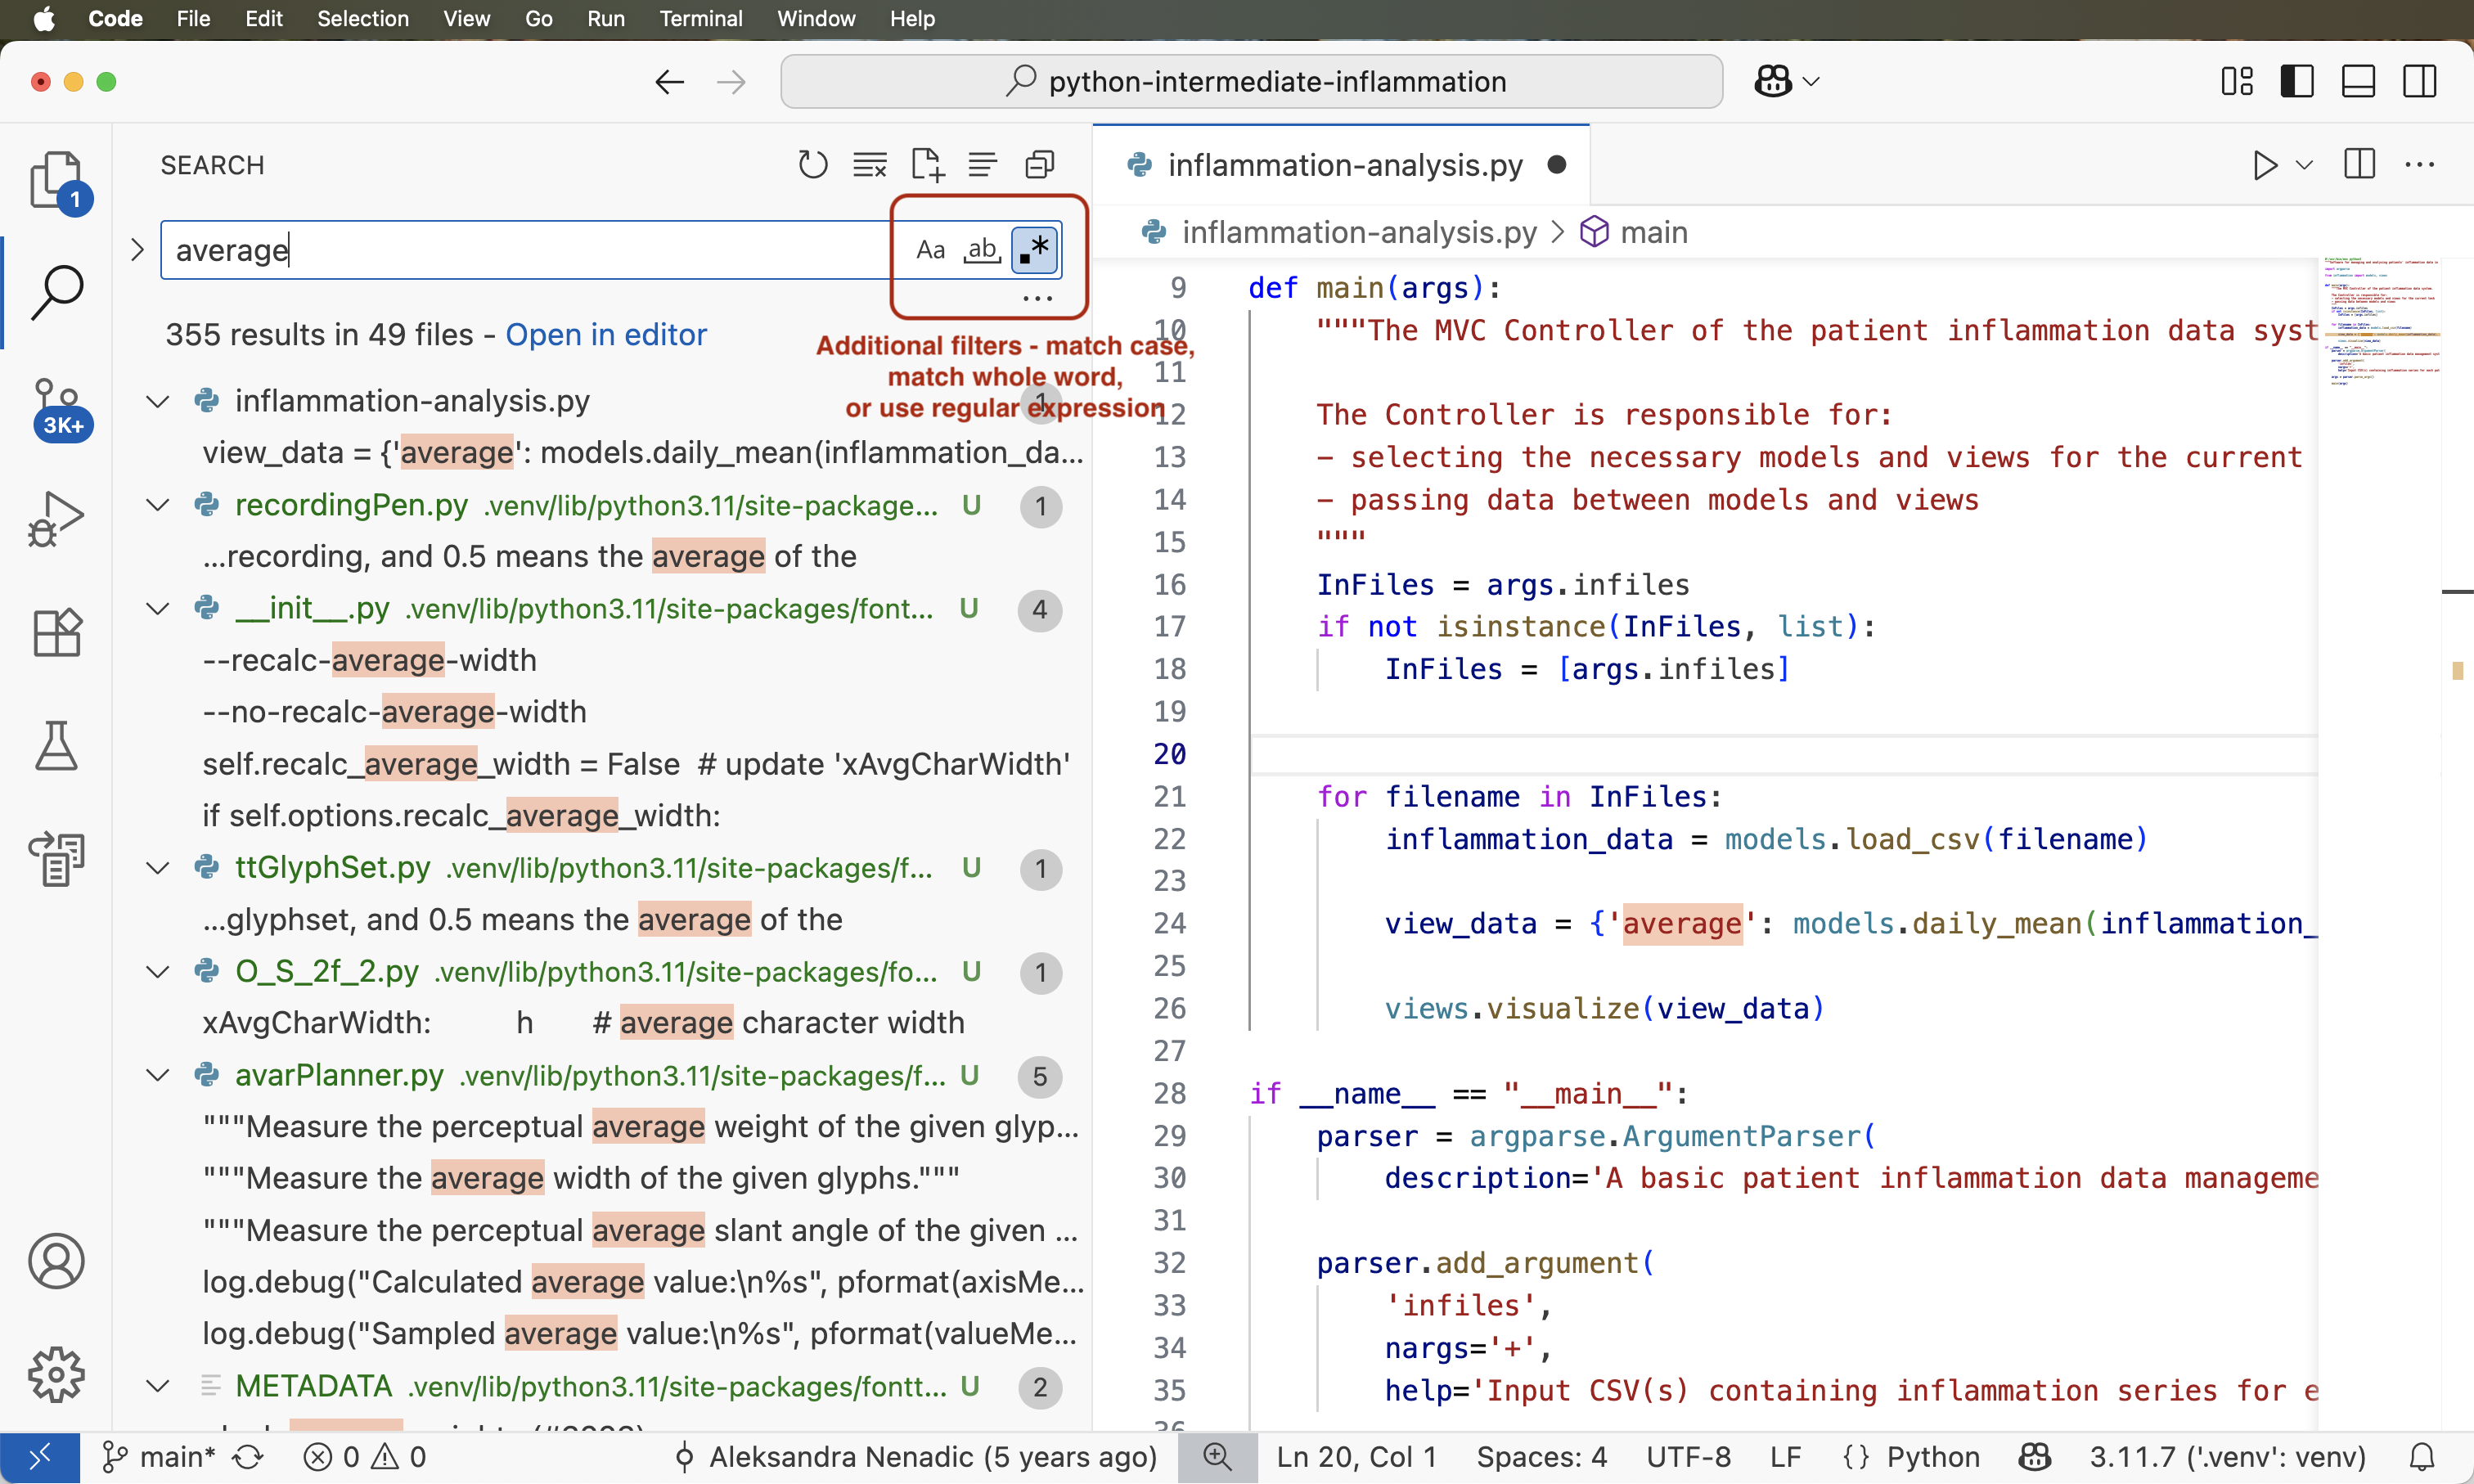
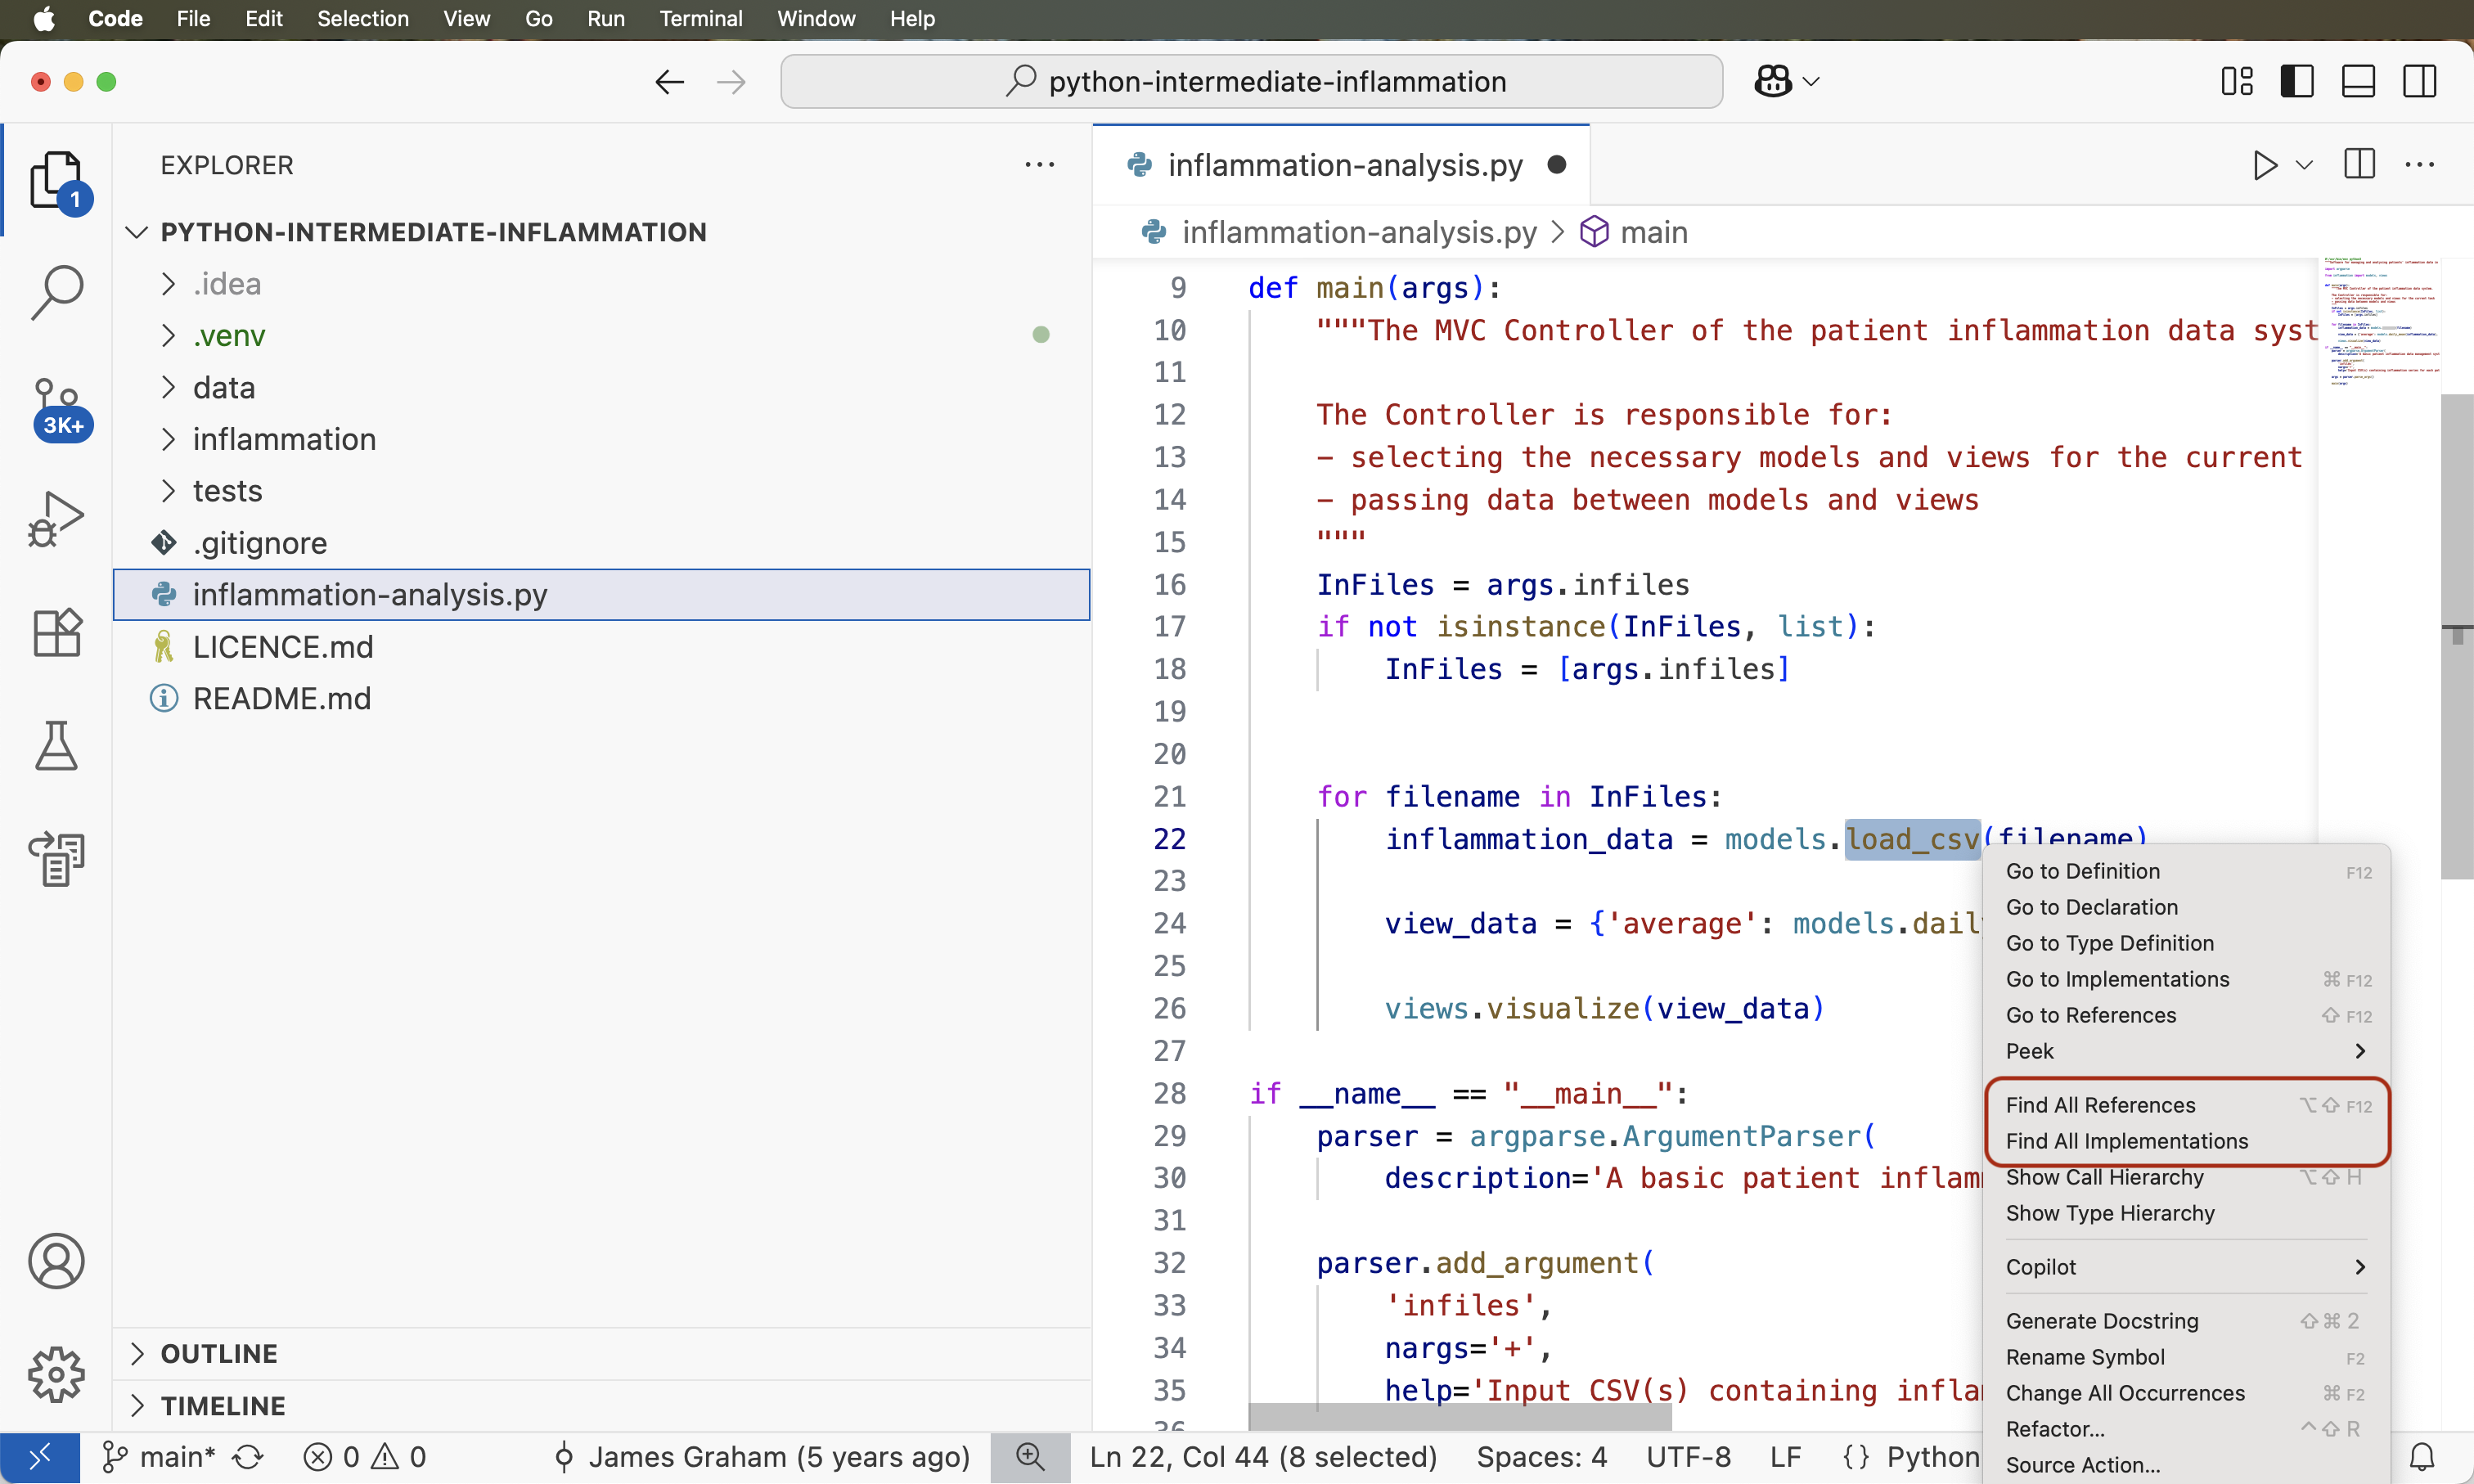
- code search - finding package, class, function and variable declarations, their usages and referencing
- version control support - to interact with source code repositories
- debugging support - for setting breakpoints in the code editor, step-by-step execution of code and inspection of variables
IDEs are extremely useful and modern software development would be very hard without them. There are a number of IDEs available for Python development; a good overview is available from the Python Project Wiki. In addition to IDEs, there are also a number of code editors that have Python support. Code editors can be as simple as a text editor with syntax highlighting and code formatting capabilities (e.g., GNU EMACS, Vi/Vim). Most good code editors can also execute code and control a debugger, and some can also interact with a version control system. Compared to an IDE, a good dedicated code editor is usually smaller and quicker, but often less feature-rich.
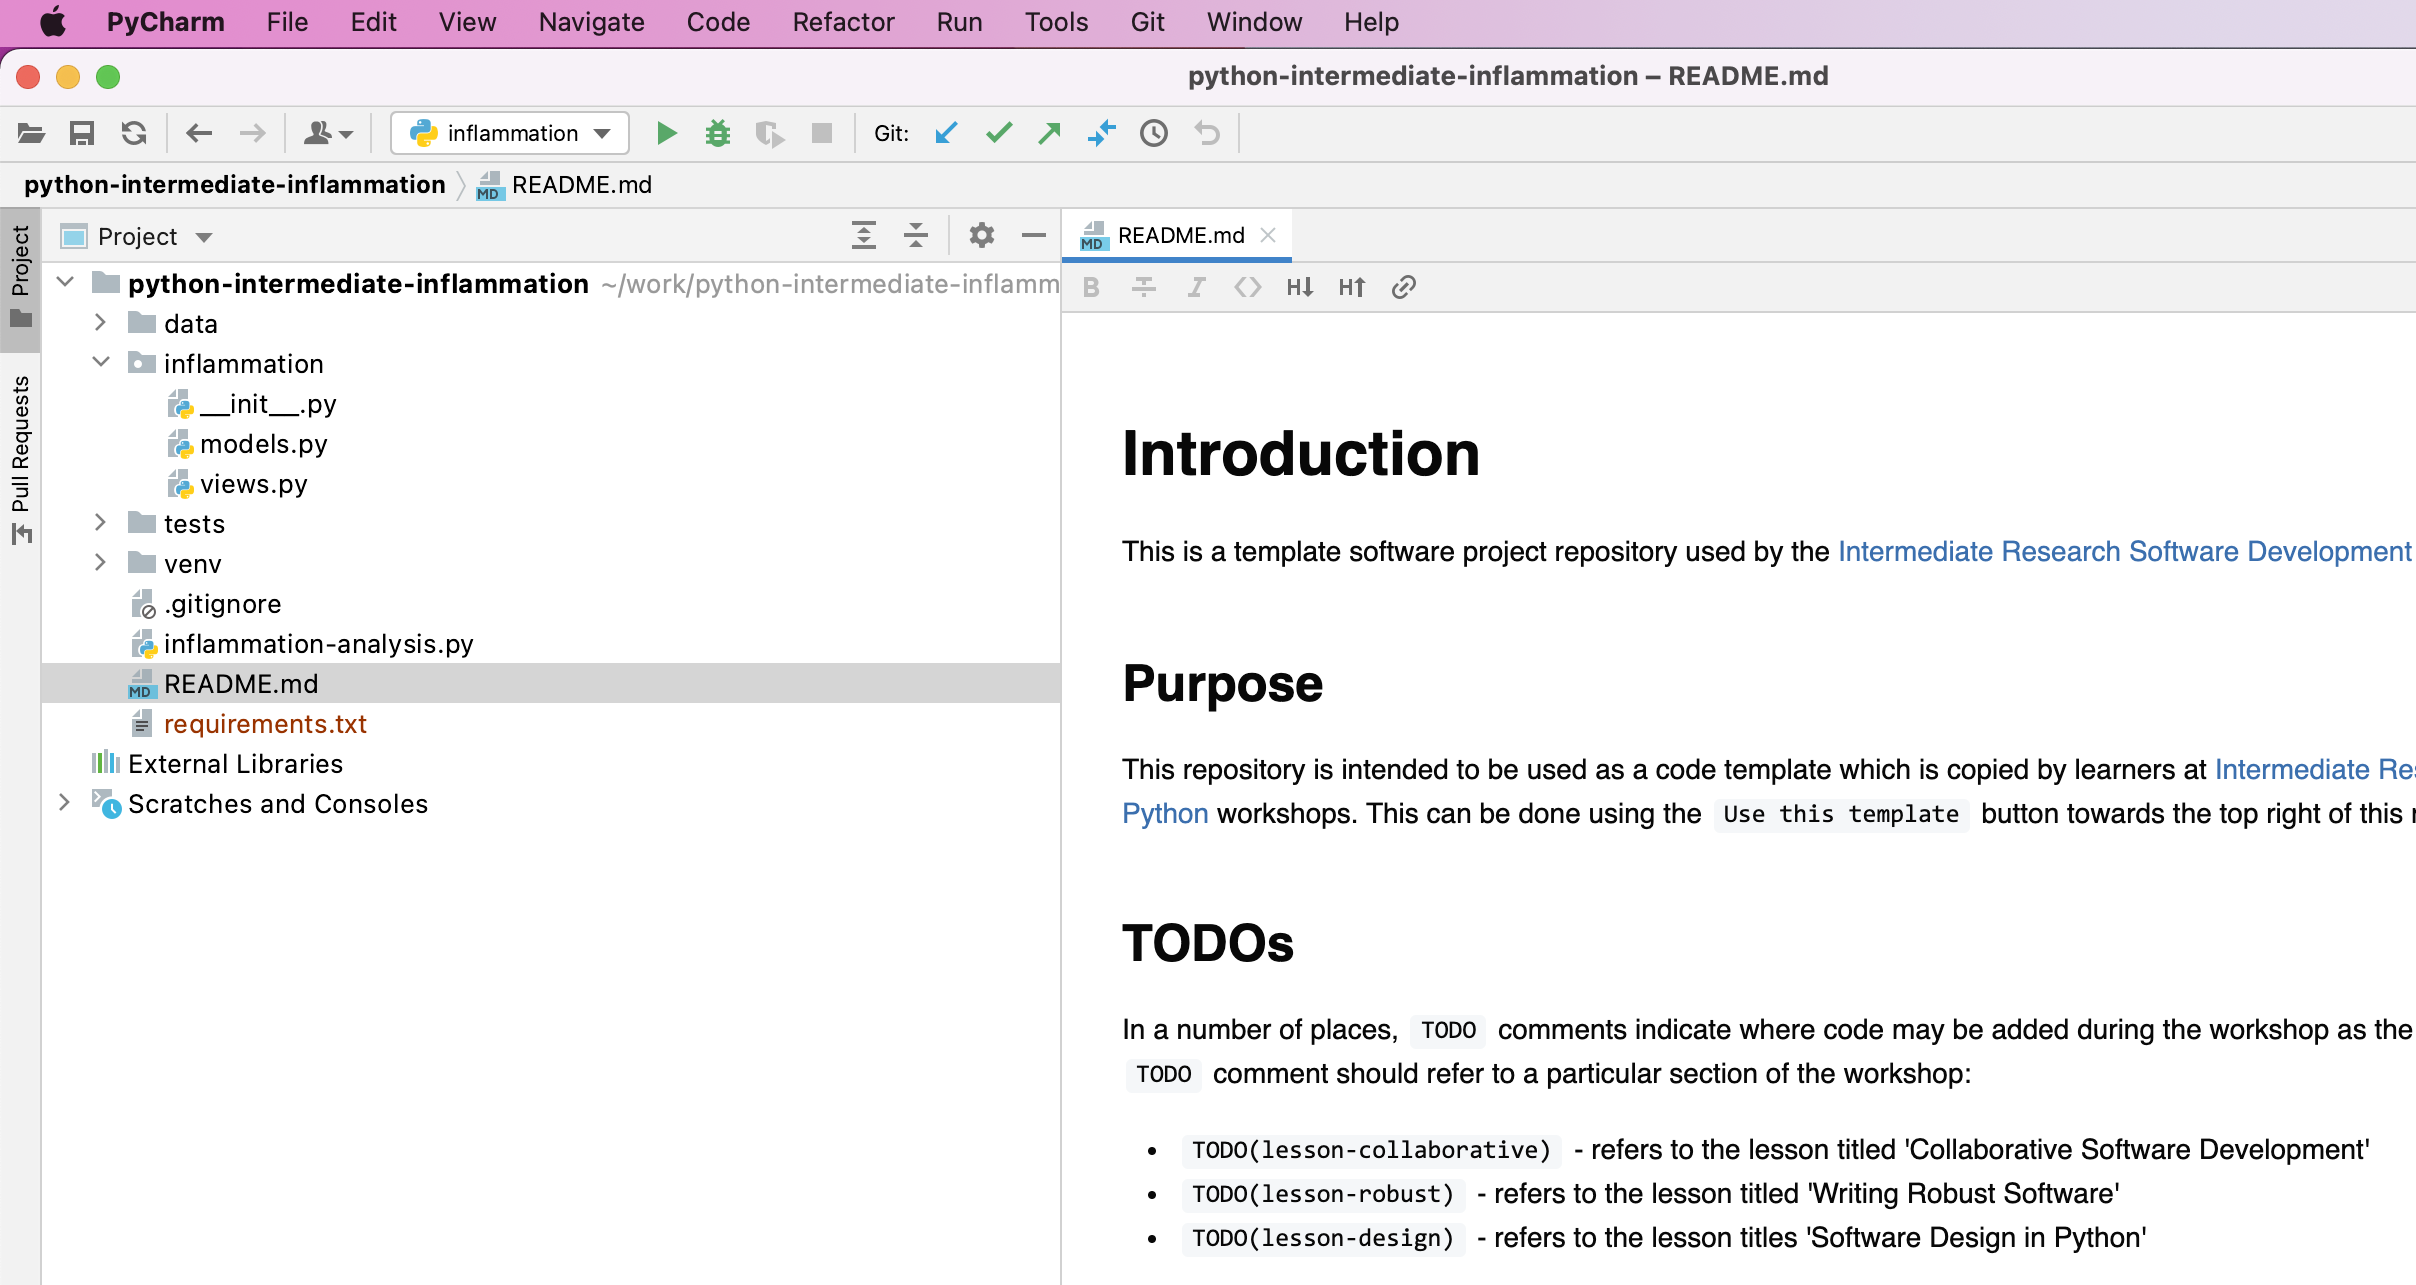
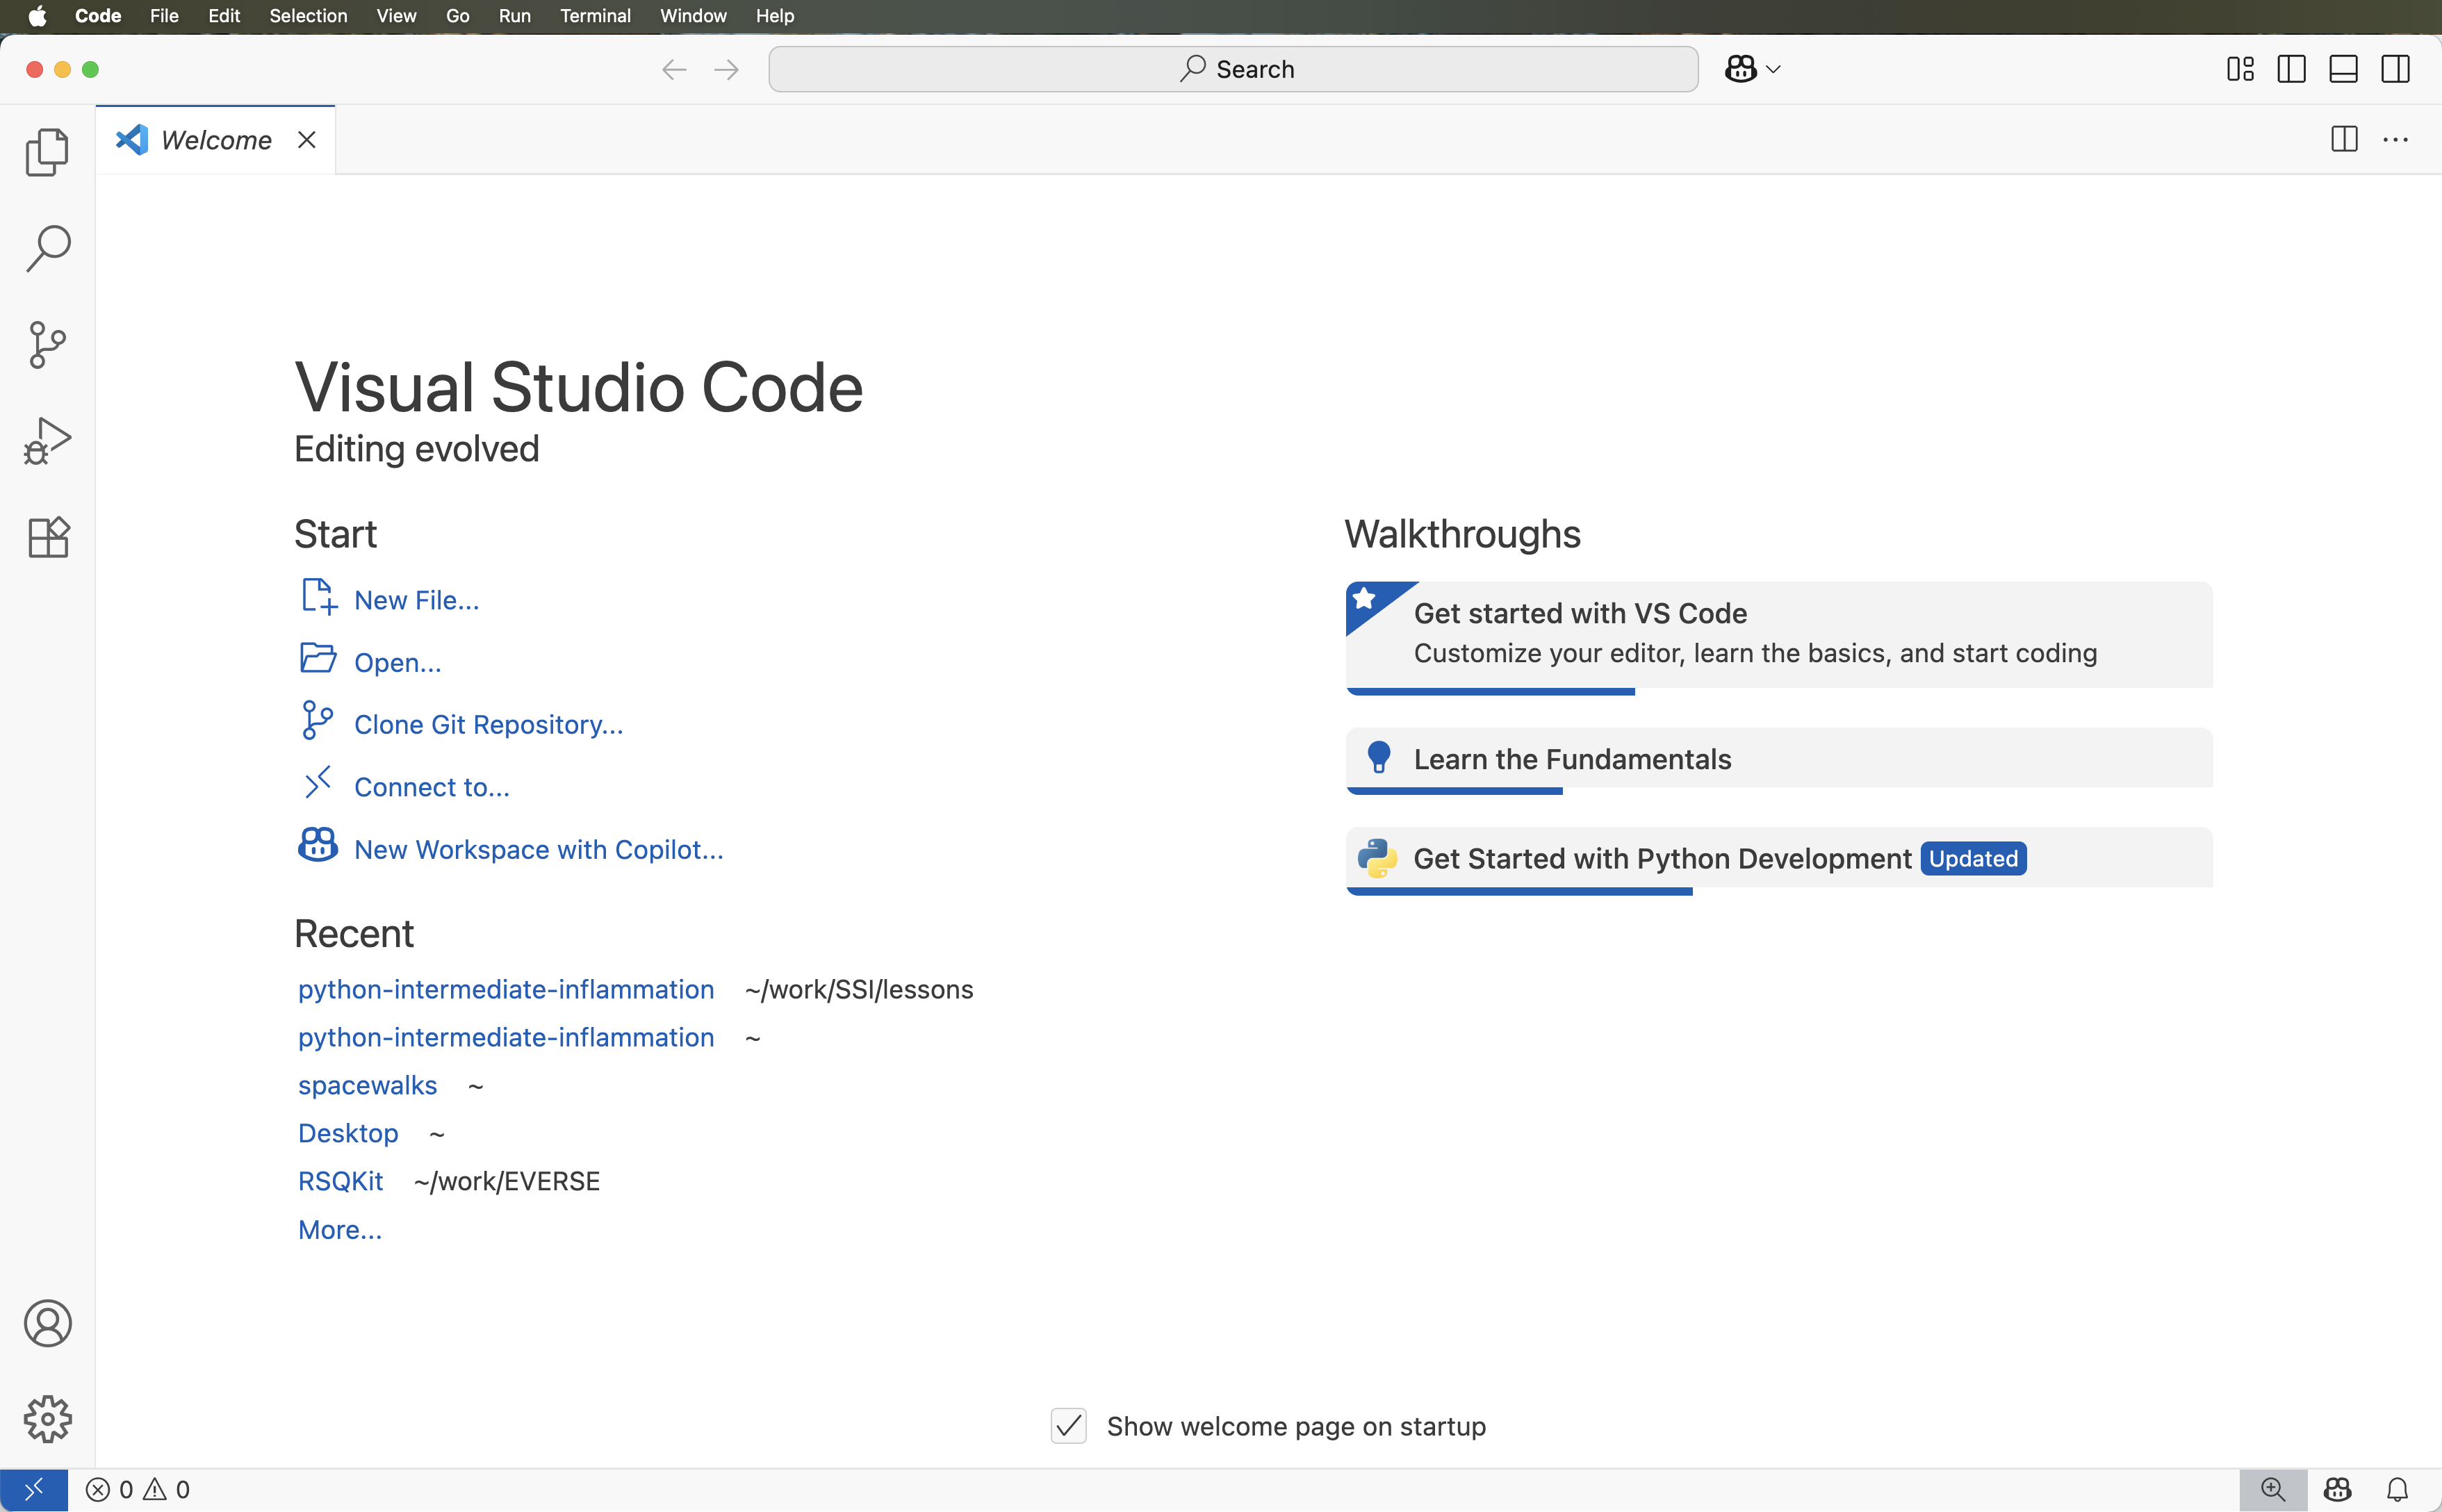
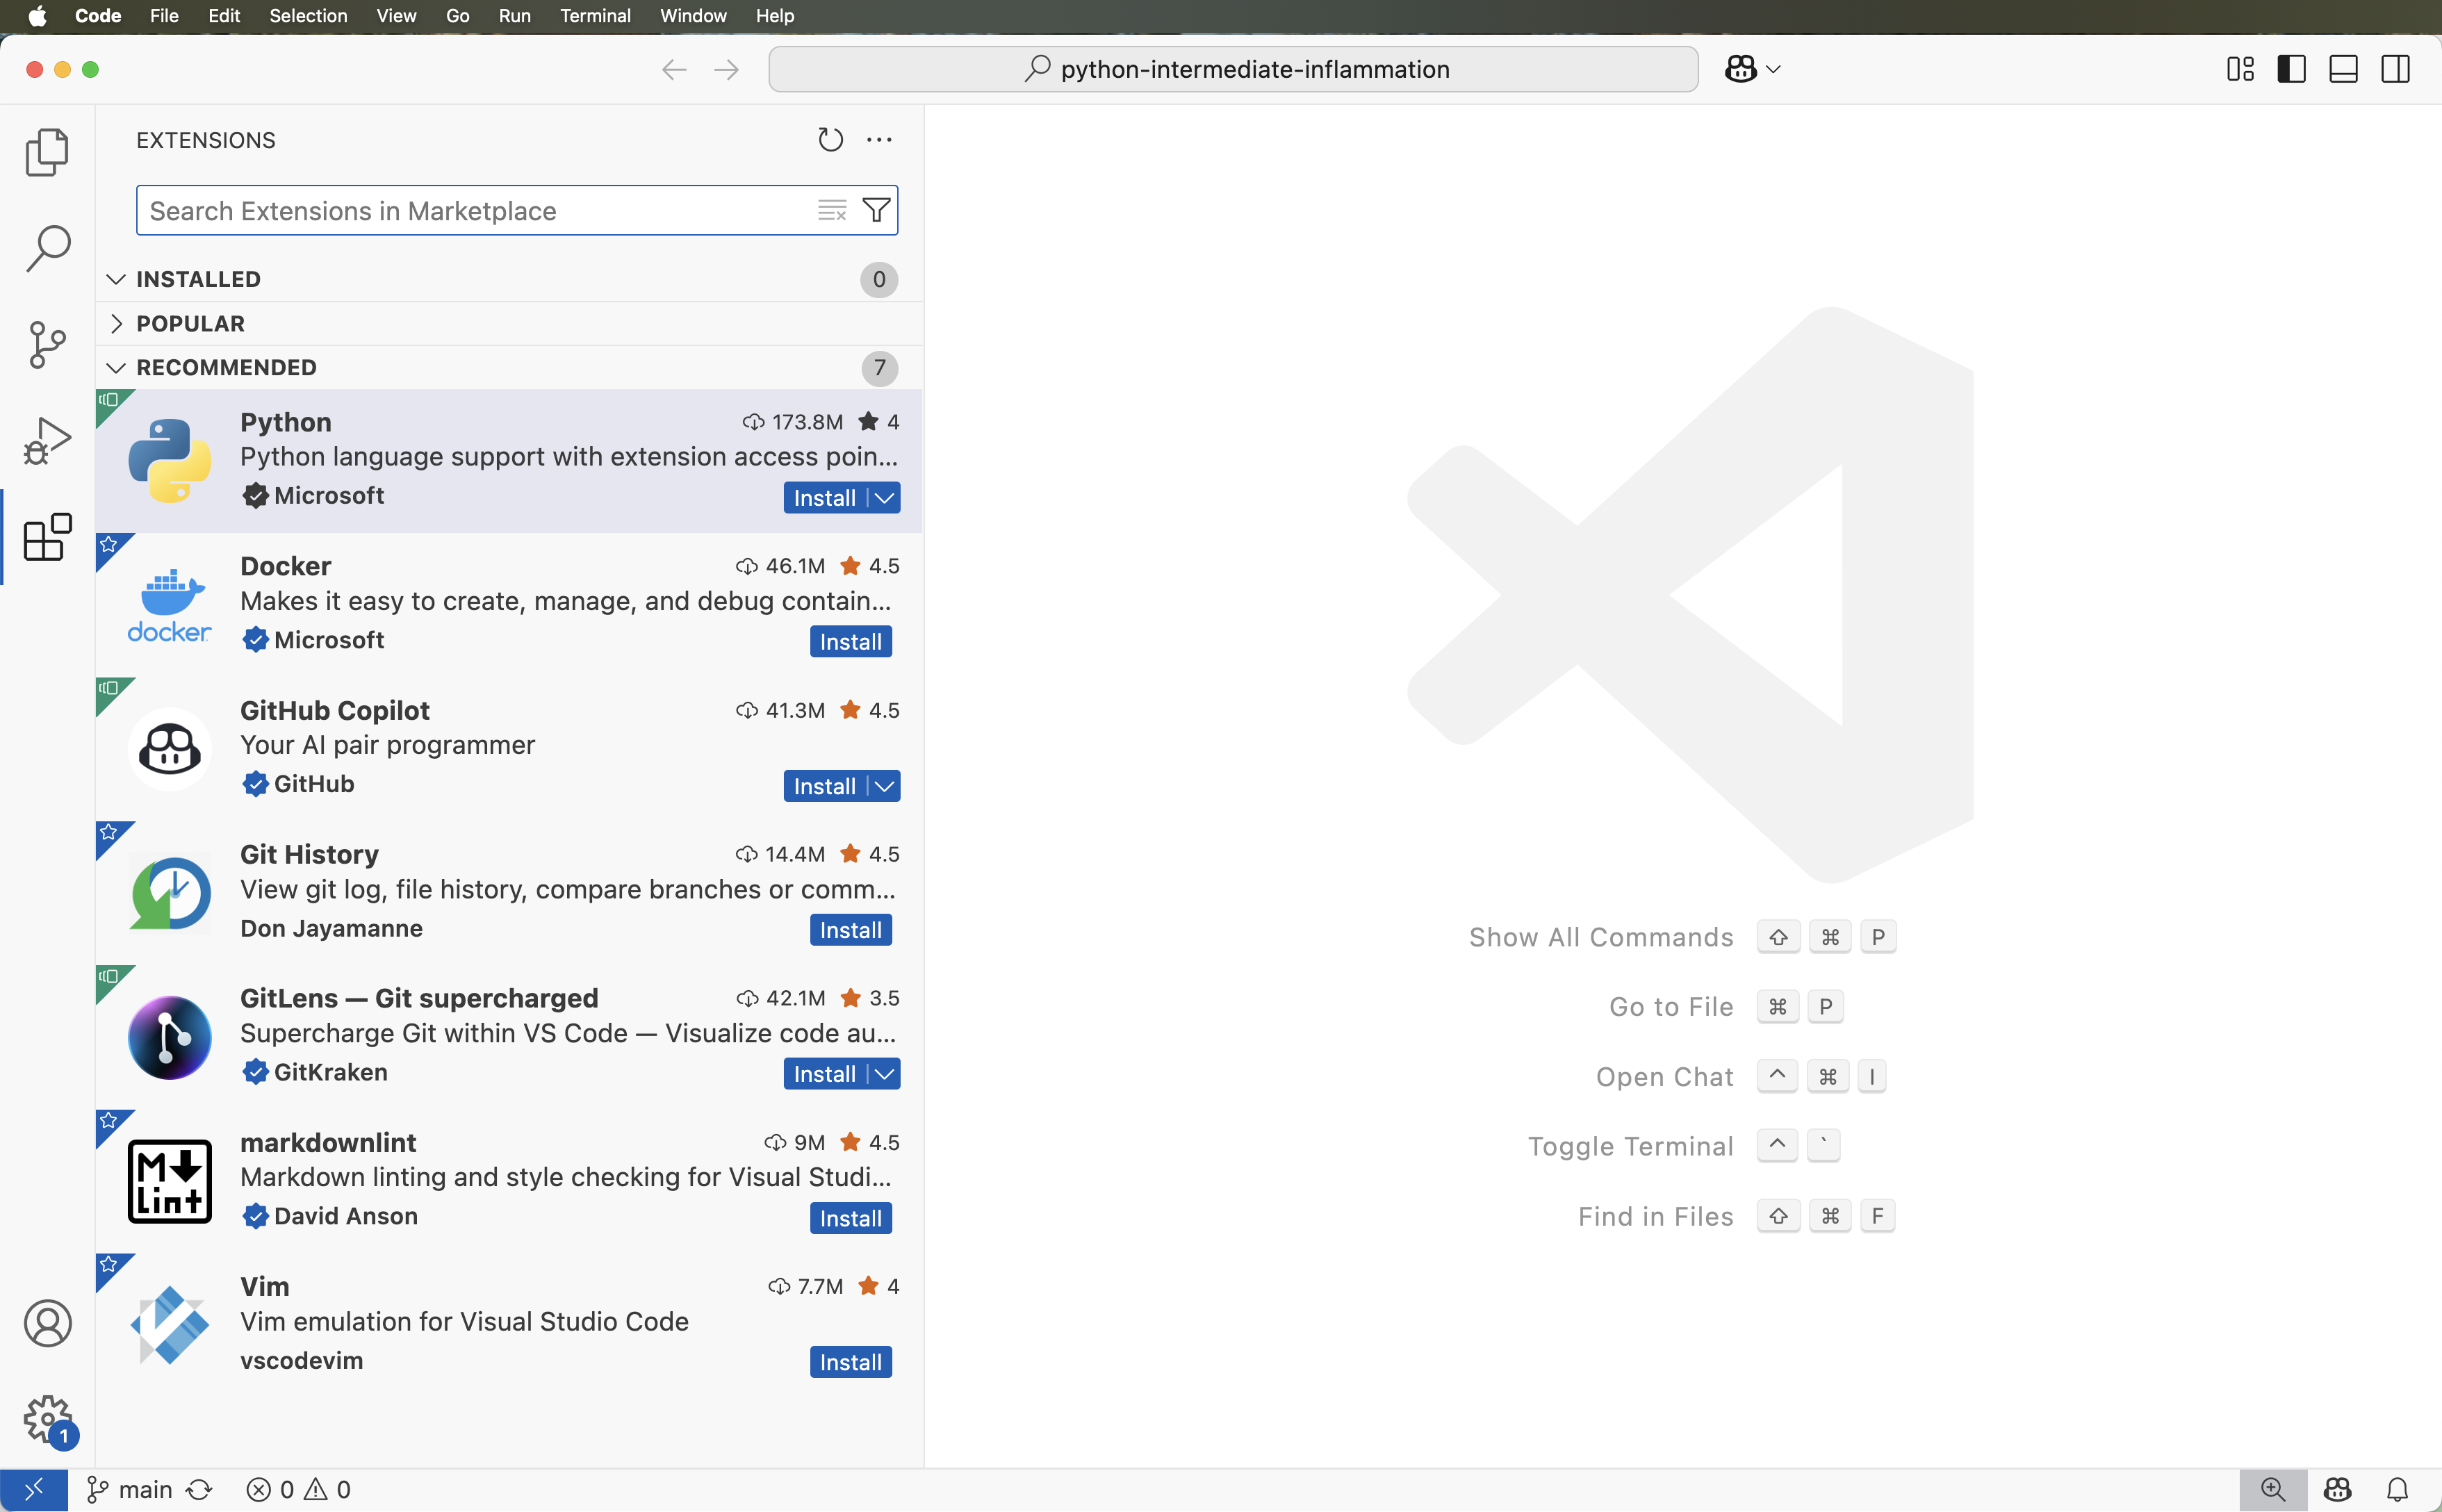
You will have to decide which one is the best for you in your daily work. In this course you have the choice of using two free and open source IDEs - PyCharm Community Edition from JetBrains or Microsoft’s Visual Studio Code (VS Code). A popular alternative to consider is free and open source Spyder IDE - we are not covering it here but it should be possible to switch.
Configuring a Virtual Environment
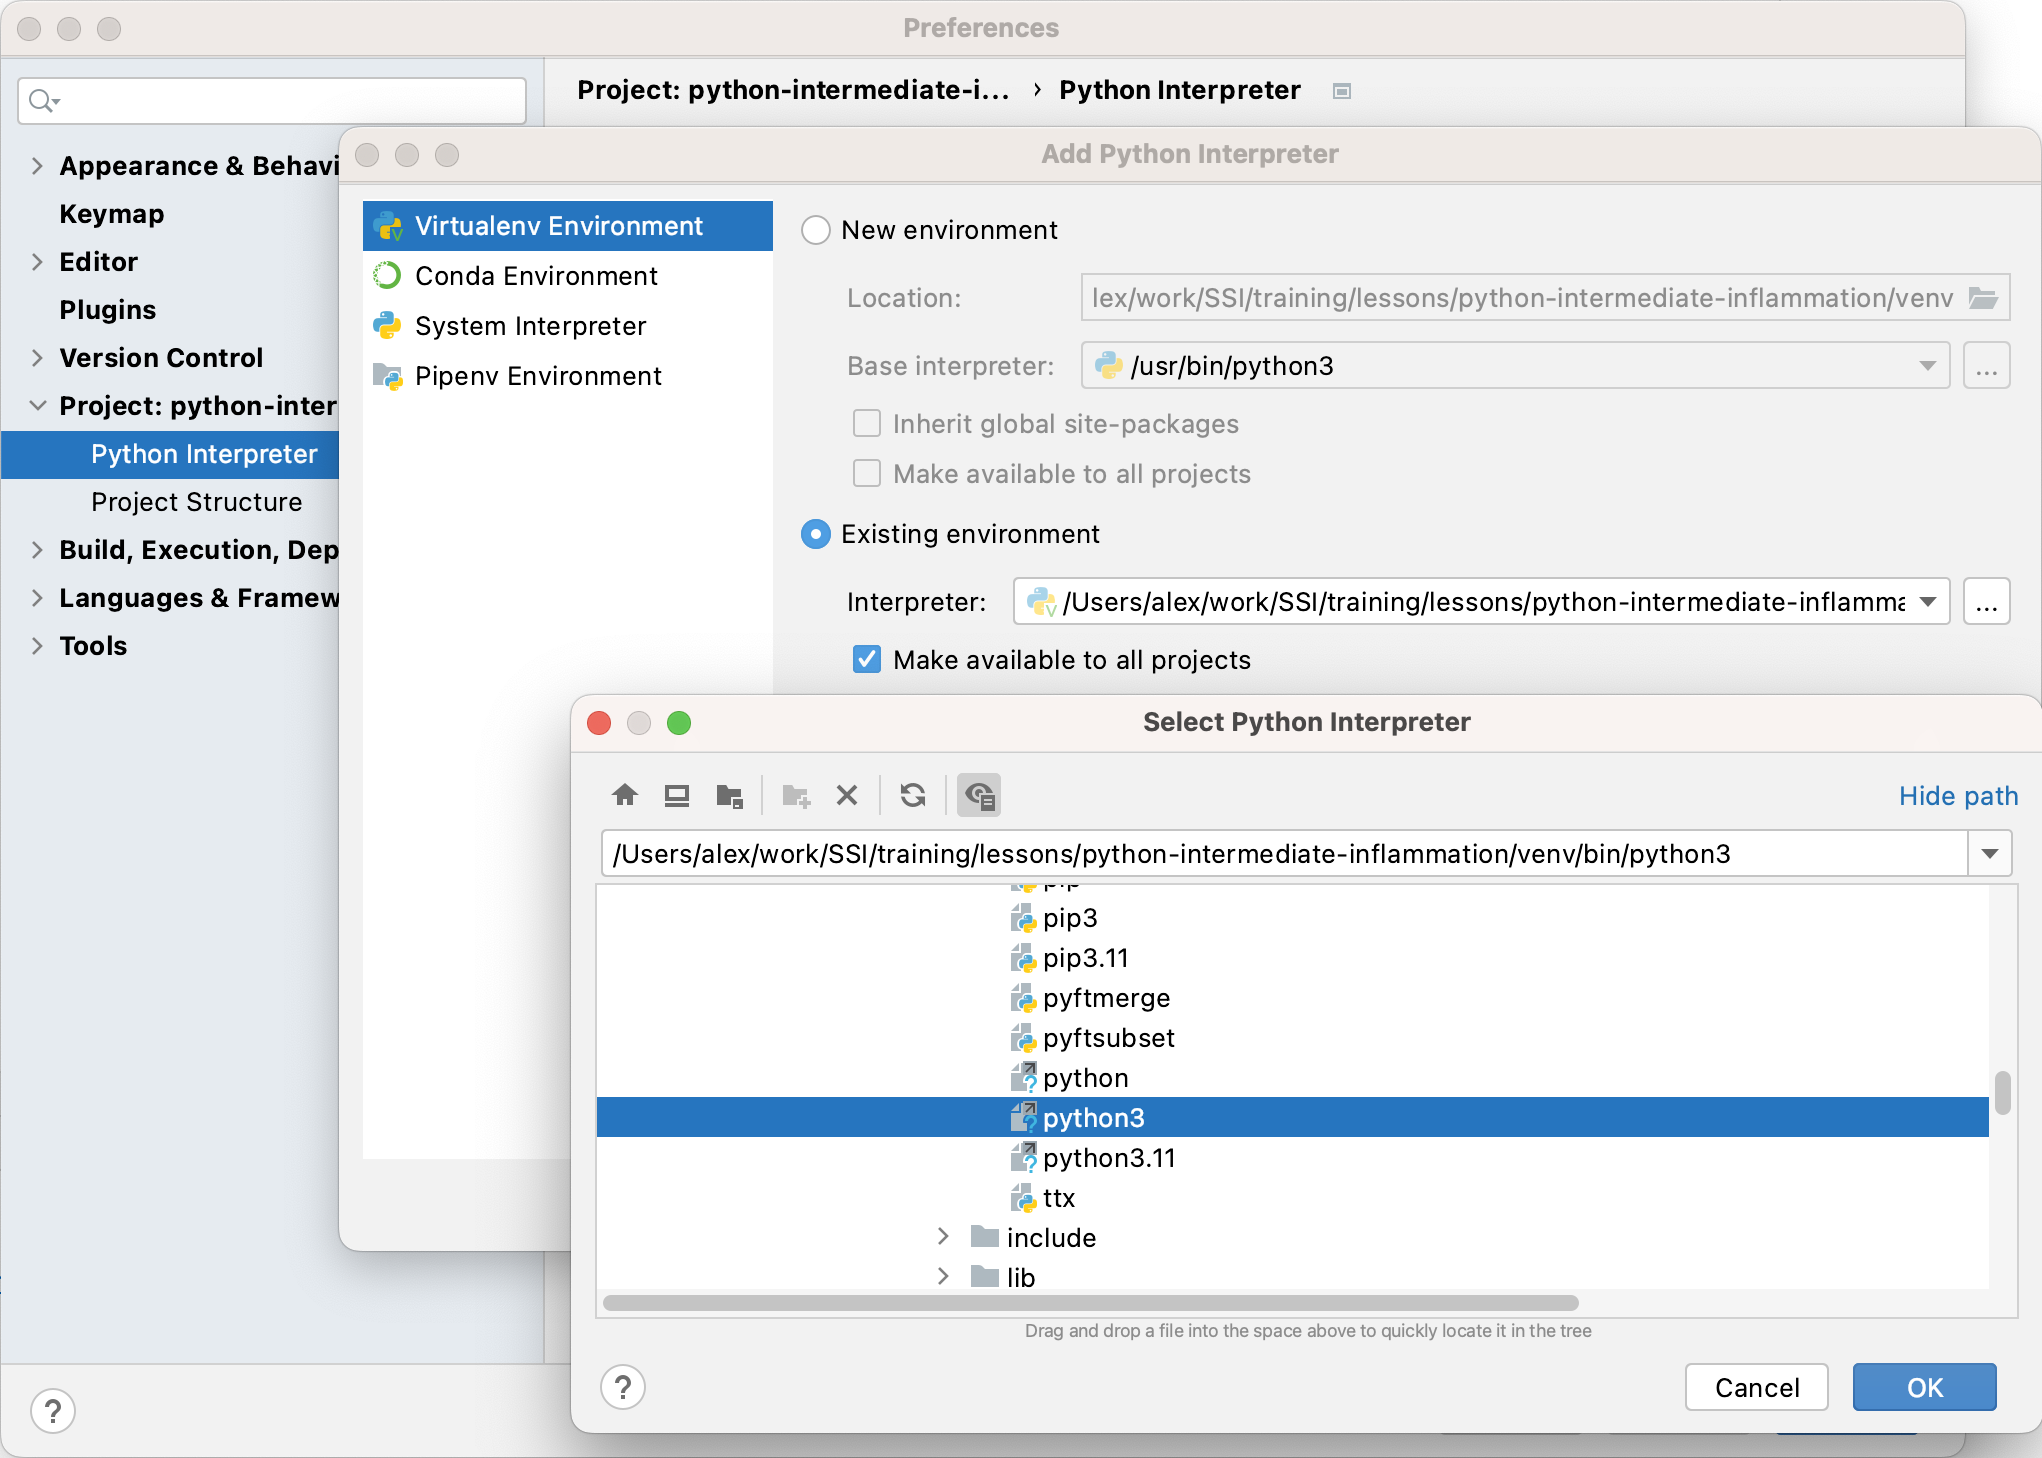
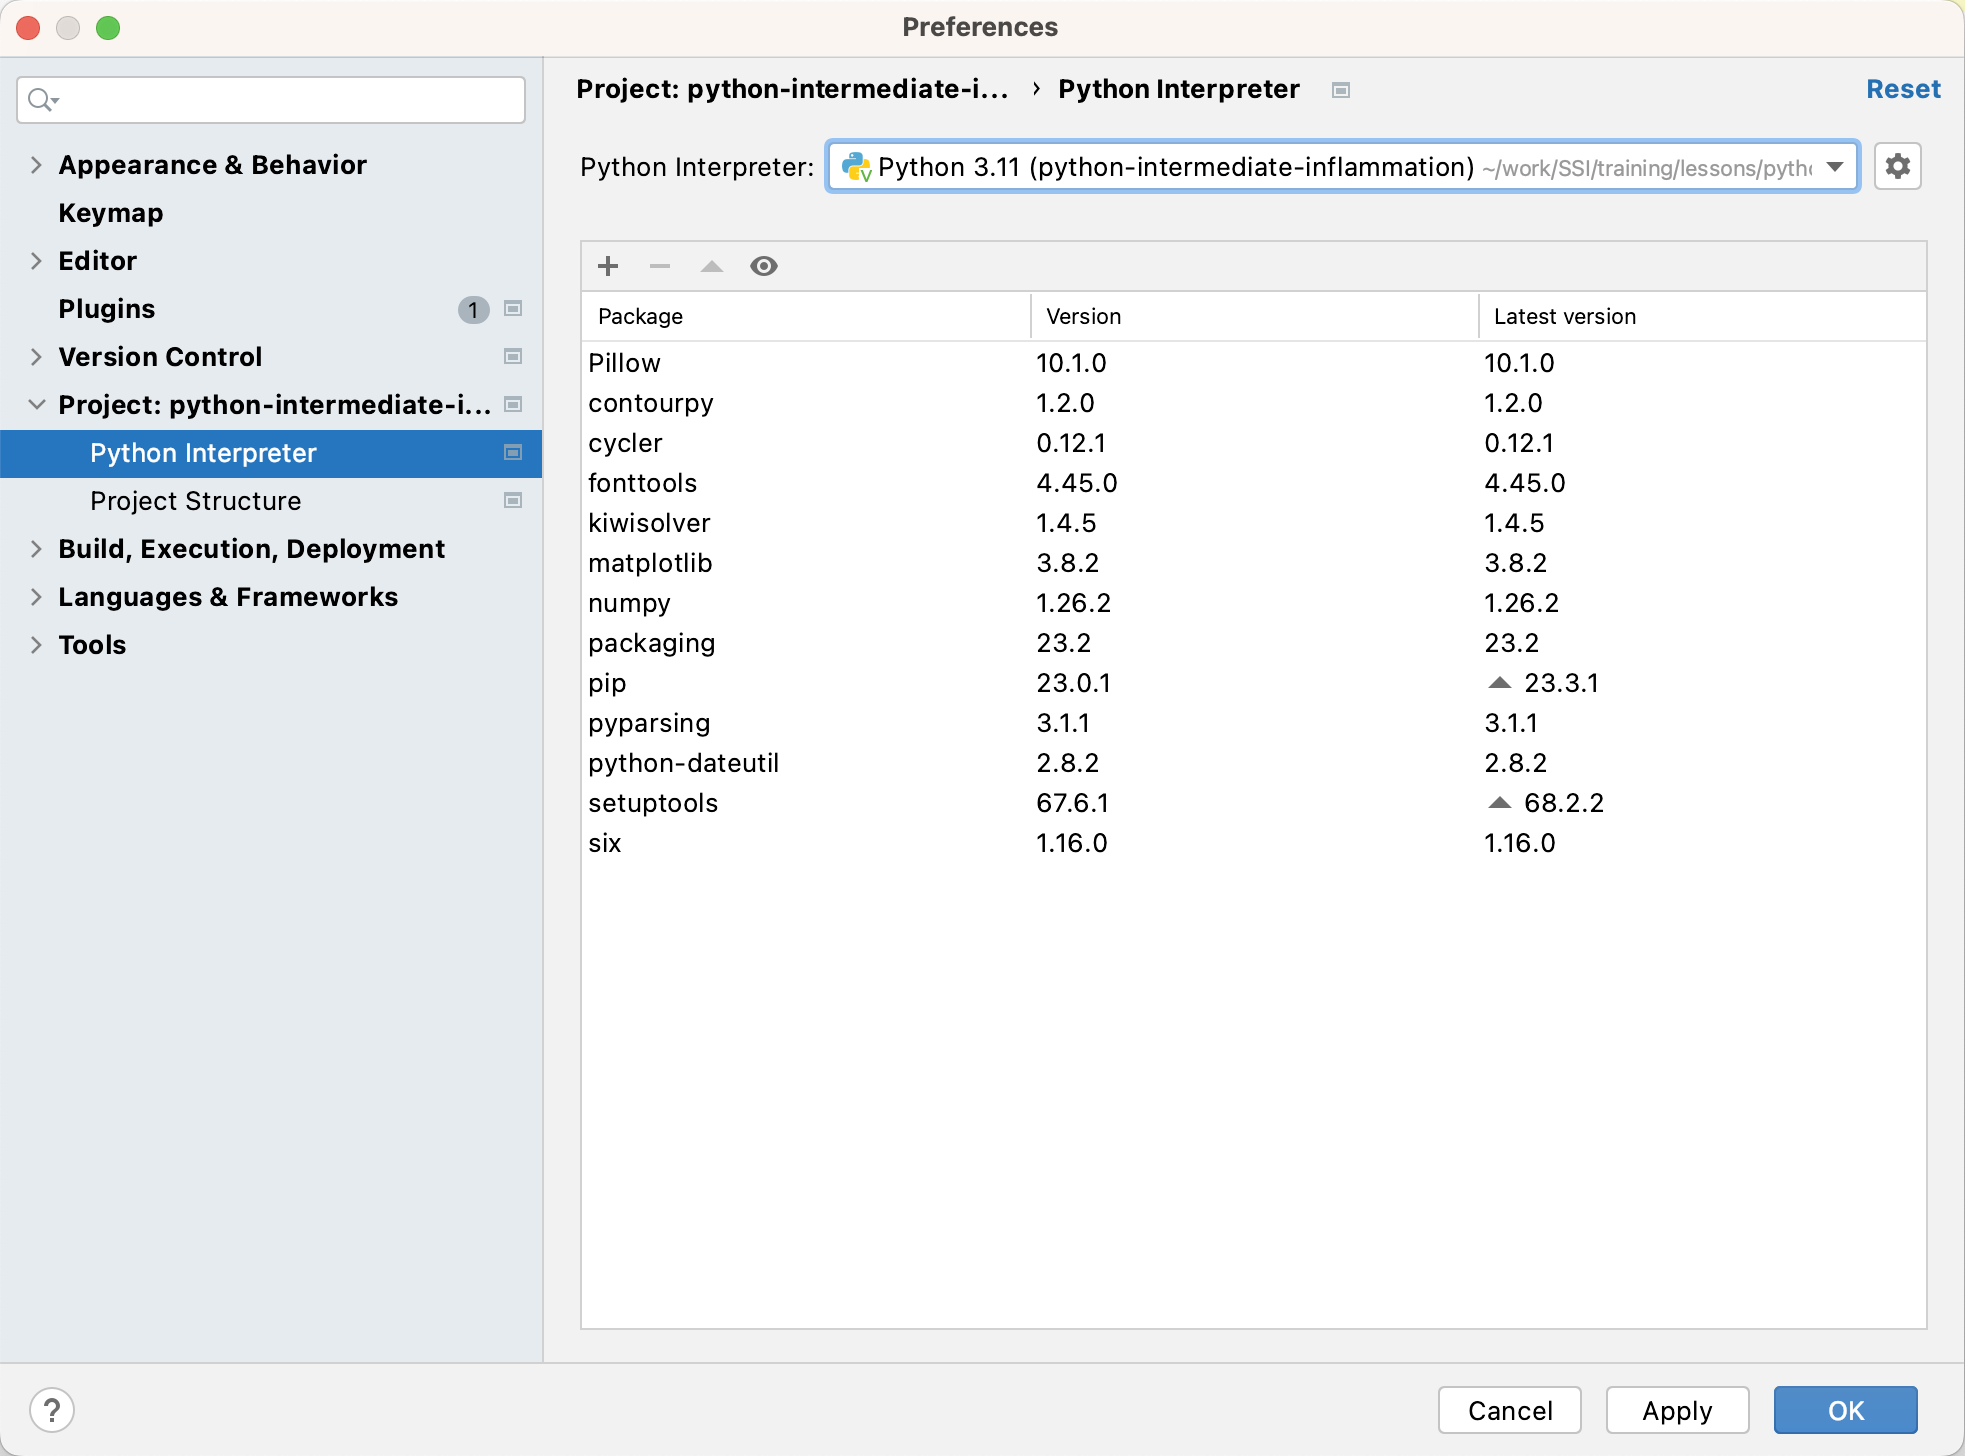
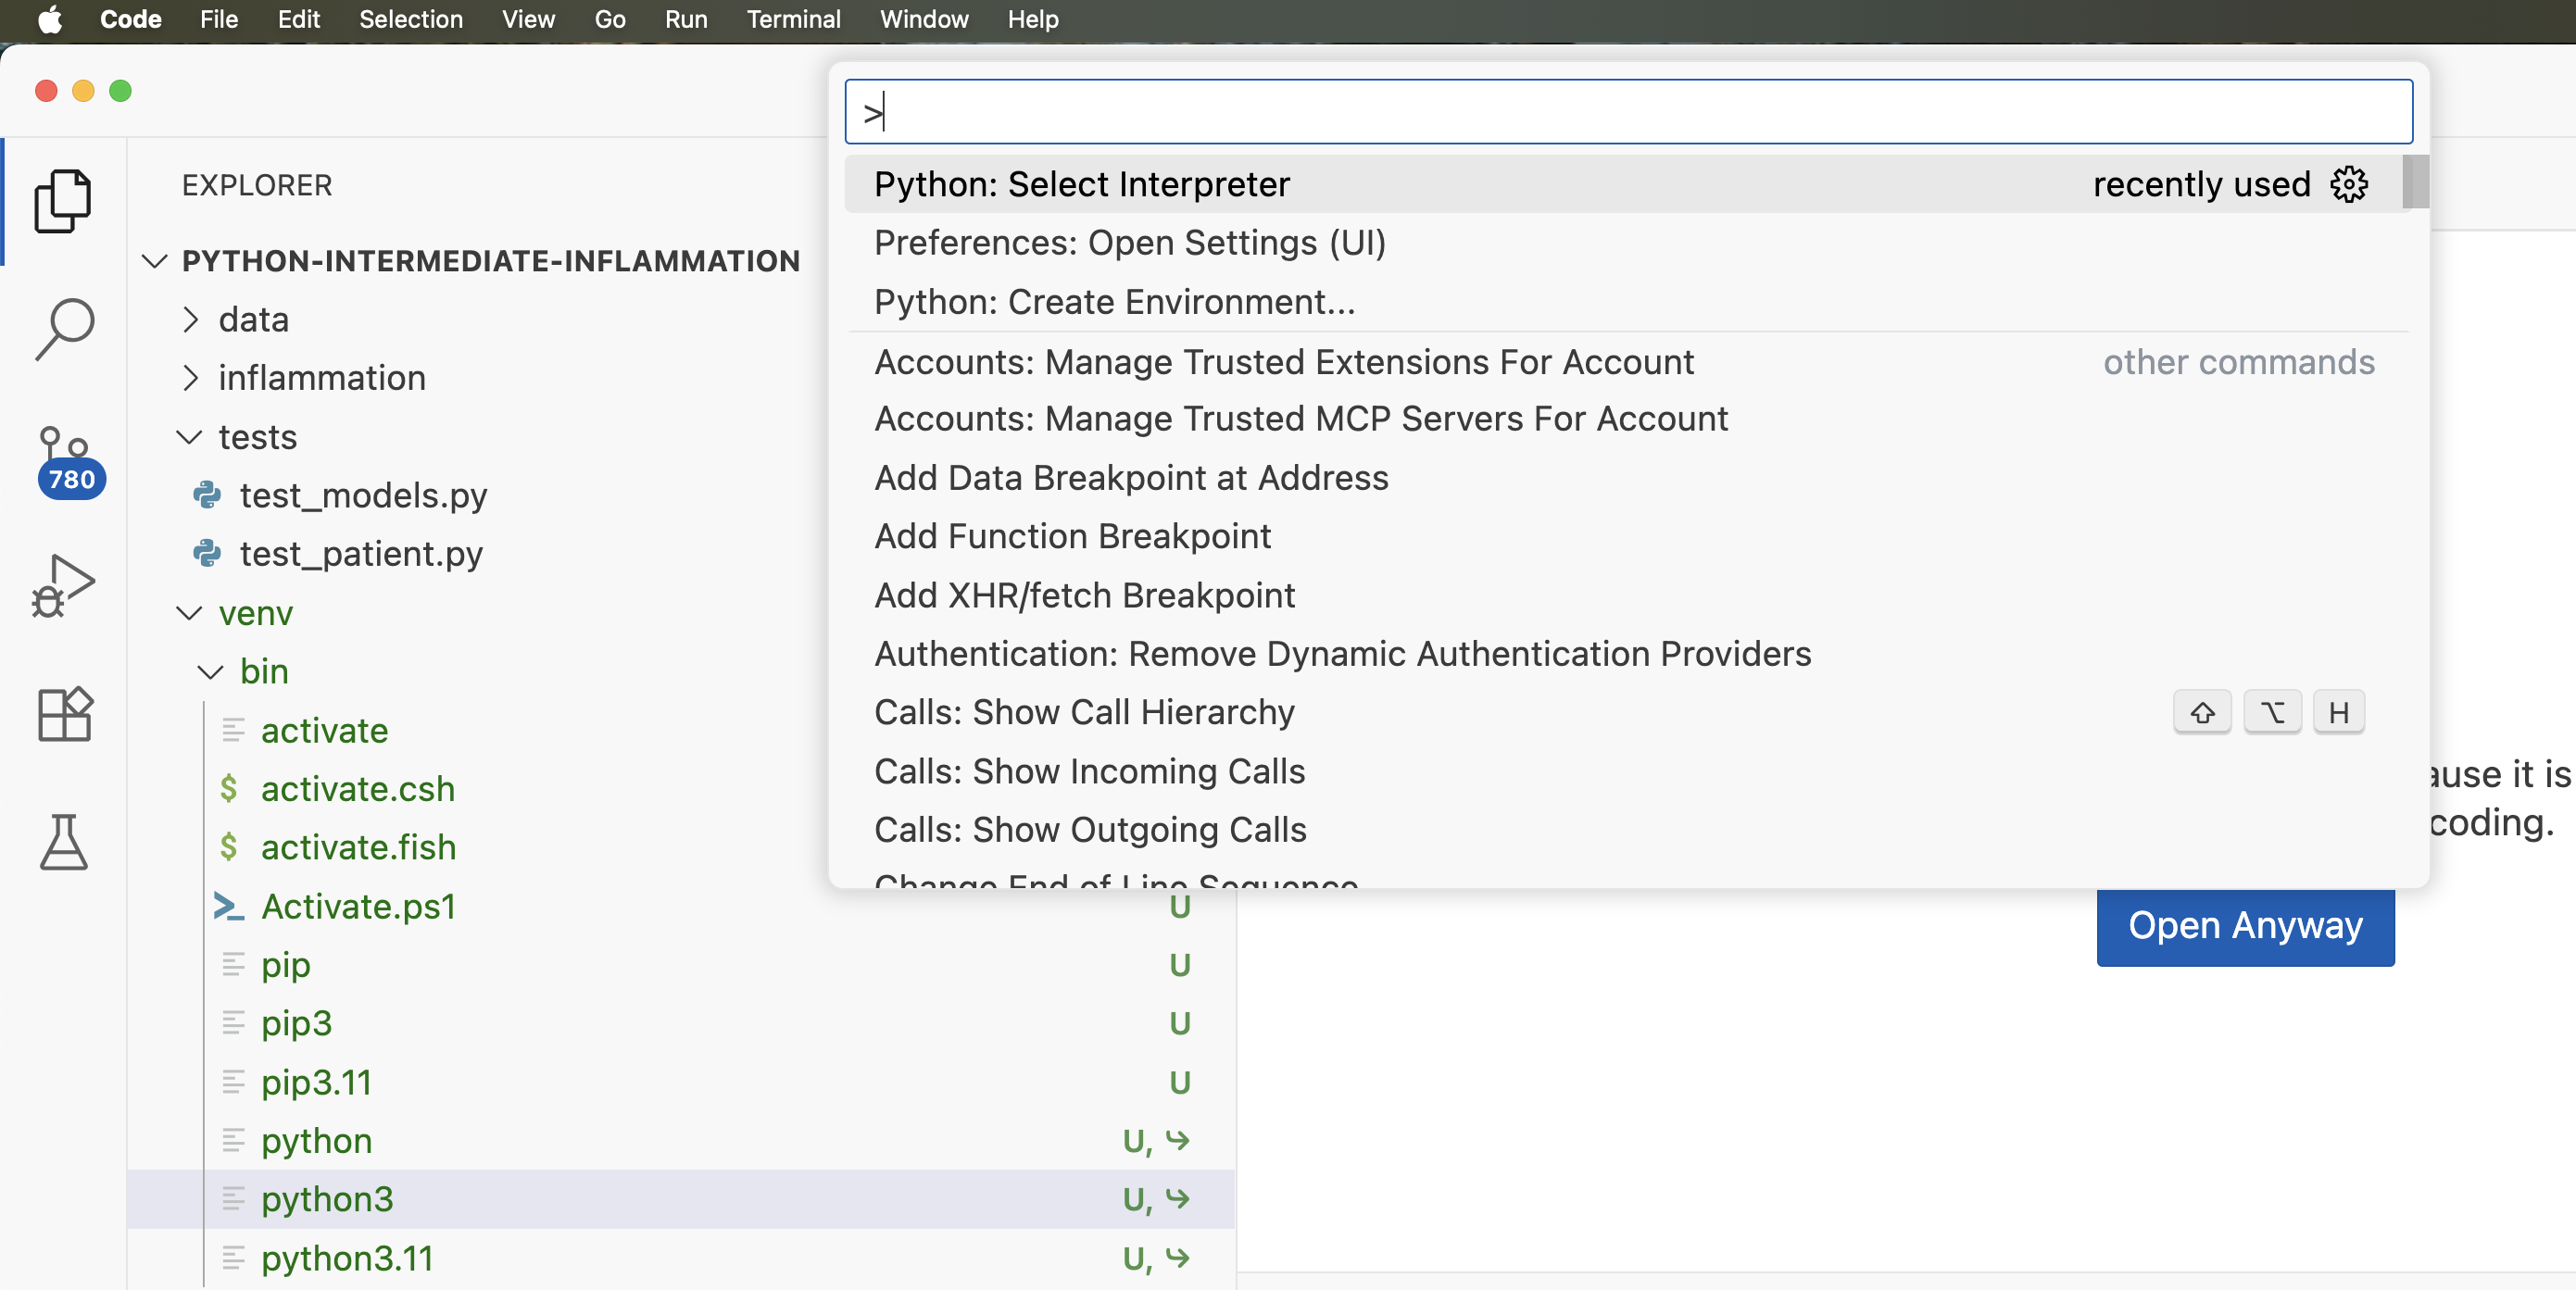
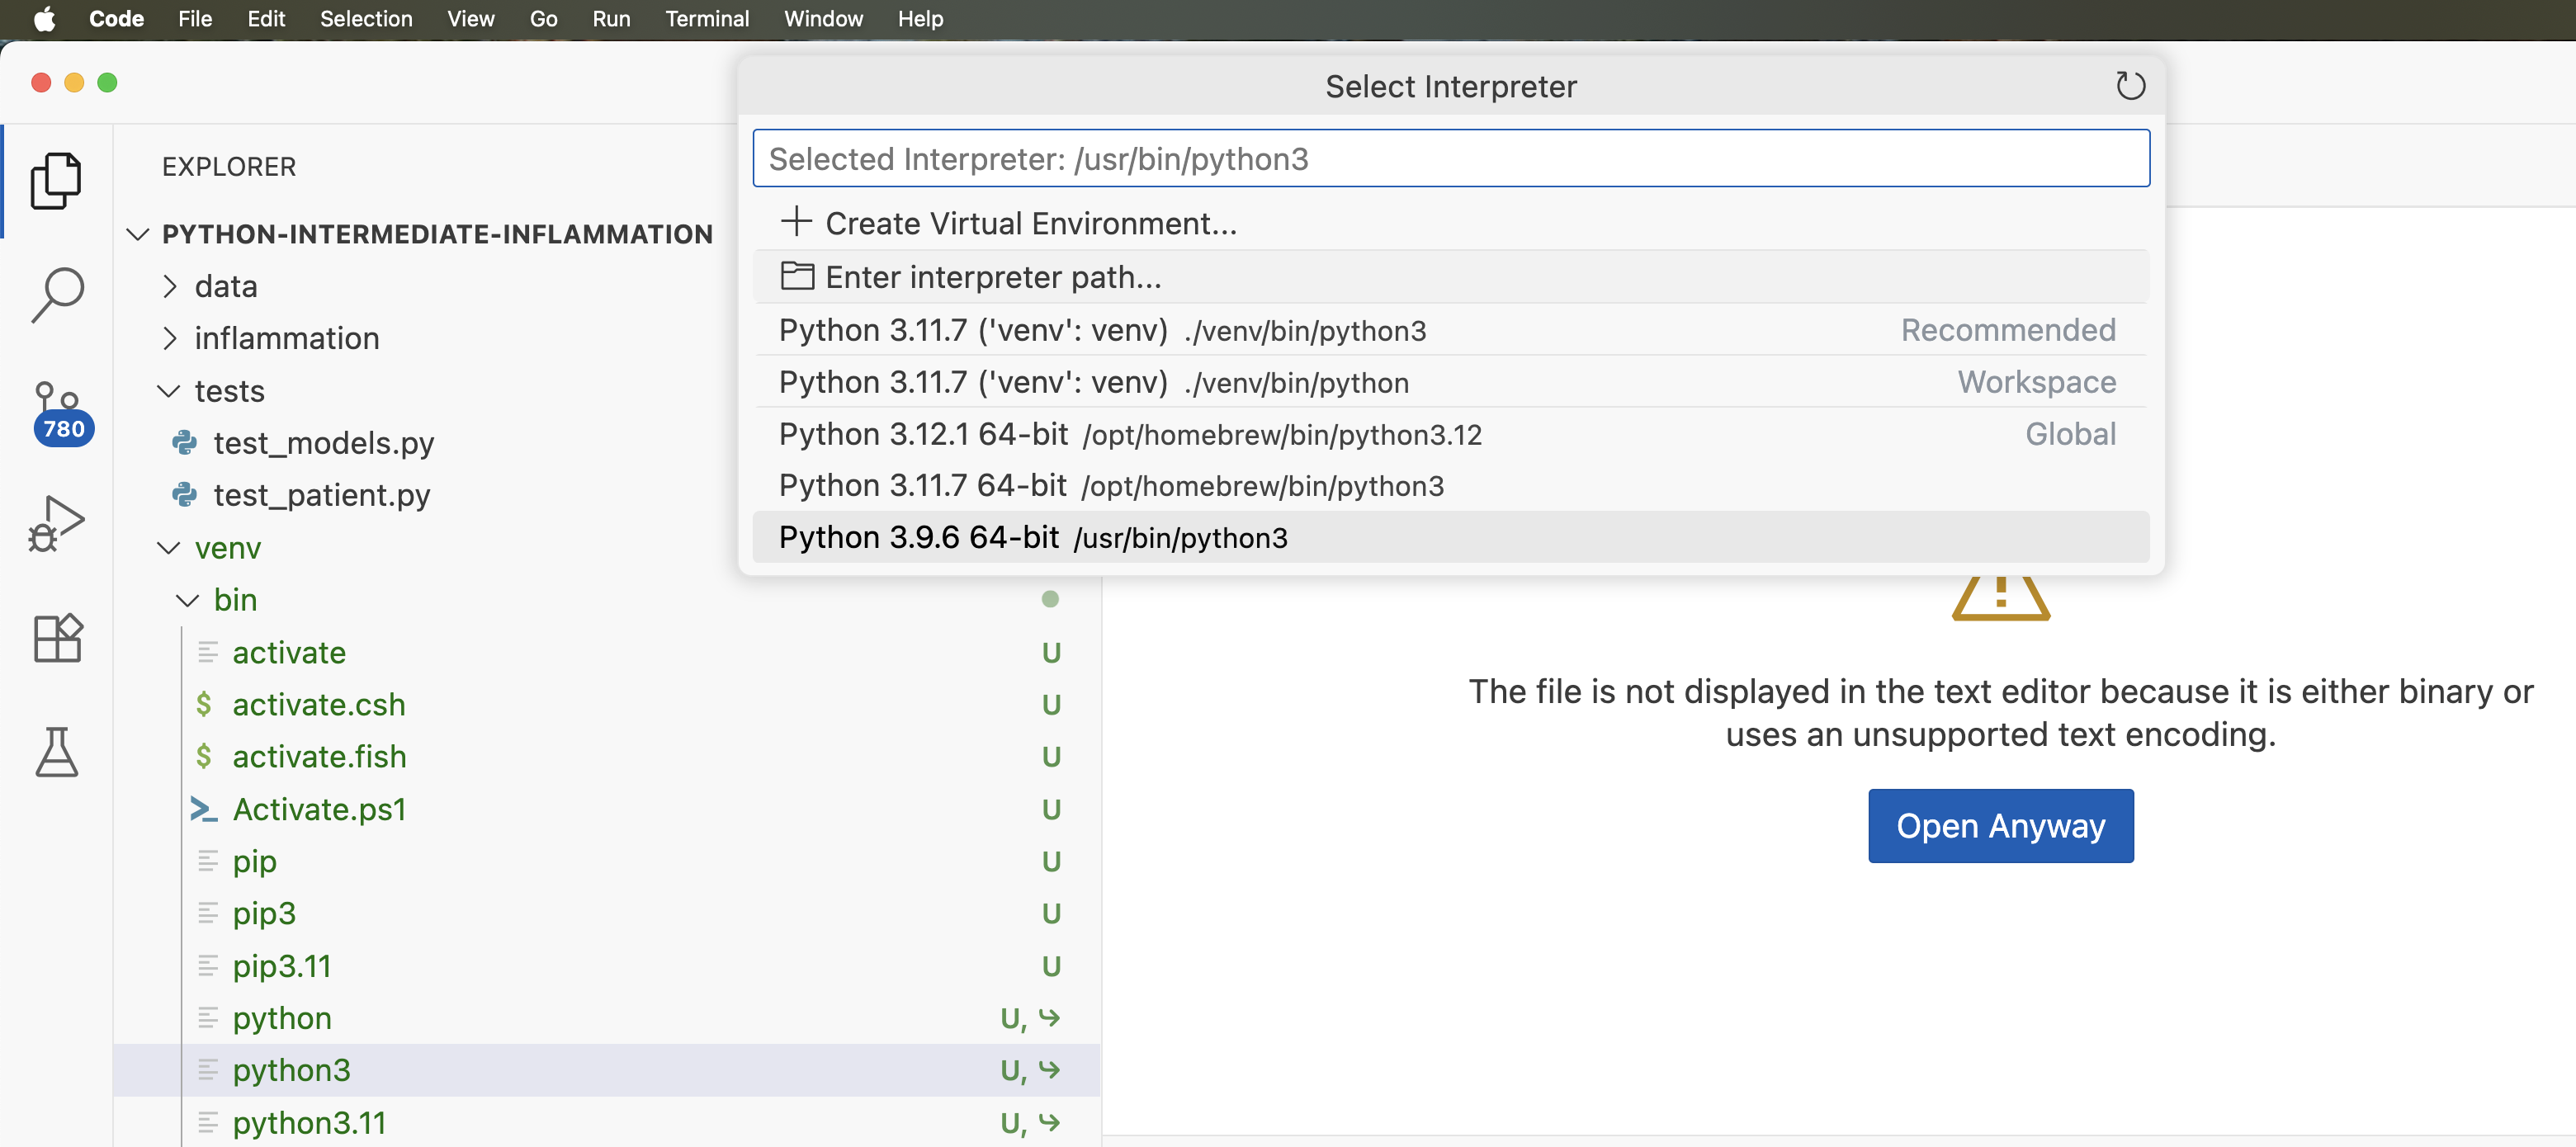
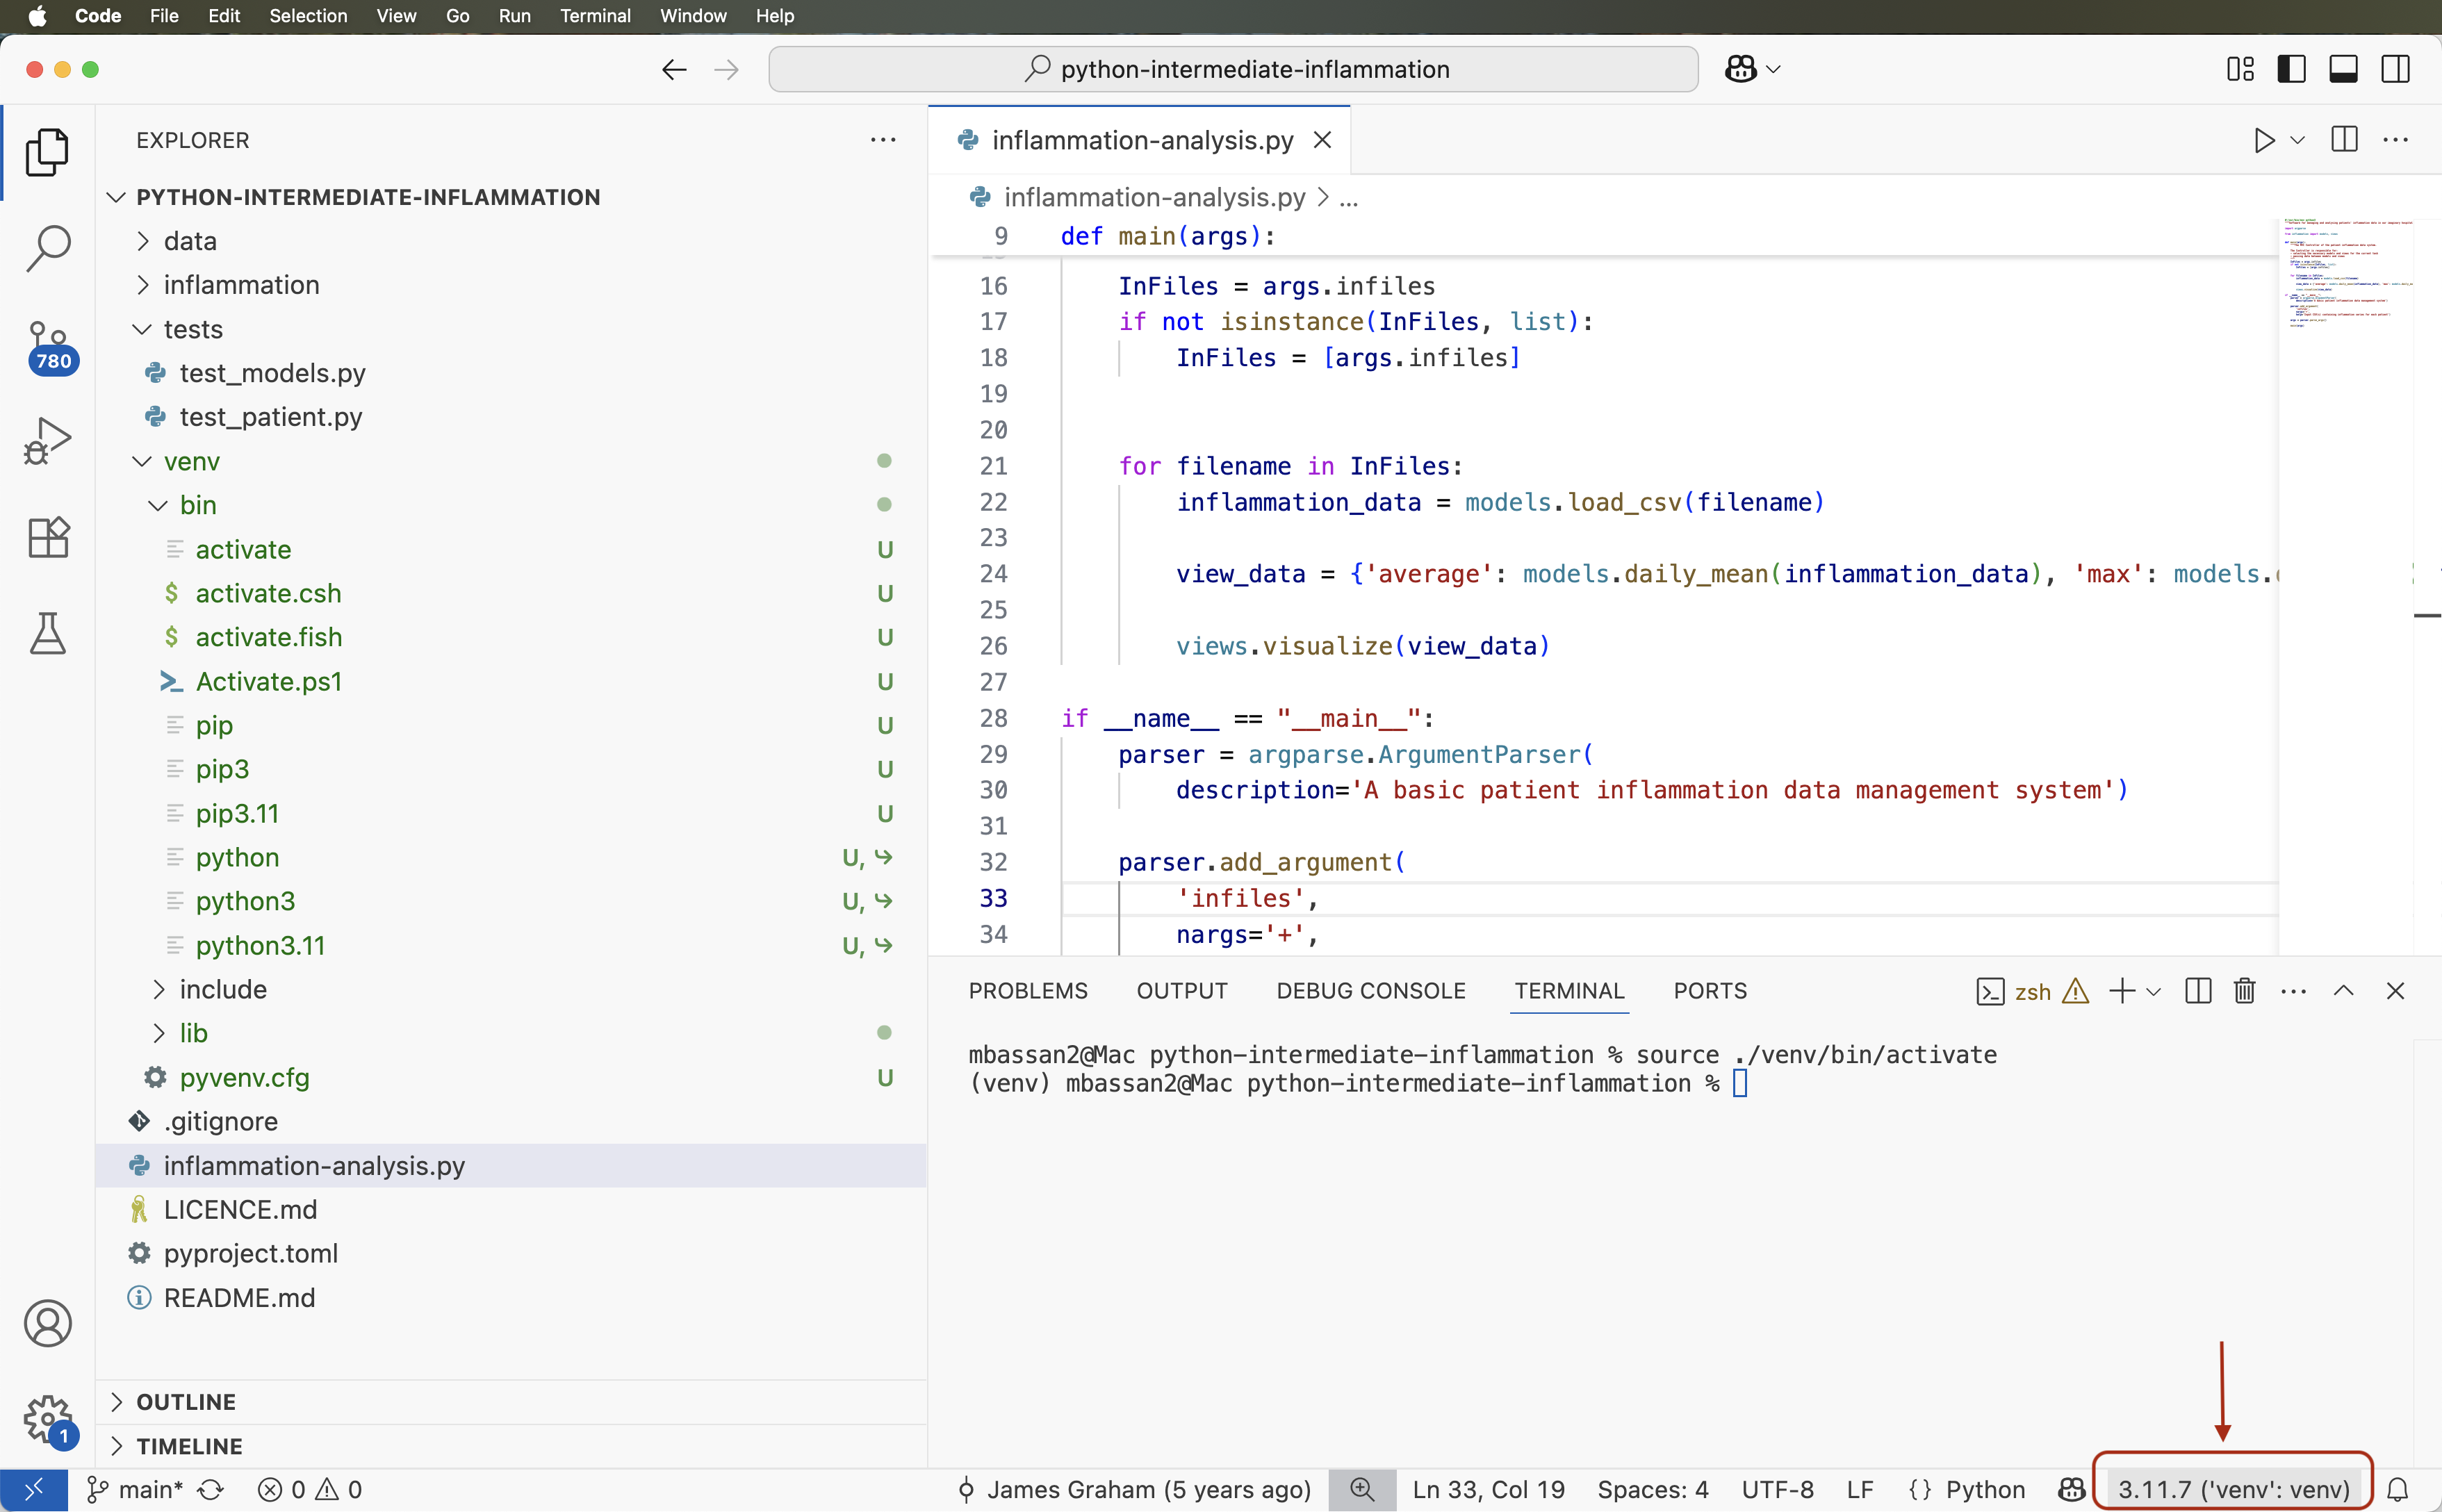
Before you can run the code from an IDE, you need to explicitly tell the IDE the path to the Python interpreter on your system. The same goes for any dependencies your code may have (that form part of the virtual environment together with the Python interpreter) - you need to tell the IDE where to find them, much like we did from the command line in the previous episode.
Luckily for us, we have already set up a virtual environment for our project from the command line already and some IDEs are clever enough to understand it.
Adding a Python Interpreter
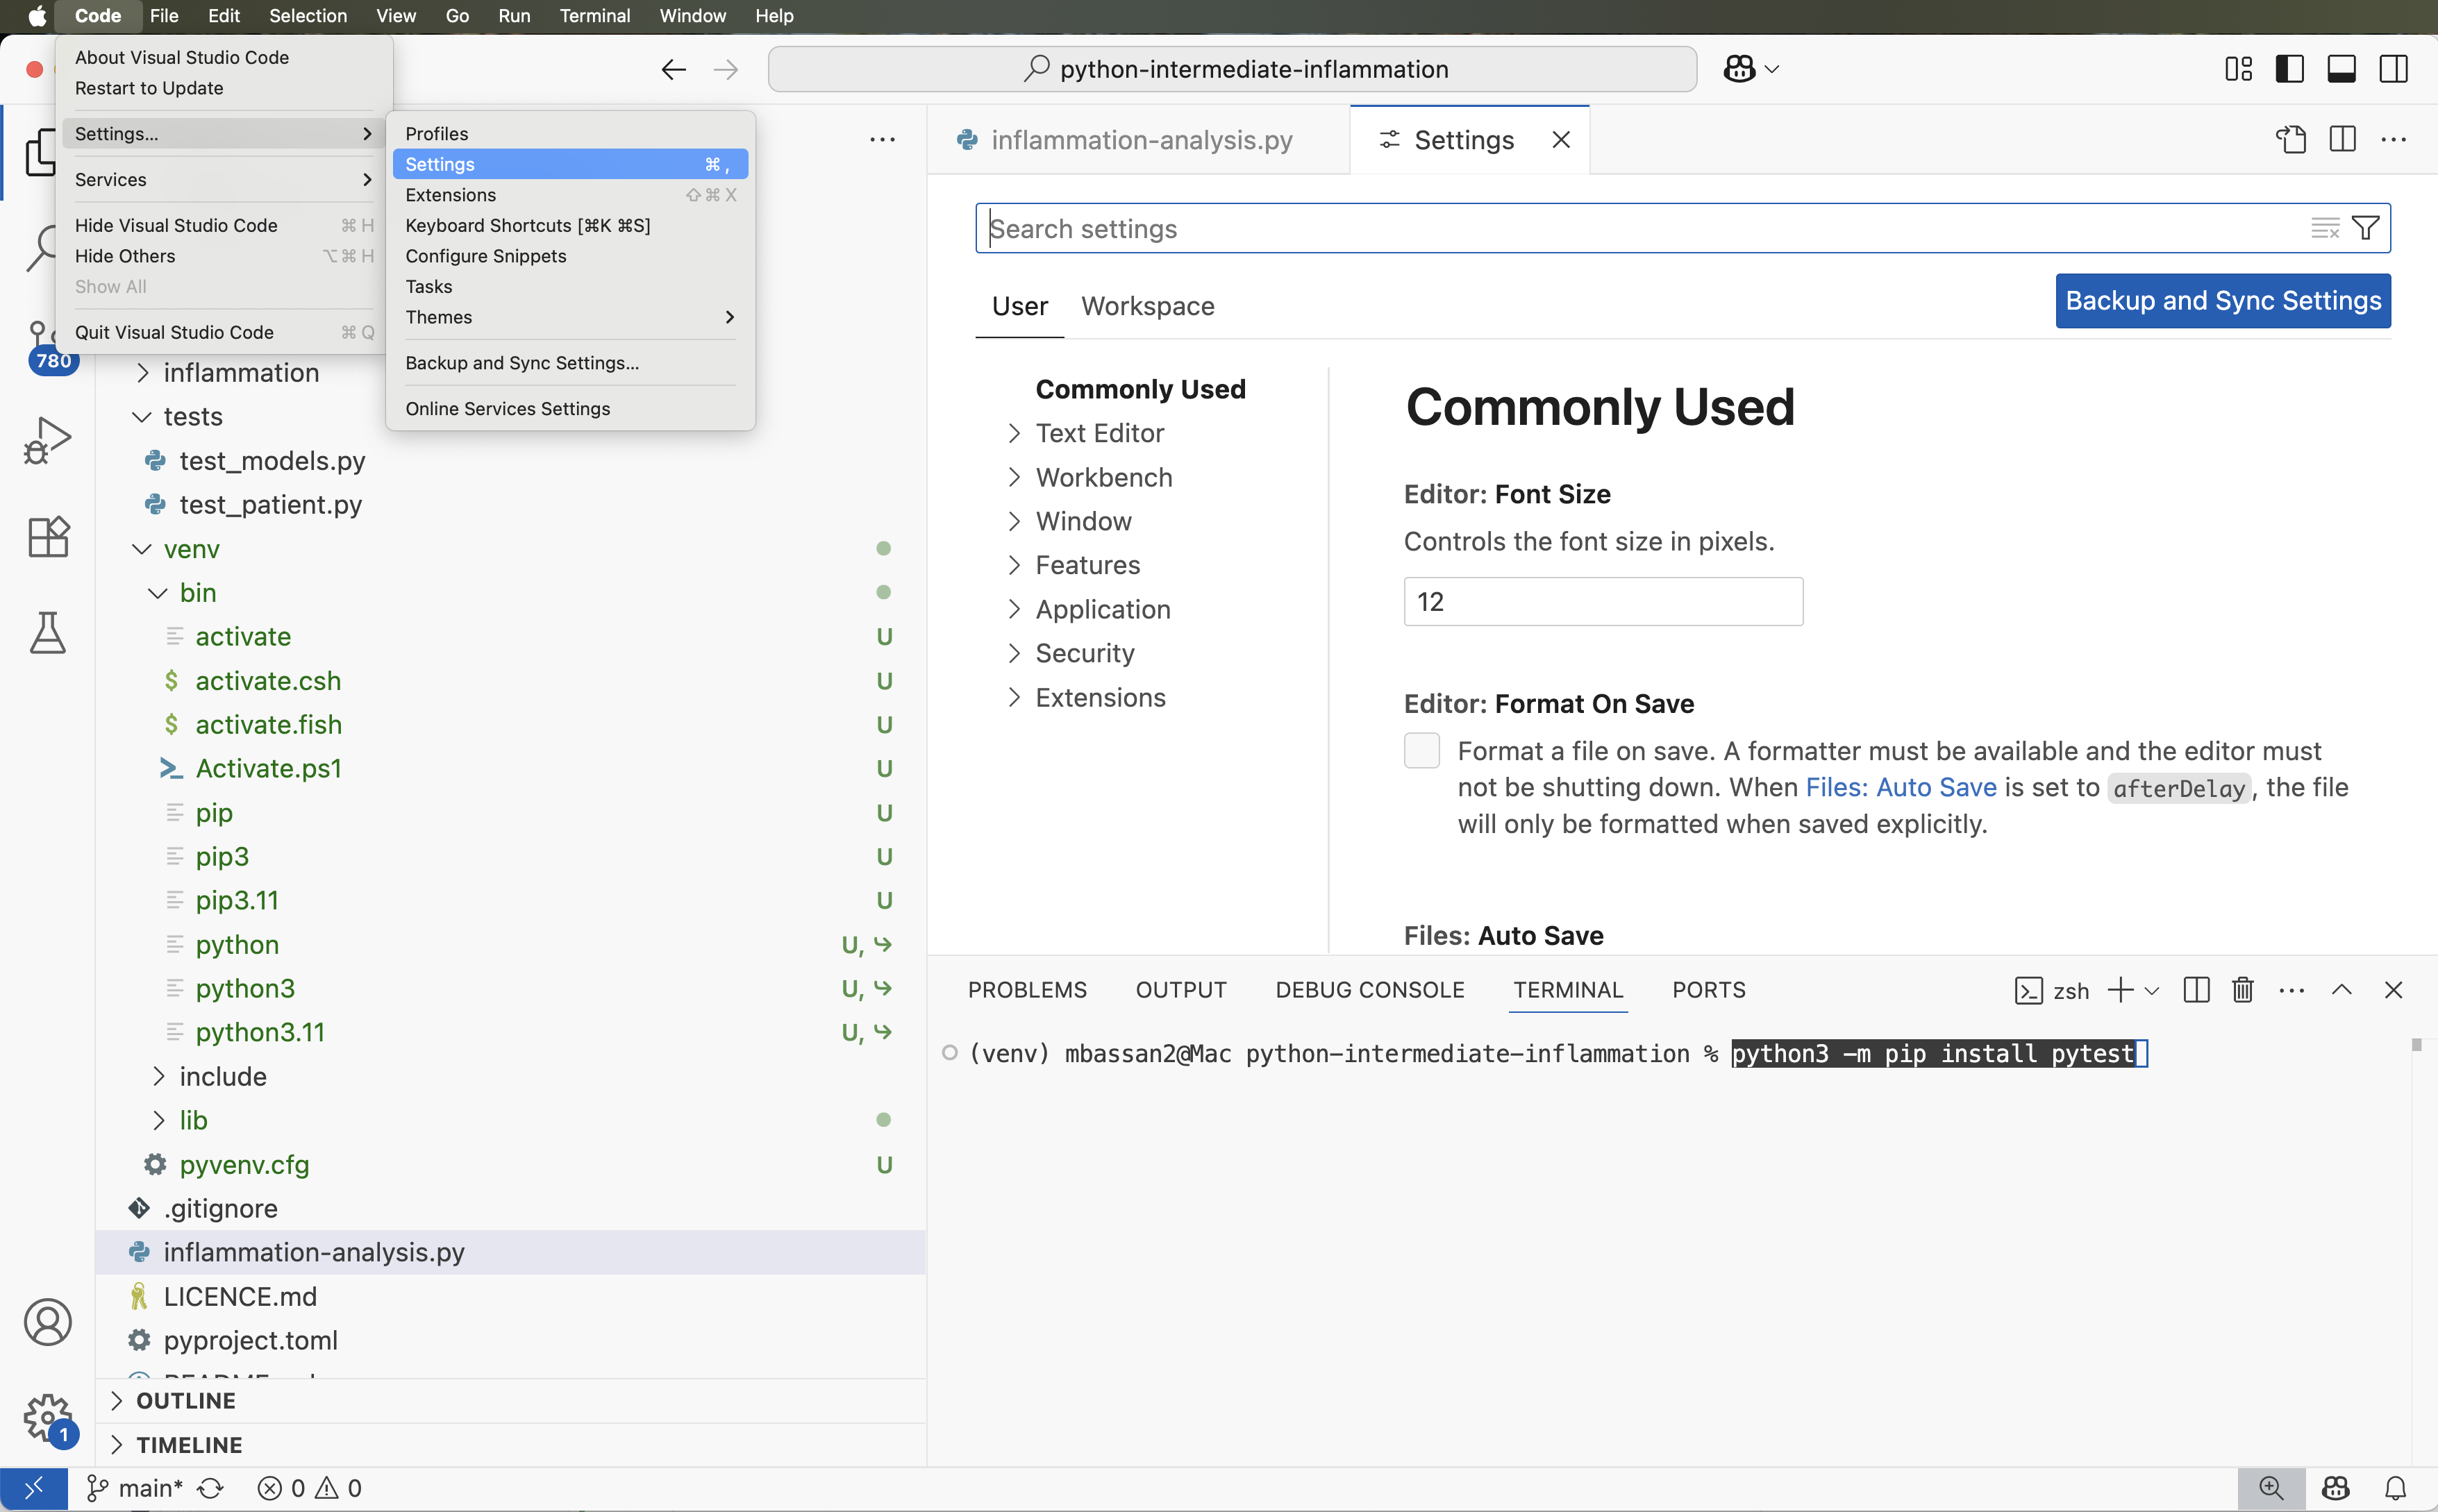
Adding an External Dependency from IDE
We have already added packages numpy and
matplotlib to our virtual environment from the command line
in the previous episode, so we are up-to-date with all external
libraries we require at the moment. However, we will need library
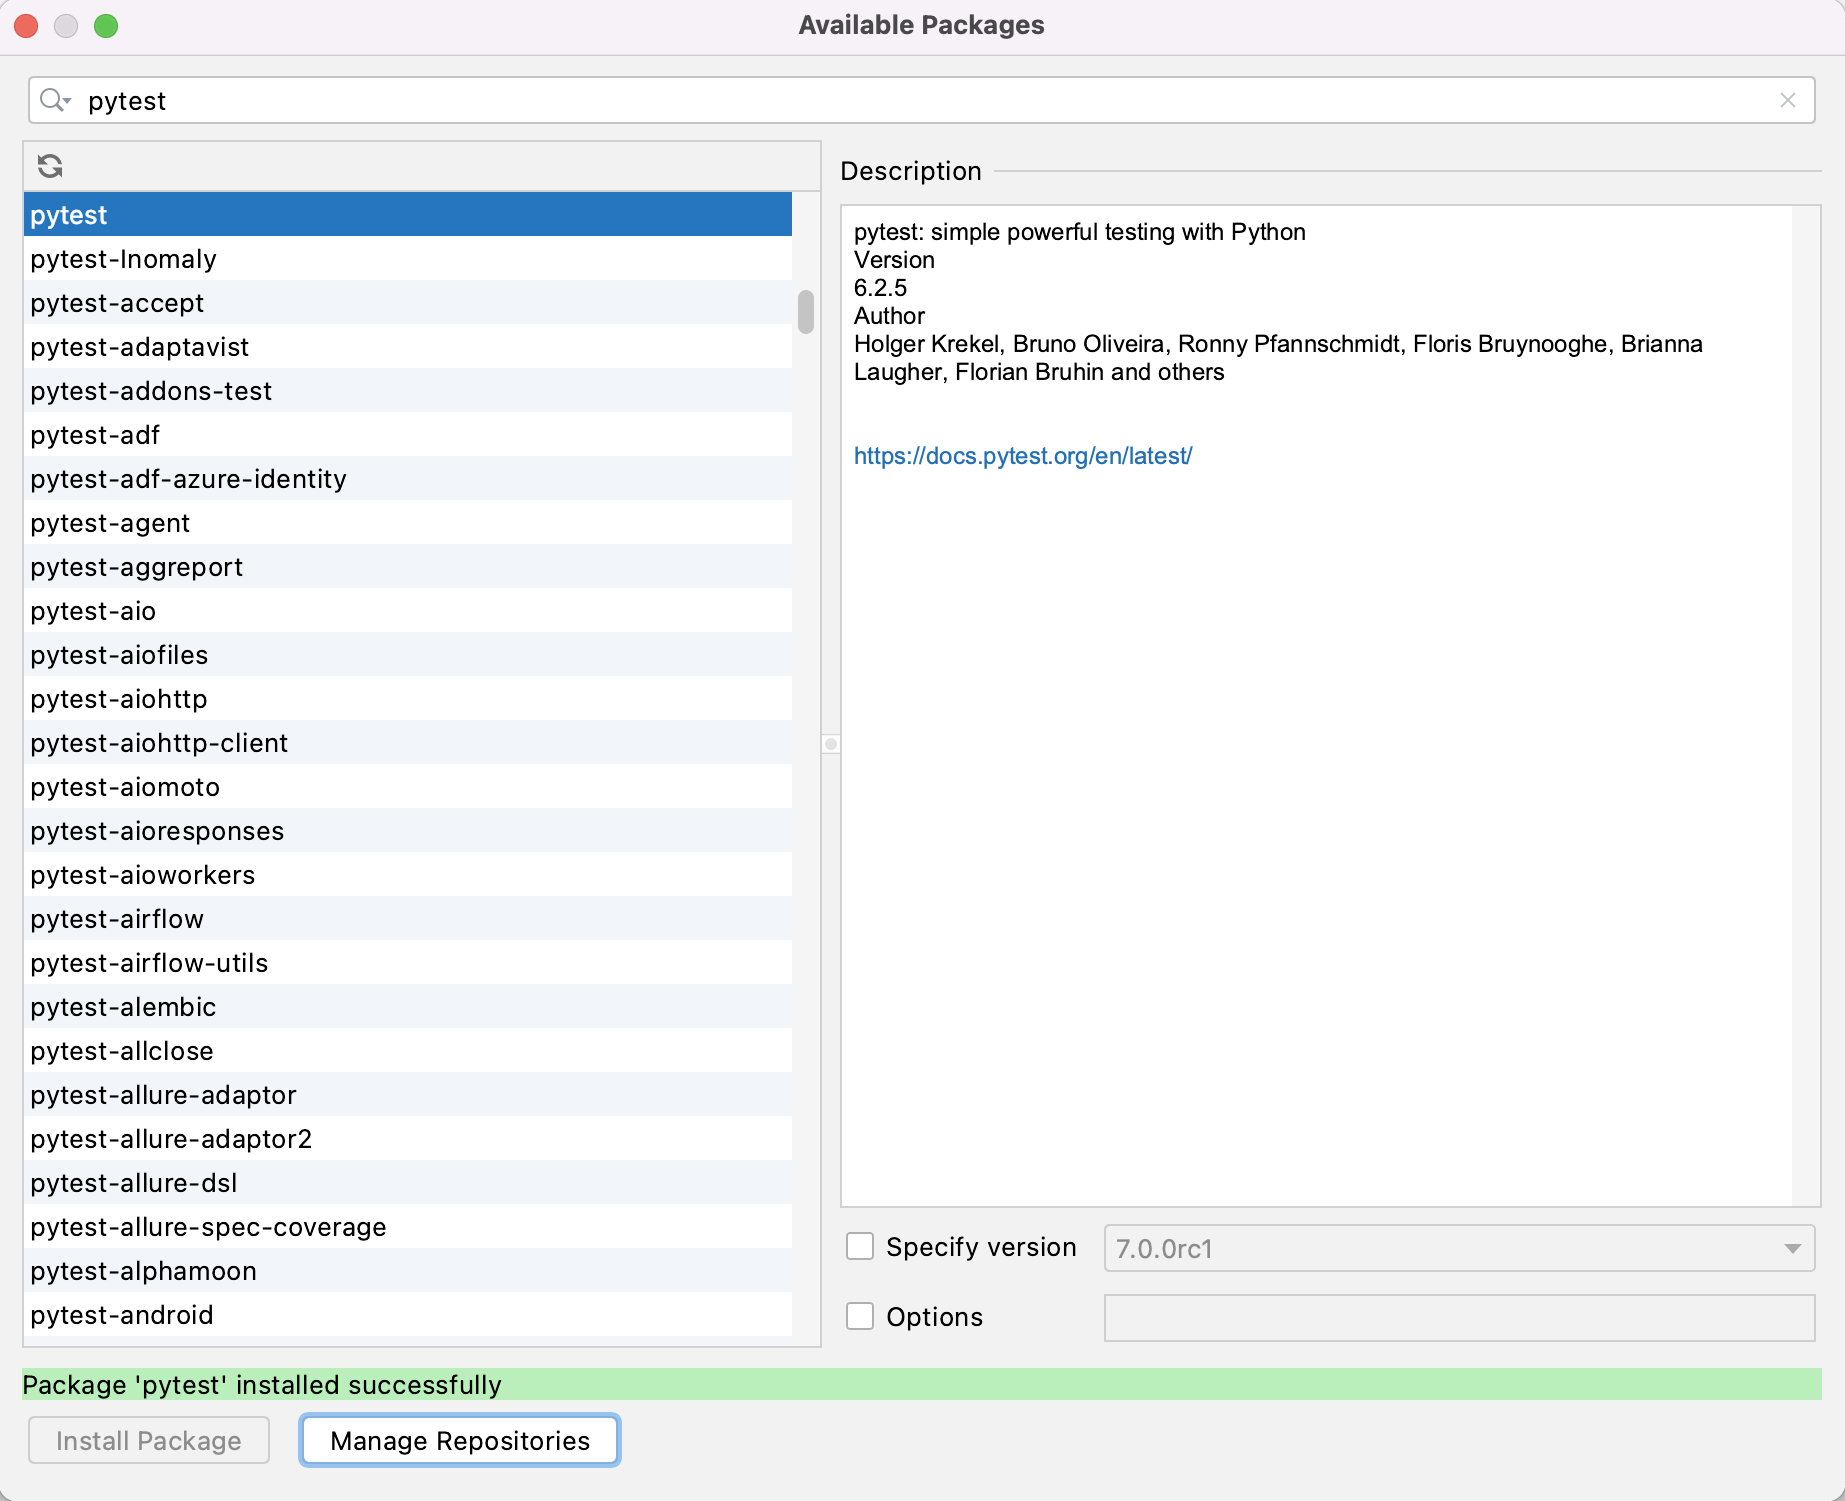
pytest soon to implement tests for our code. We will use
this opportunity to install it from the IDE in order to see an
alternative way of doing this and how it propagates to the command
line.
Update Requirements File After Adding a New Dependency
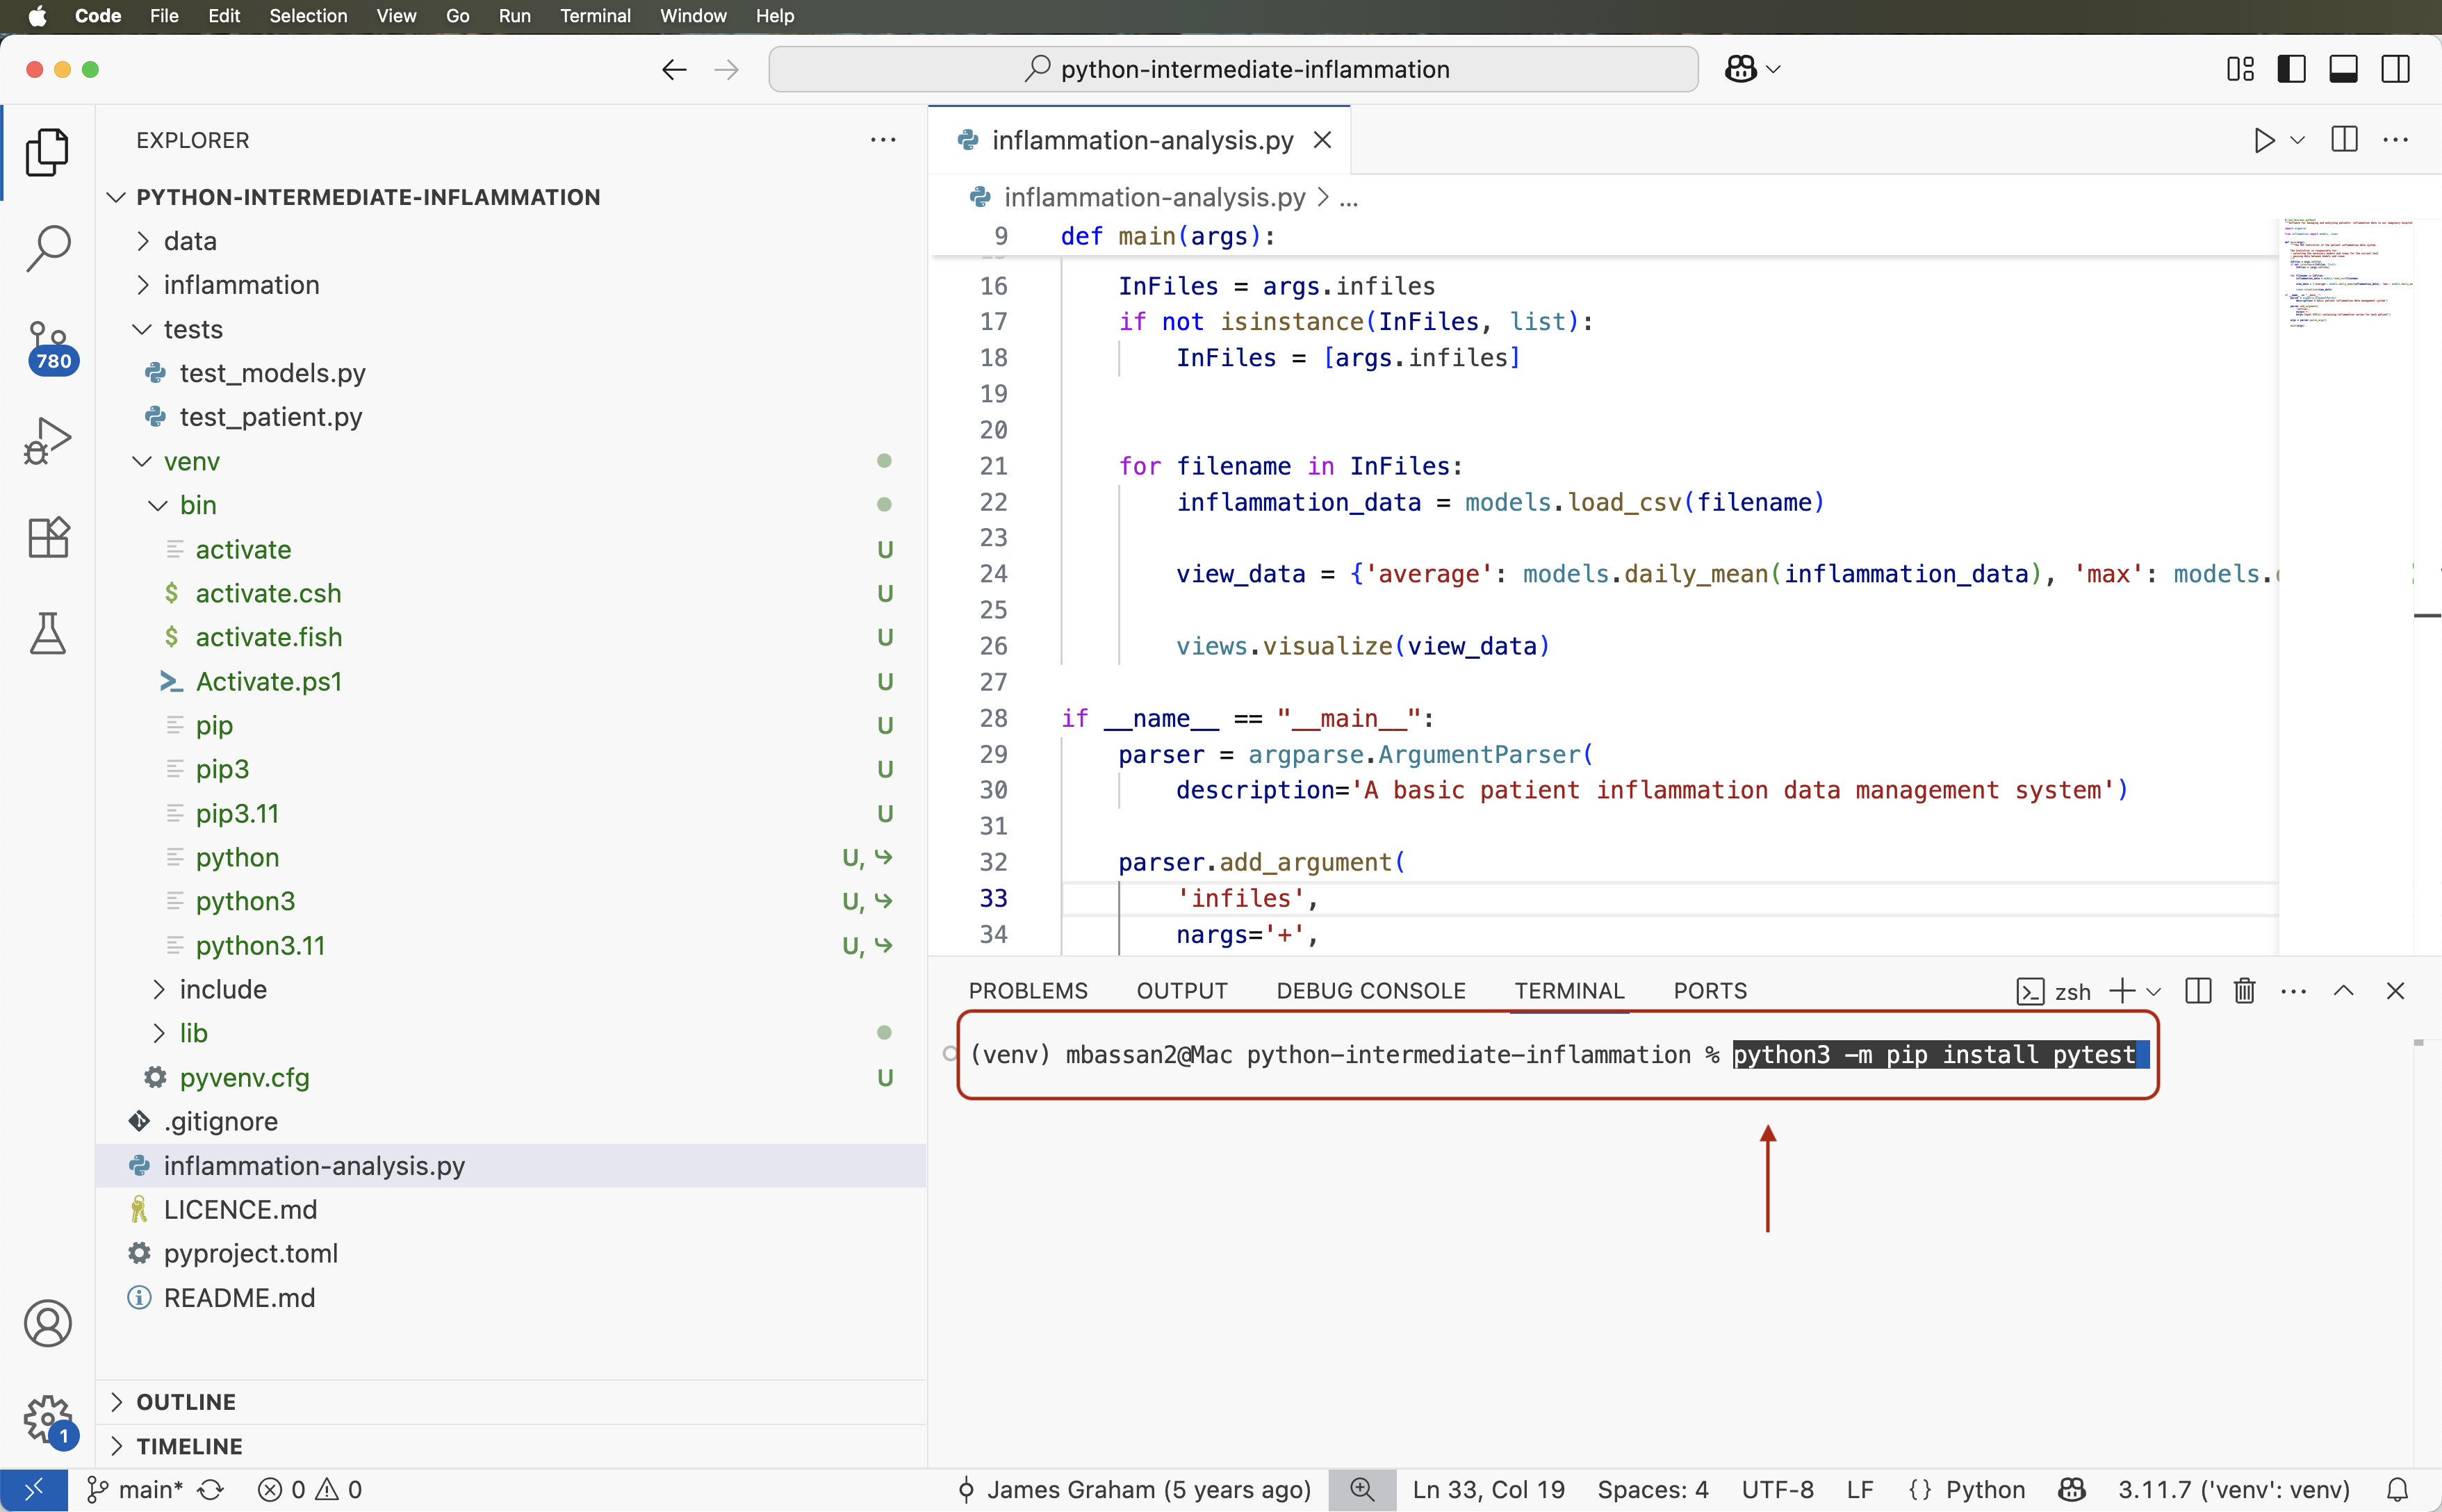
Export the newly updated virtual environment into
requirements.txt file.
Let us verify first that the newly installed library
pytest is appearing in our virtual environment but not in
requirements.txt. First, let us check the list of installed
packages:
OUTPUT
Package         Version

***

contourpy       1.2.0
cycler          0.12.1
fonttools       4.45.0
iniconfig       2.0.0
kiwisolver      1.4.5
matplotlib      3.8.2
numpy           1.26.2
packaging       23.2
Pillow          10.1.0
pip             23.0.1
pluggy          1.3.0
pyparsing       3.1.1
pytest          7.4.3
python-dateutil 2.8.2
setuptools      67.6.1
six             1.16.0
We can see the pytest library appearing in the listing
above. However, if we do:
OUTPUT
contourpy==1.2.0
cycler==0.12.1
fonttools==4.45.0
kiwisolver==1.4.5
matplotlib==3.8.2
numpy==1.26.2
packaging==23.2
Pillow==10.1.0
pyparsing==3.1.1
python-dateutil==2.8.2
six==1.16.0
pytest is missing from requirements.txt. To
add it, we need to update the file by repeating the command:
pytest is now present in
requirements.txt:
OUTPUT
contourpy==1.2.0
cycler==0.12.1
fonttools==4.45.0
iniconfig==2.0.0
kiwisolver==1.4.5
matplotlib==3.8.2
numpy==1.26.2
packaging==23.2
Pillow==10.1.0
pluggy==1.3.0
pyparsing==3.1.1
pytest==7.4.3
python-dateutil==2.8.2
six==1.16.0
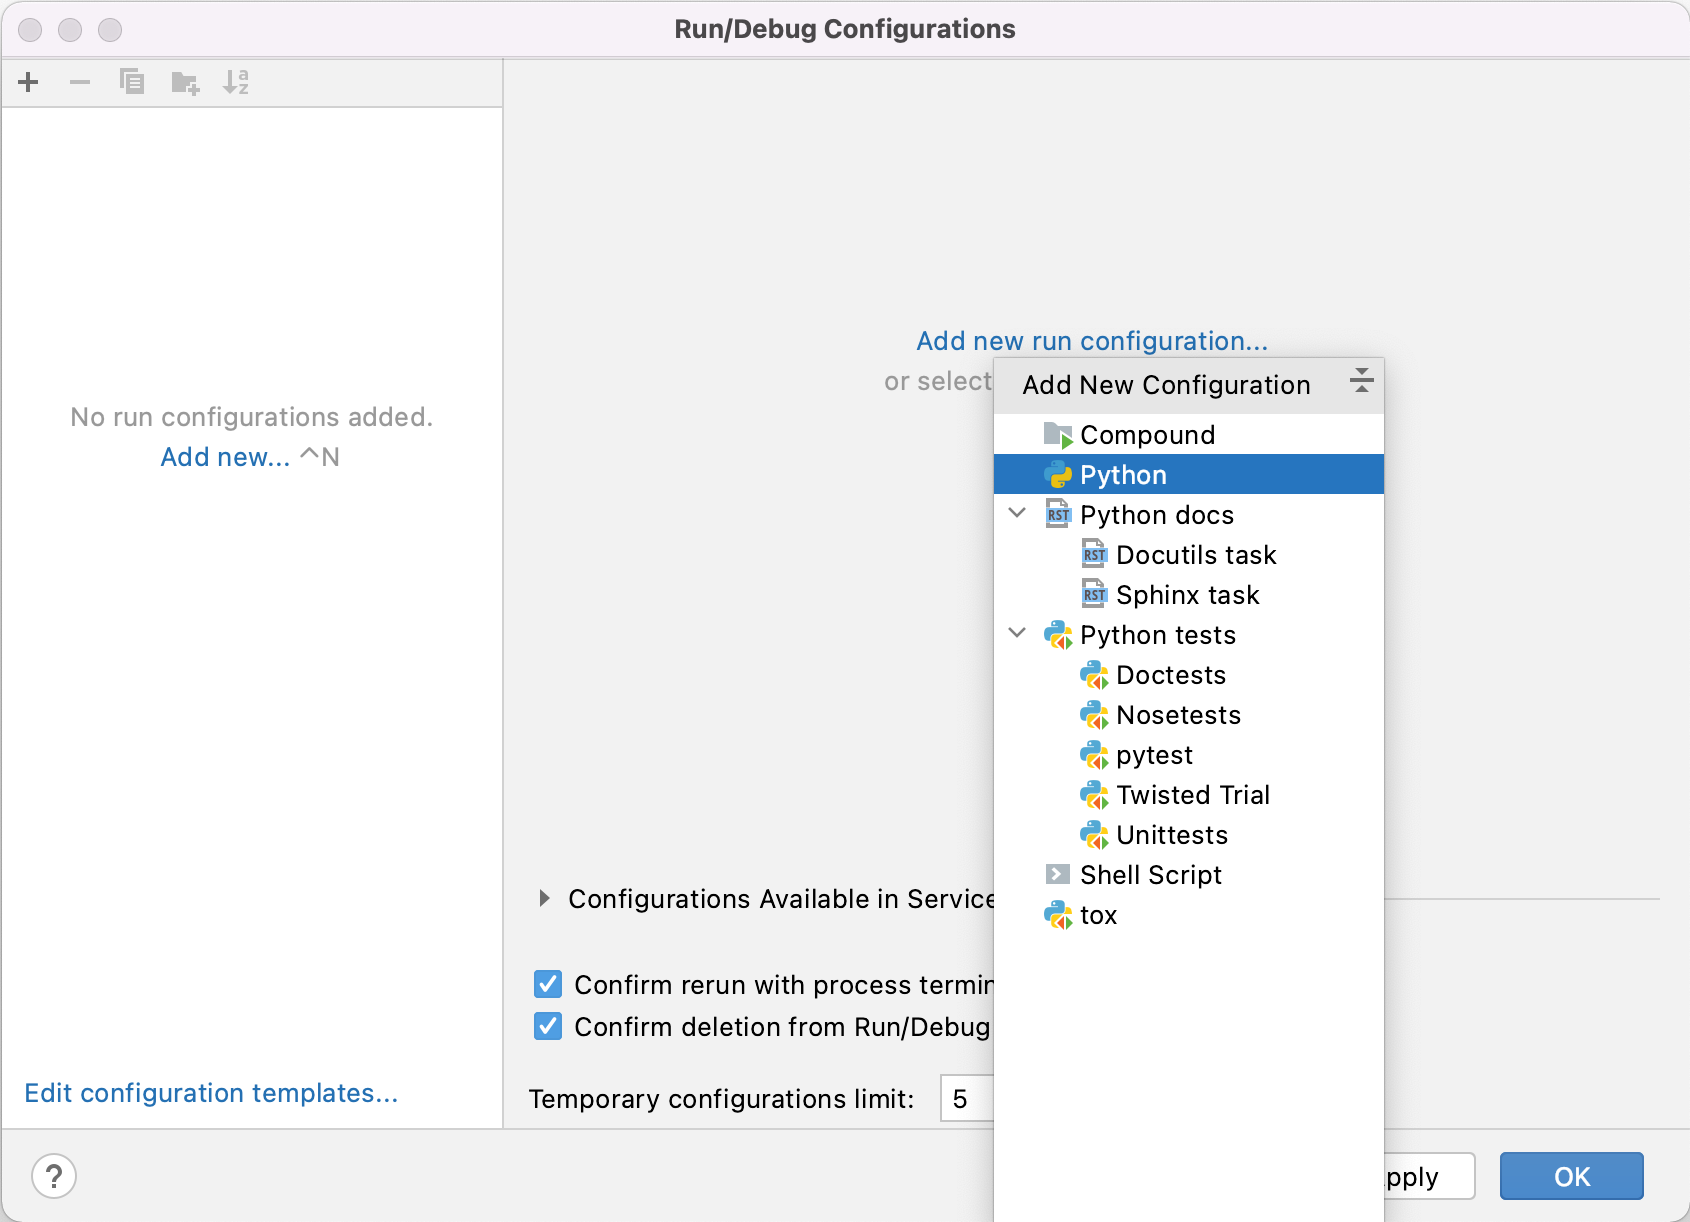
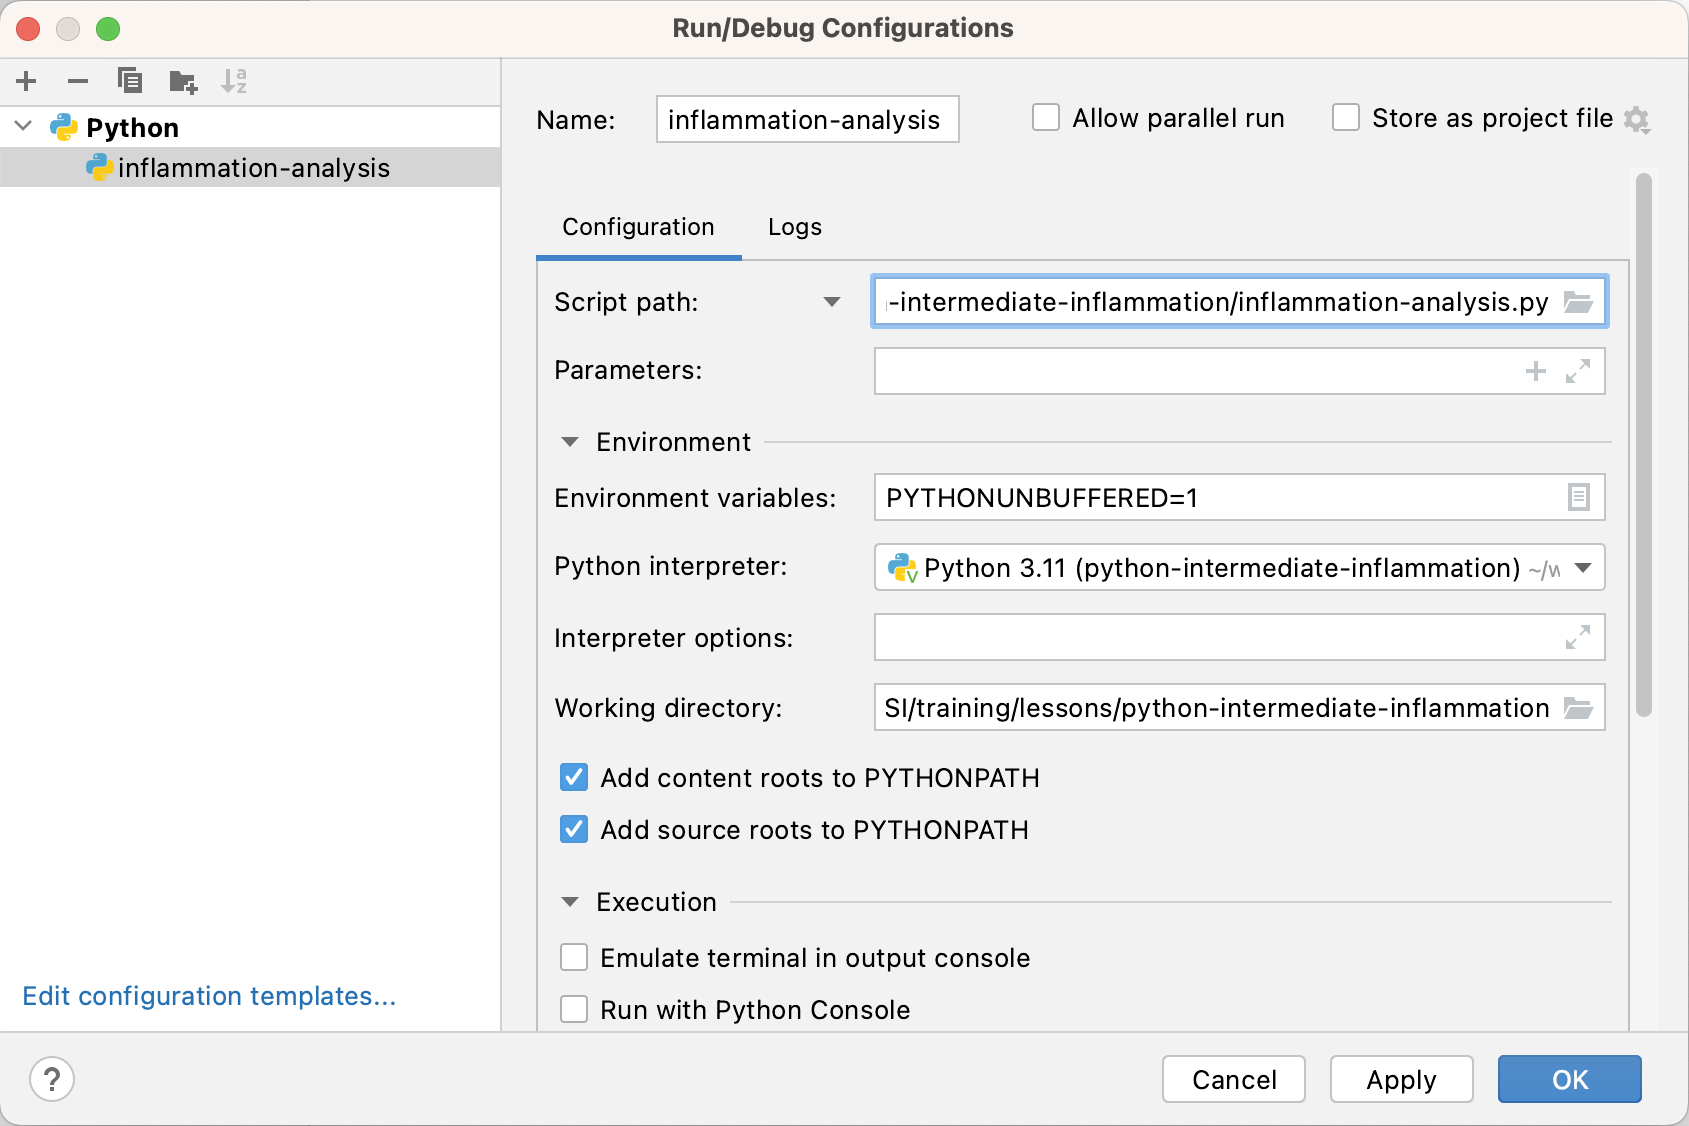
Adding a Run Configuration for Our Project
Now you know how to configure and manipulate your environment in both tools (command line and IDE), which is a useful parallel to be aware of. As you may have noticed, using the command line terminal facility integrated into an IDE allows you to run commands (e.g. to manipulate files, interact with version control, etc.) and execute code without leaving the development environment, making it easier and faster to work by having all essential tools in one window.
Let us have a look at some other features afforded to us by IDEs.
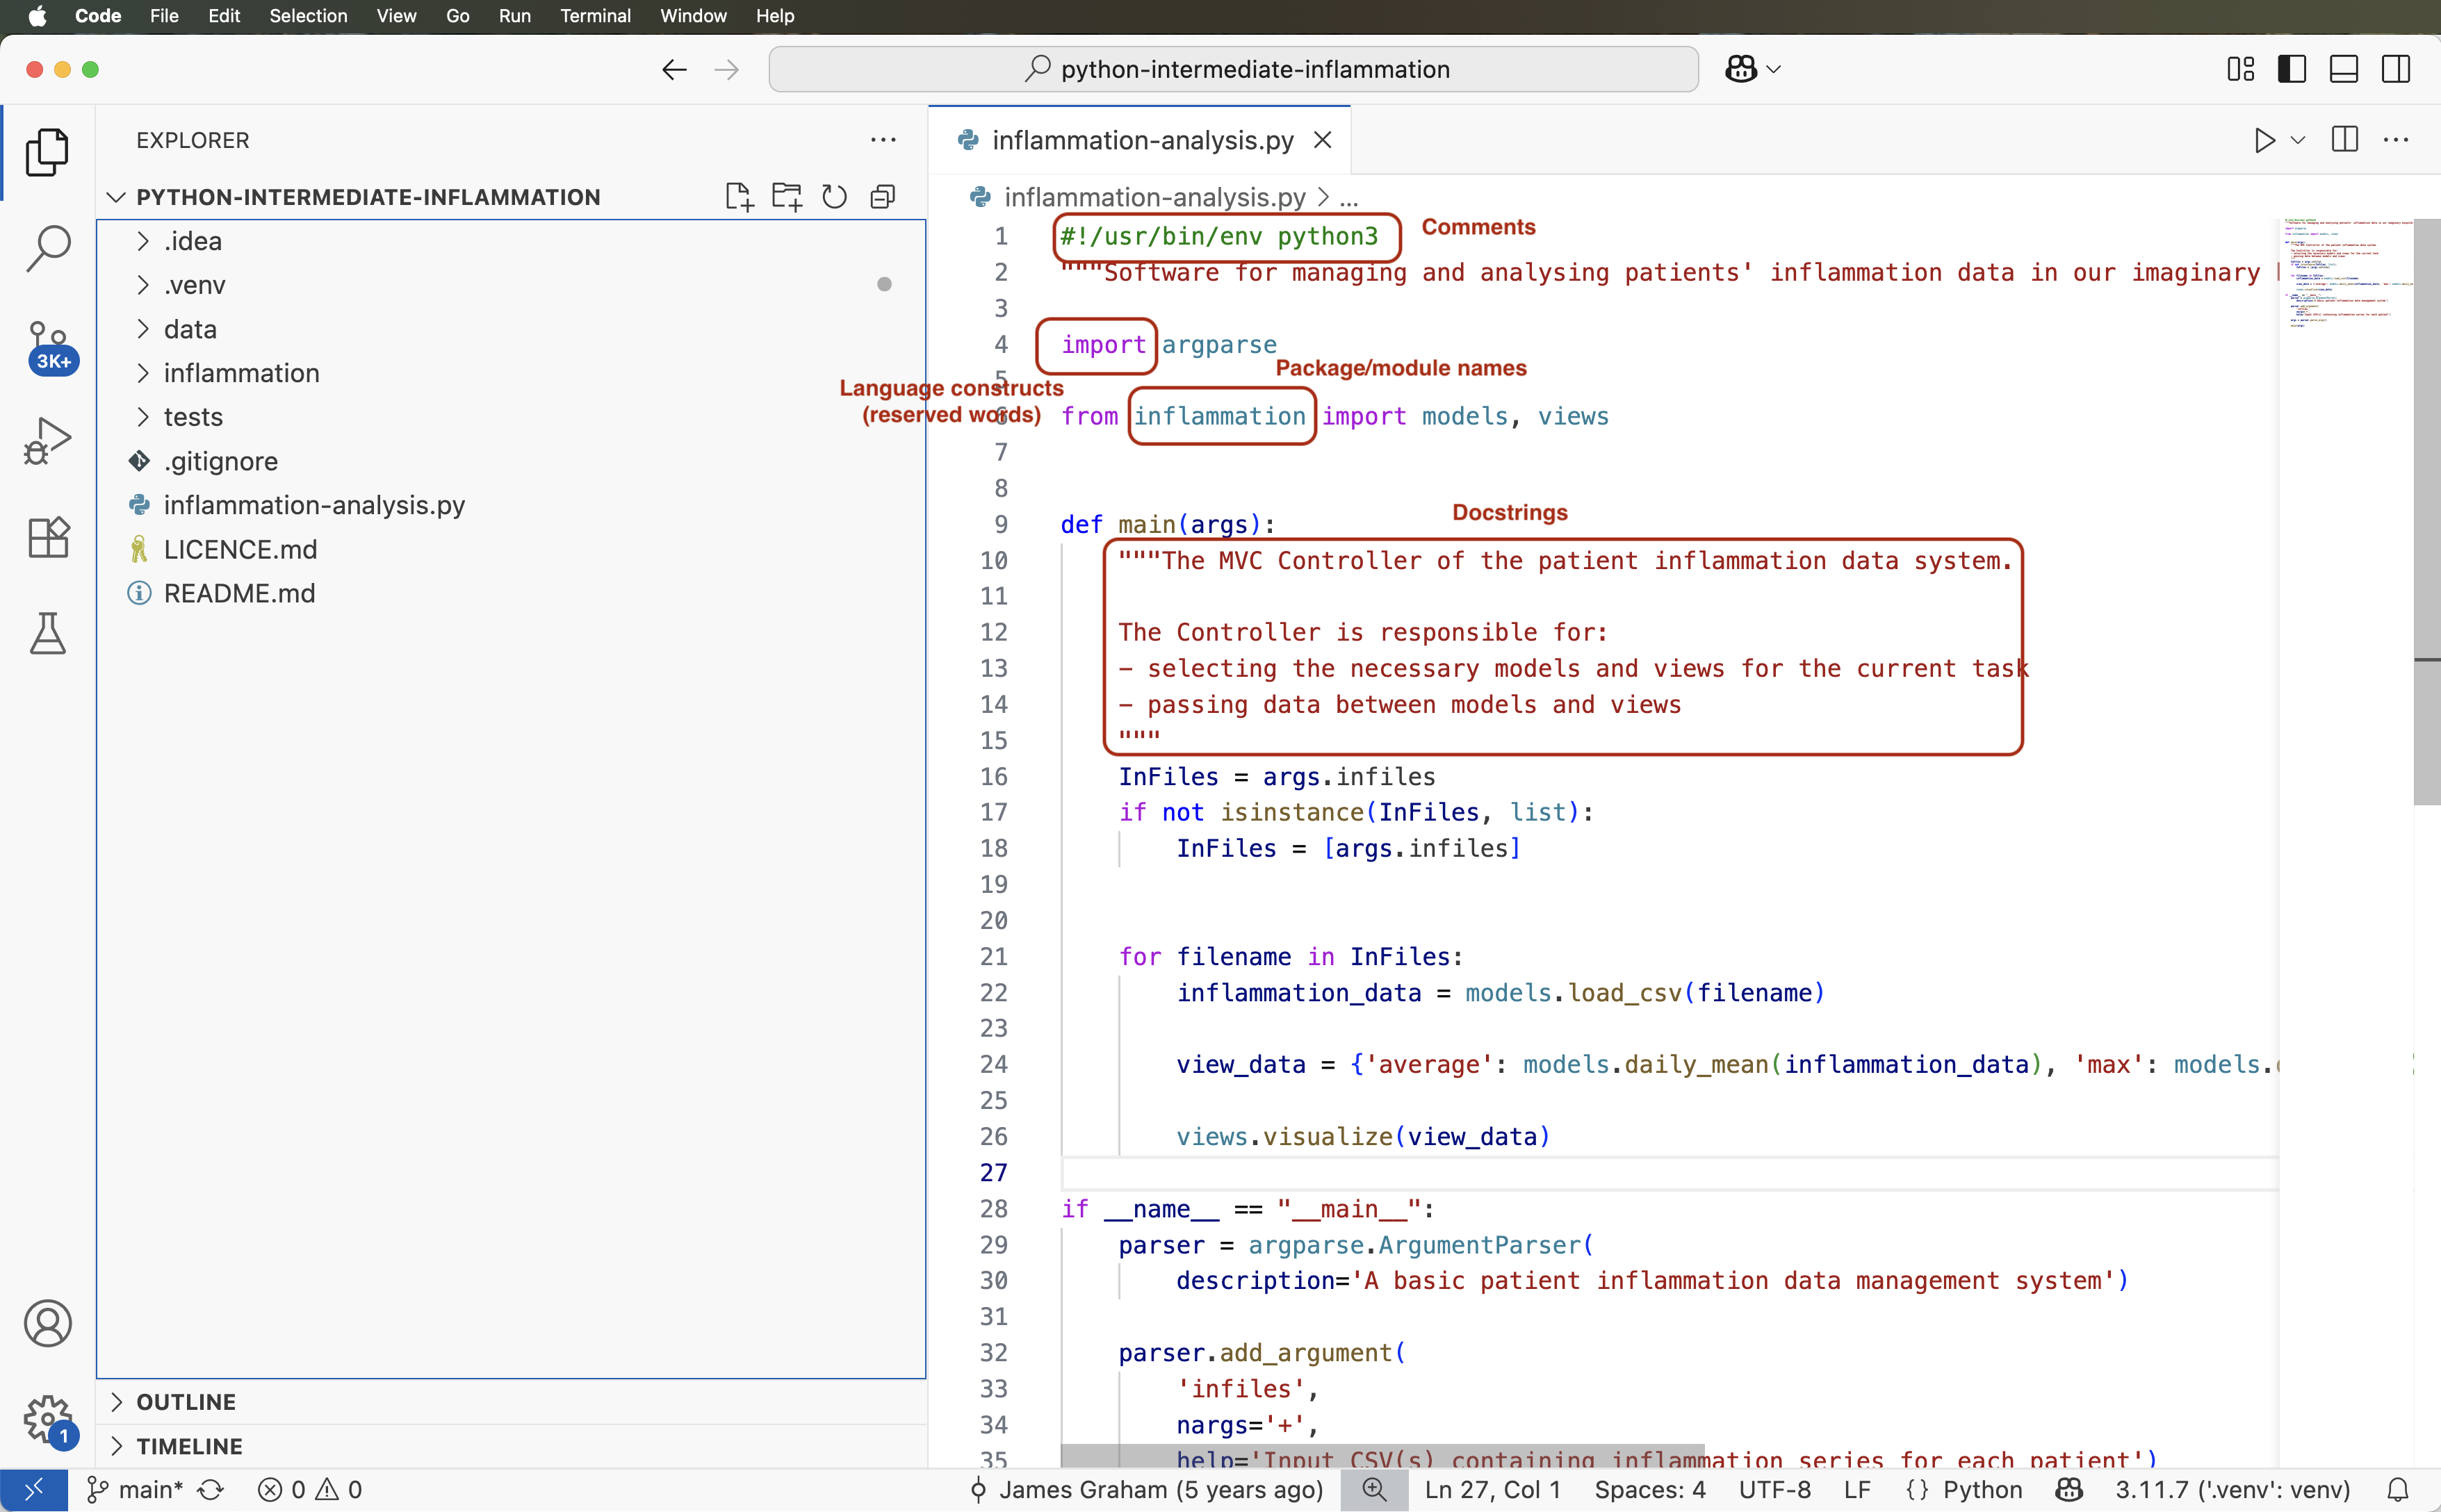
Syntax Highlighting
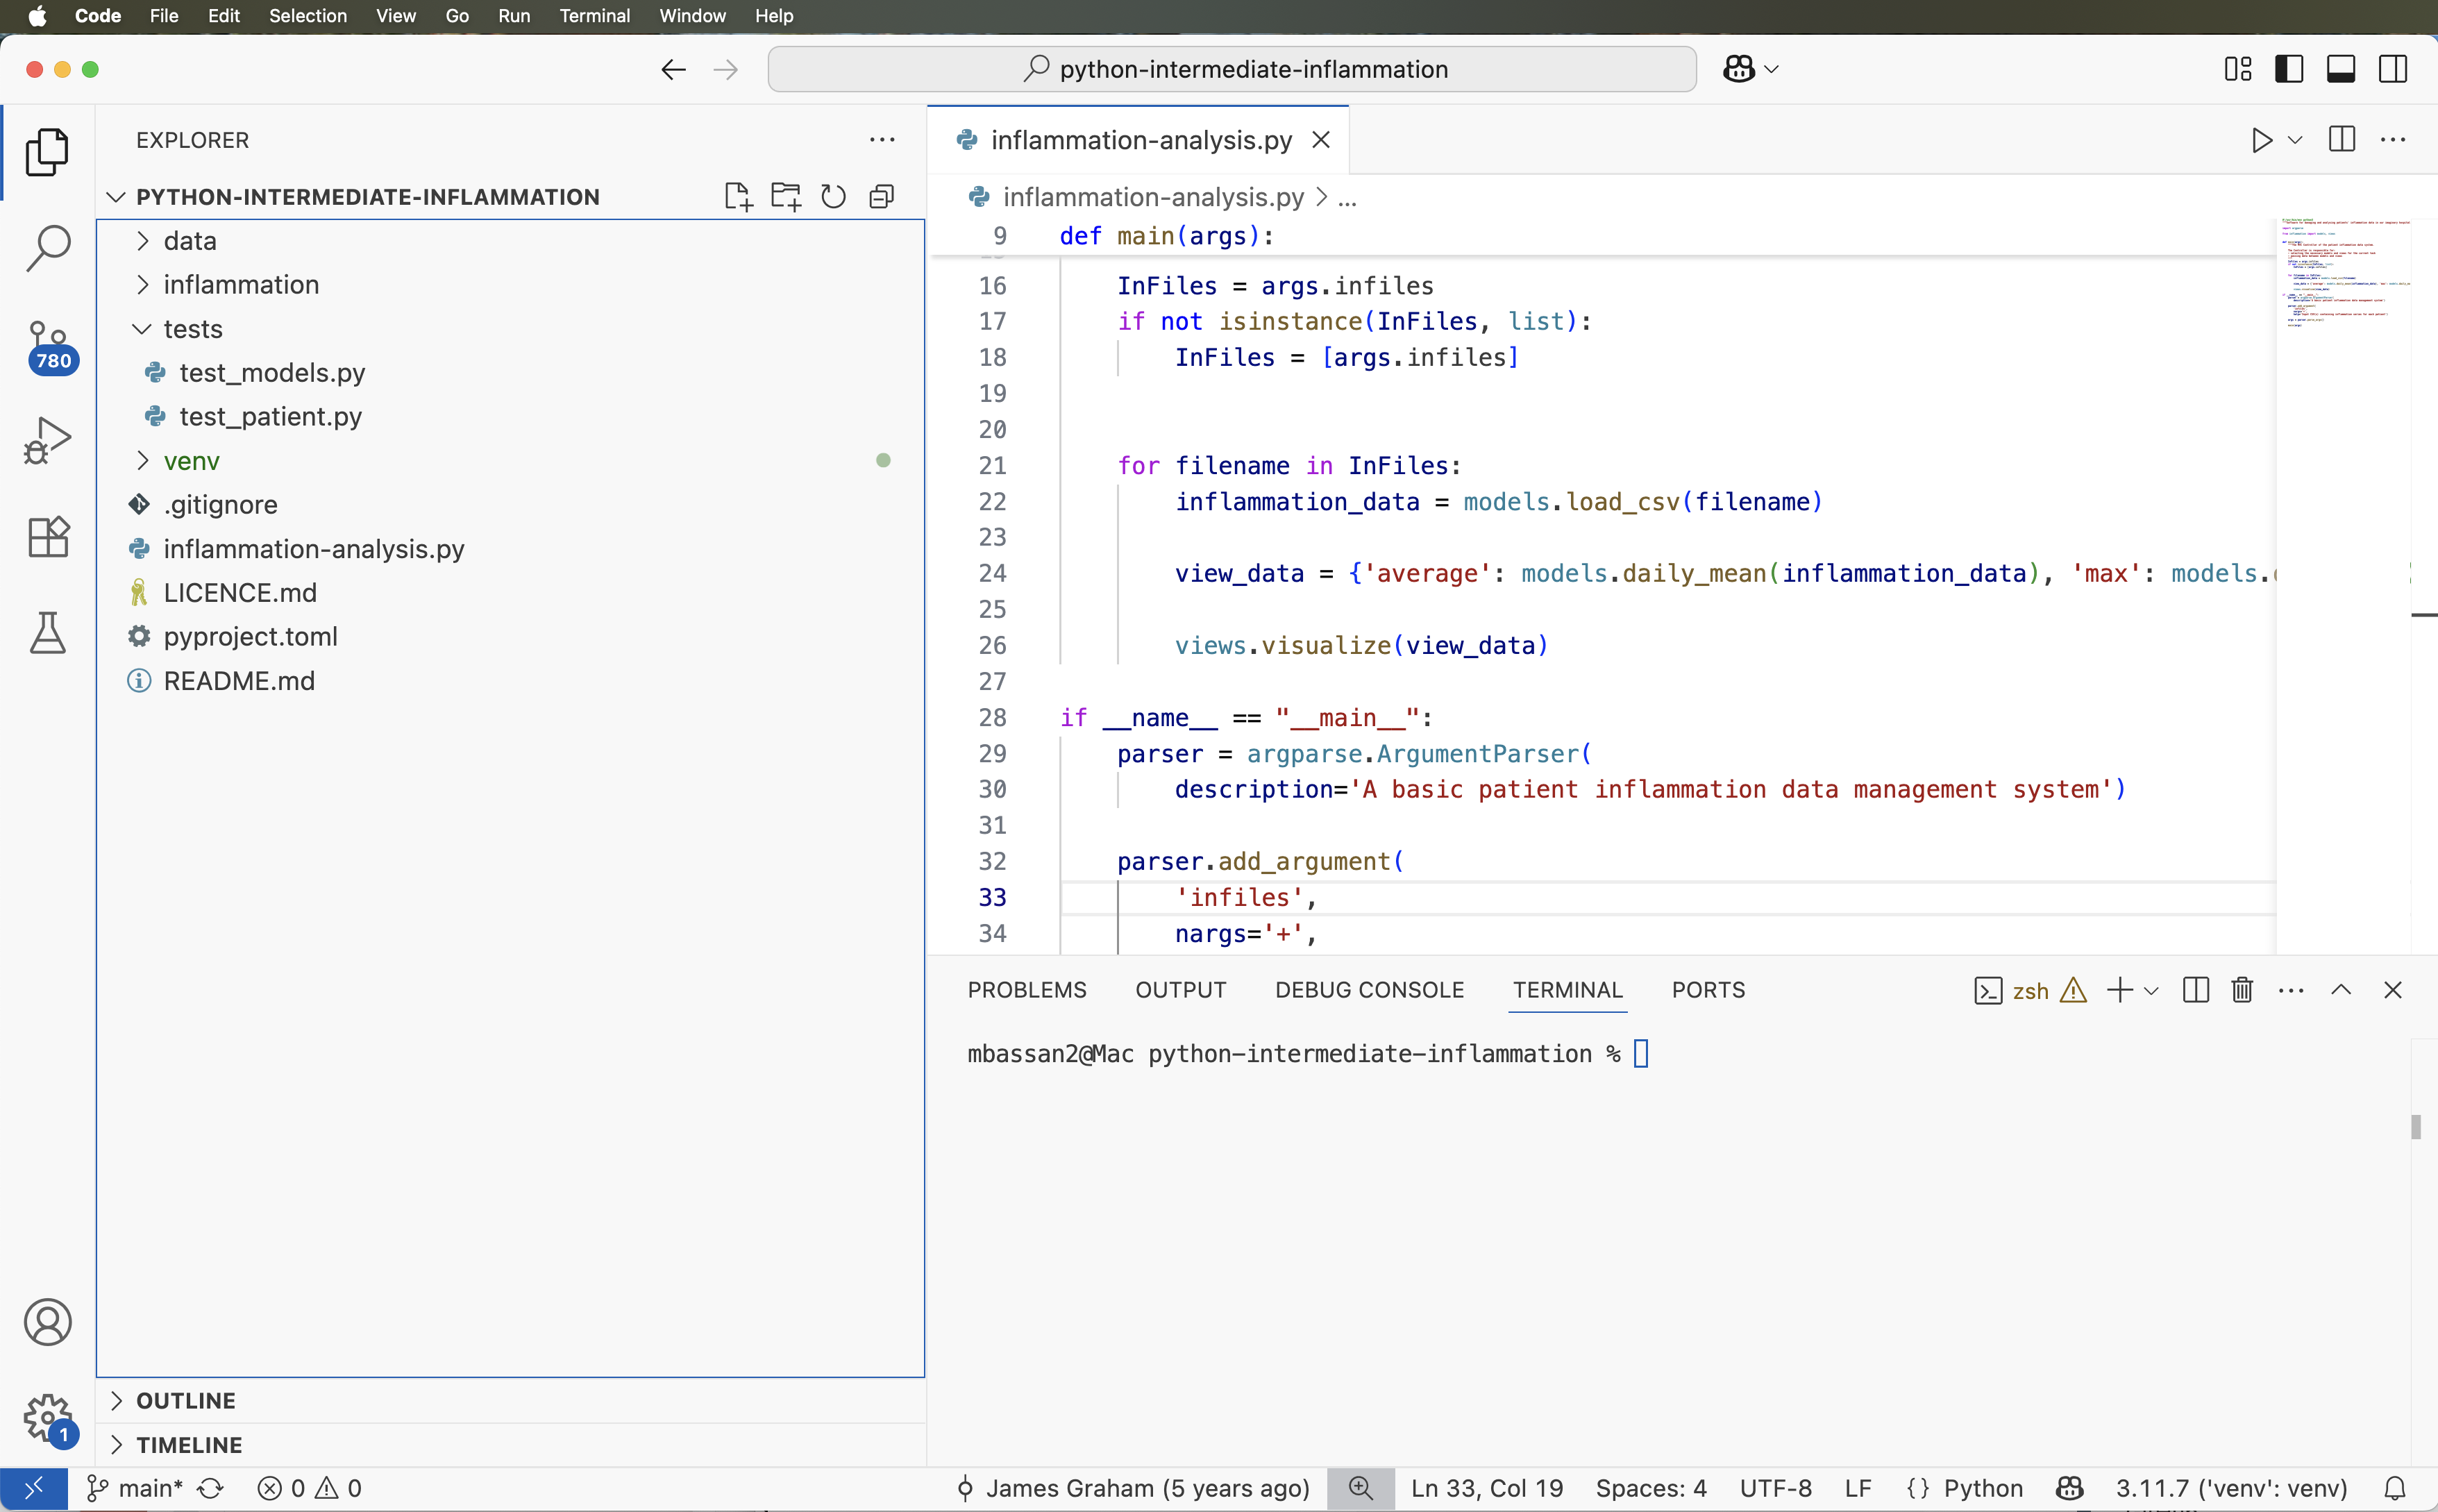
The first thing you may notice is that code is displayed using different colours. Syntax highlighting is a feature that displays source code terms in different colours and fonts according to the syntax category the highlighted term belongs to. It also makes syntax errors visually distinct. Highlighting does not affect the meaning of the code itself - it is intended only for humans to make reading code and finding errors easier.
Code Completion
As you start typing code, the IDE will offer to complete some of the code for you in the form of an auto completion popup. This is a context-aware code completion feature that speeds up the process of coding (e.g. reducing typos and other common mistakes) by offering available variable names, functions from available packages, parameters of functions, hints related to syntax errors, etc.
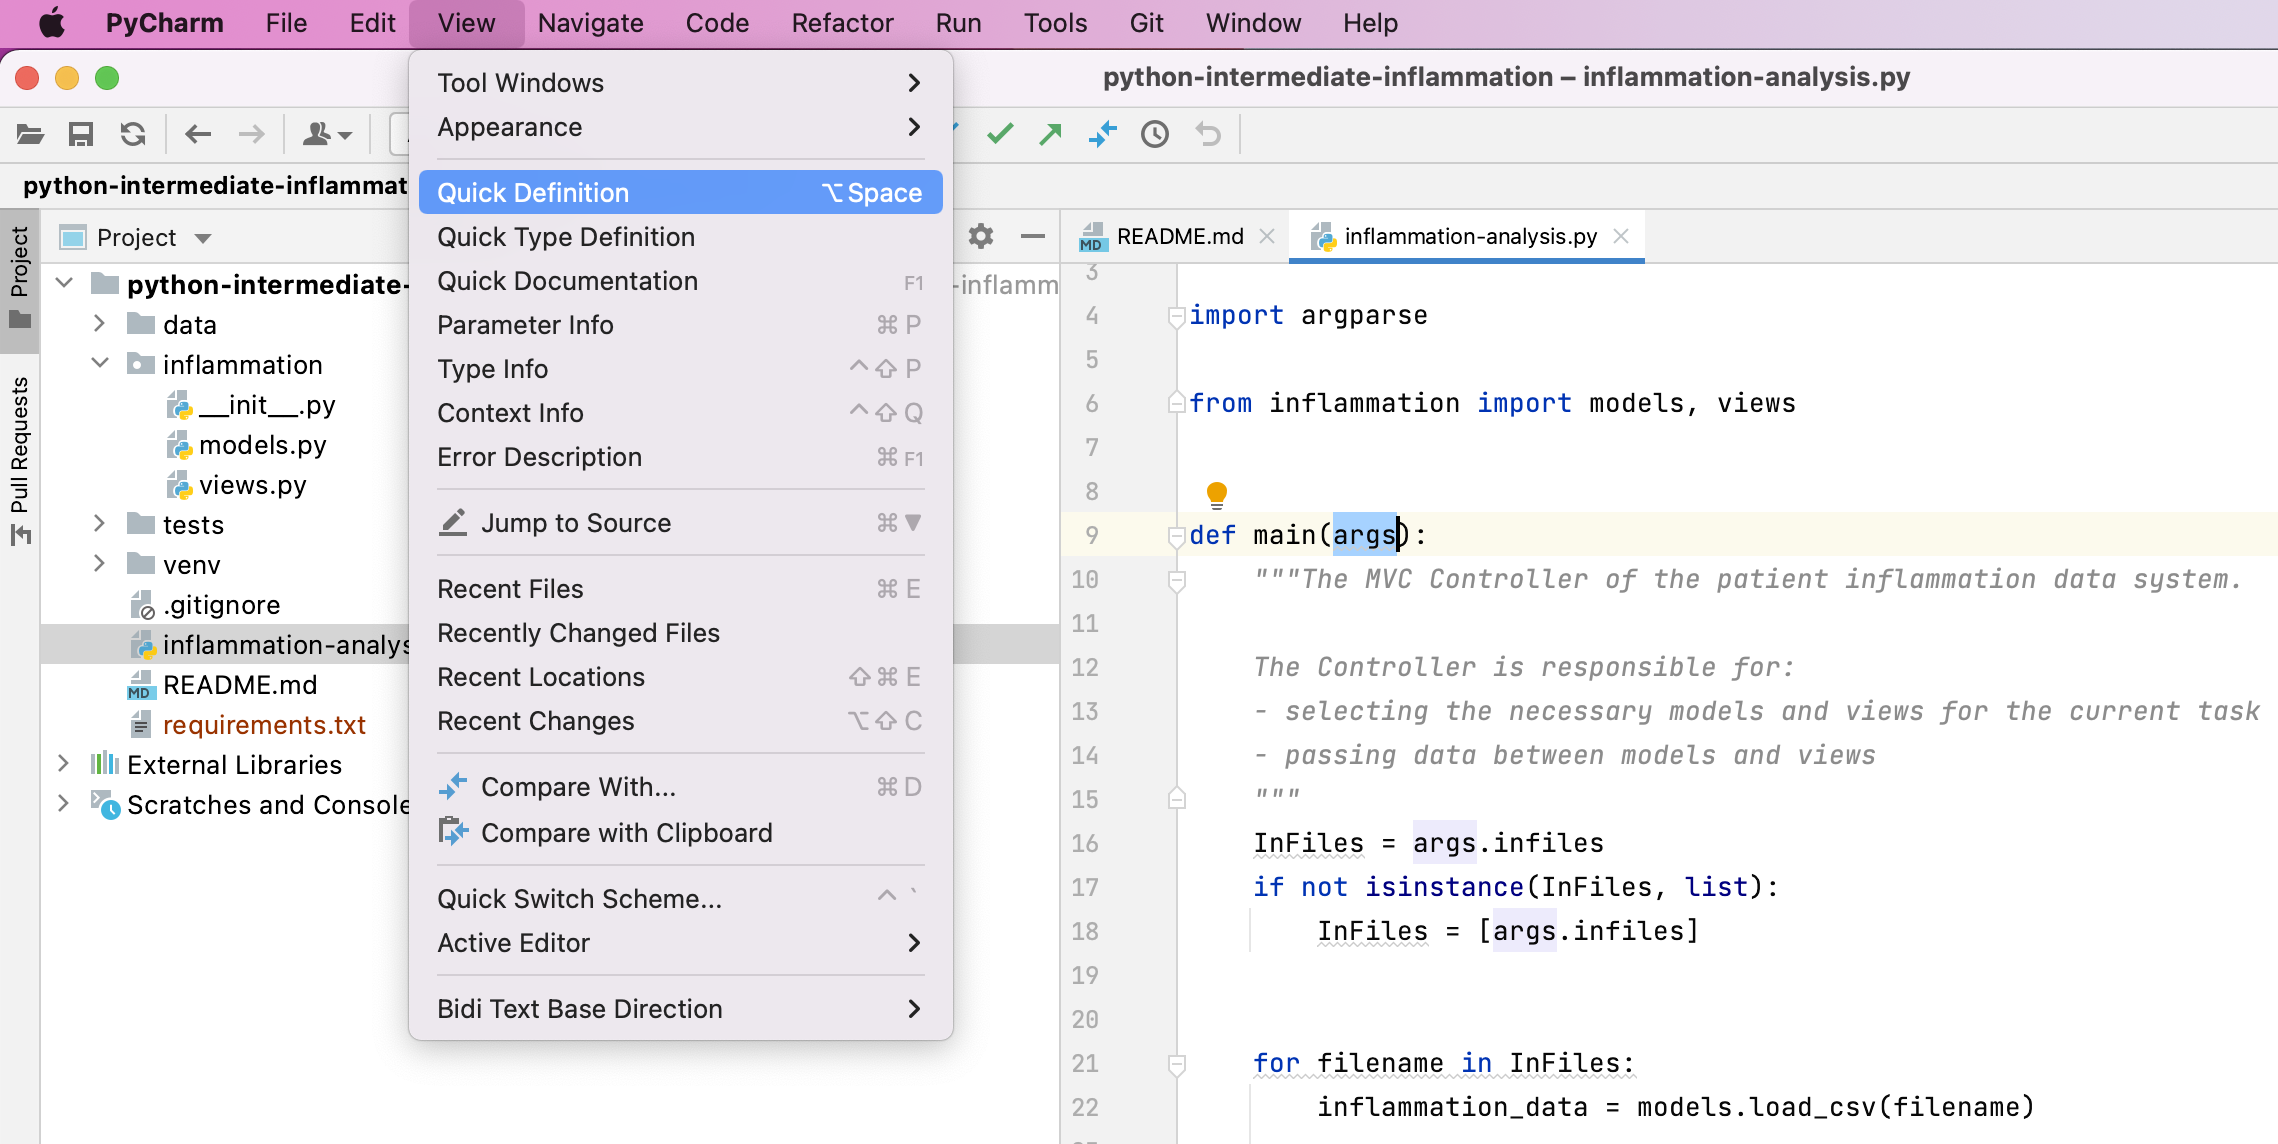
Code Definition & Documentation References
You will often need code reference information to help you code. The IDE shows this useful information, such as definitions of symbols (e.g. functions, parameters, classes, fields, and methods) and documentation references by means of quick popups and inline tooltips.
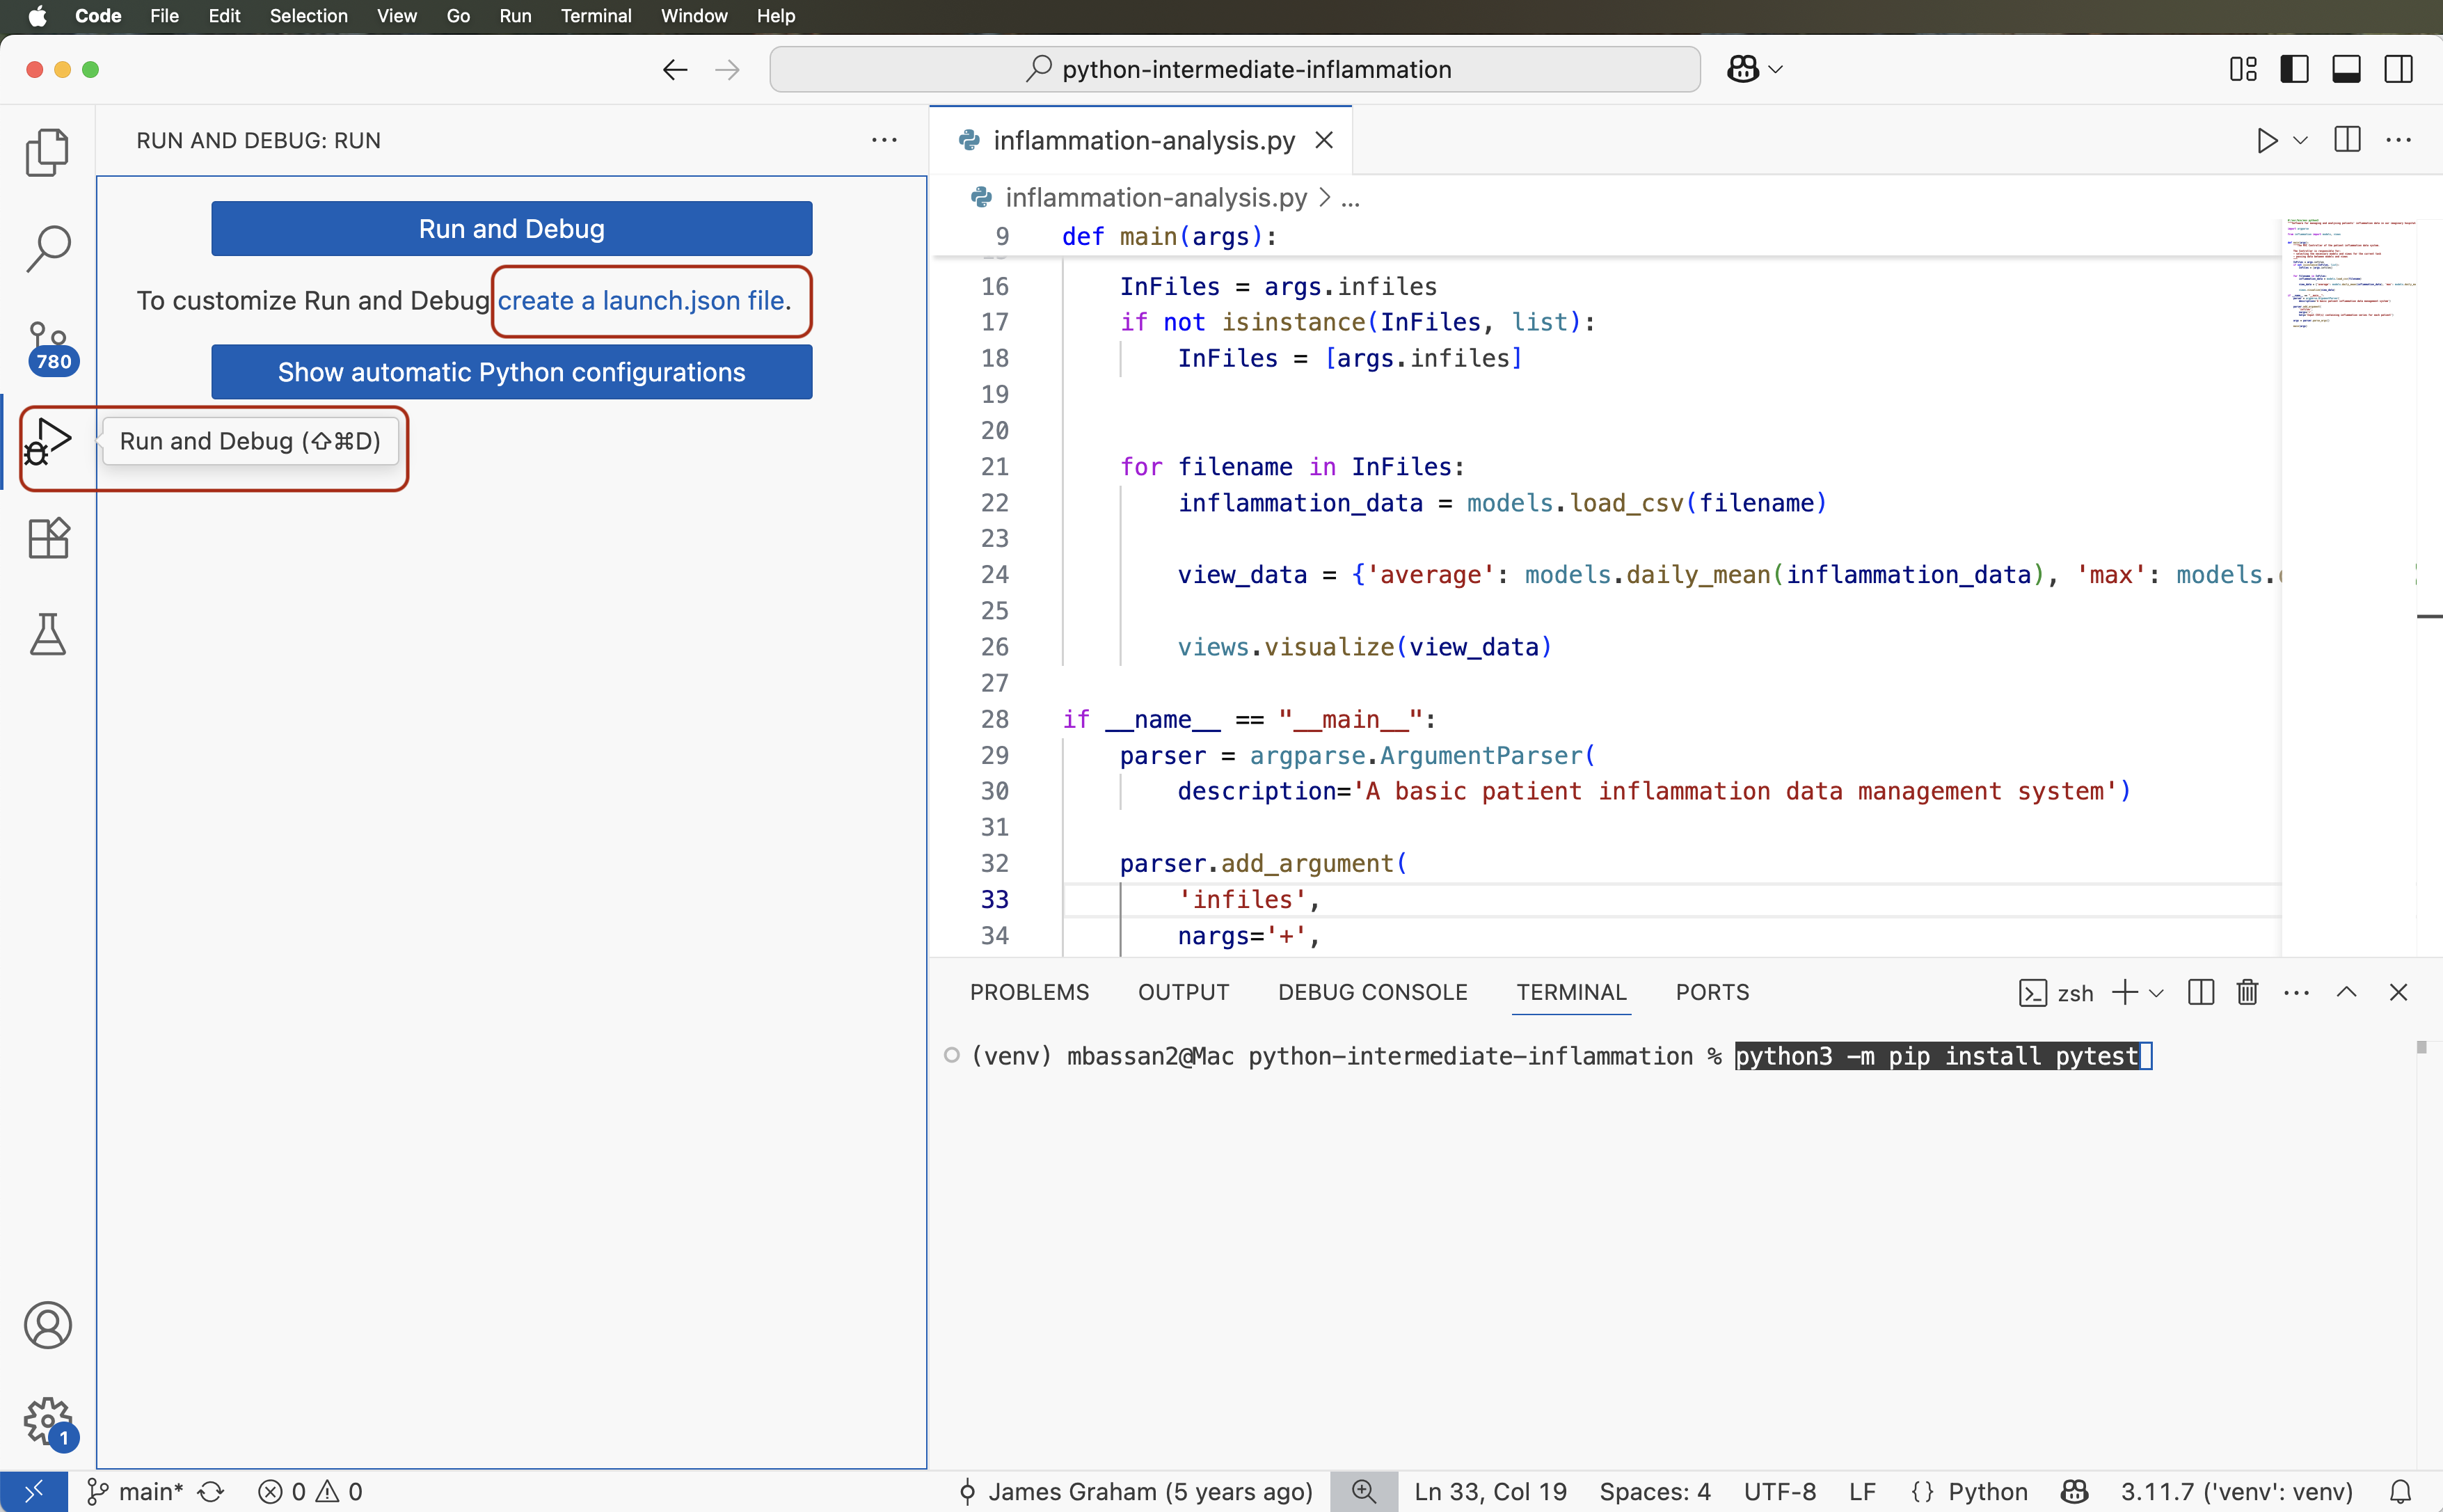
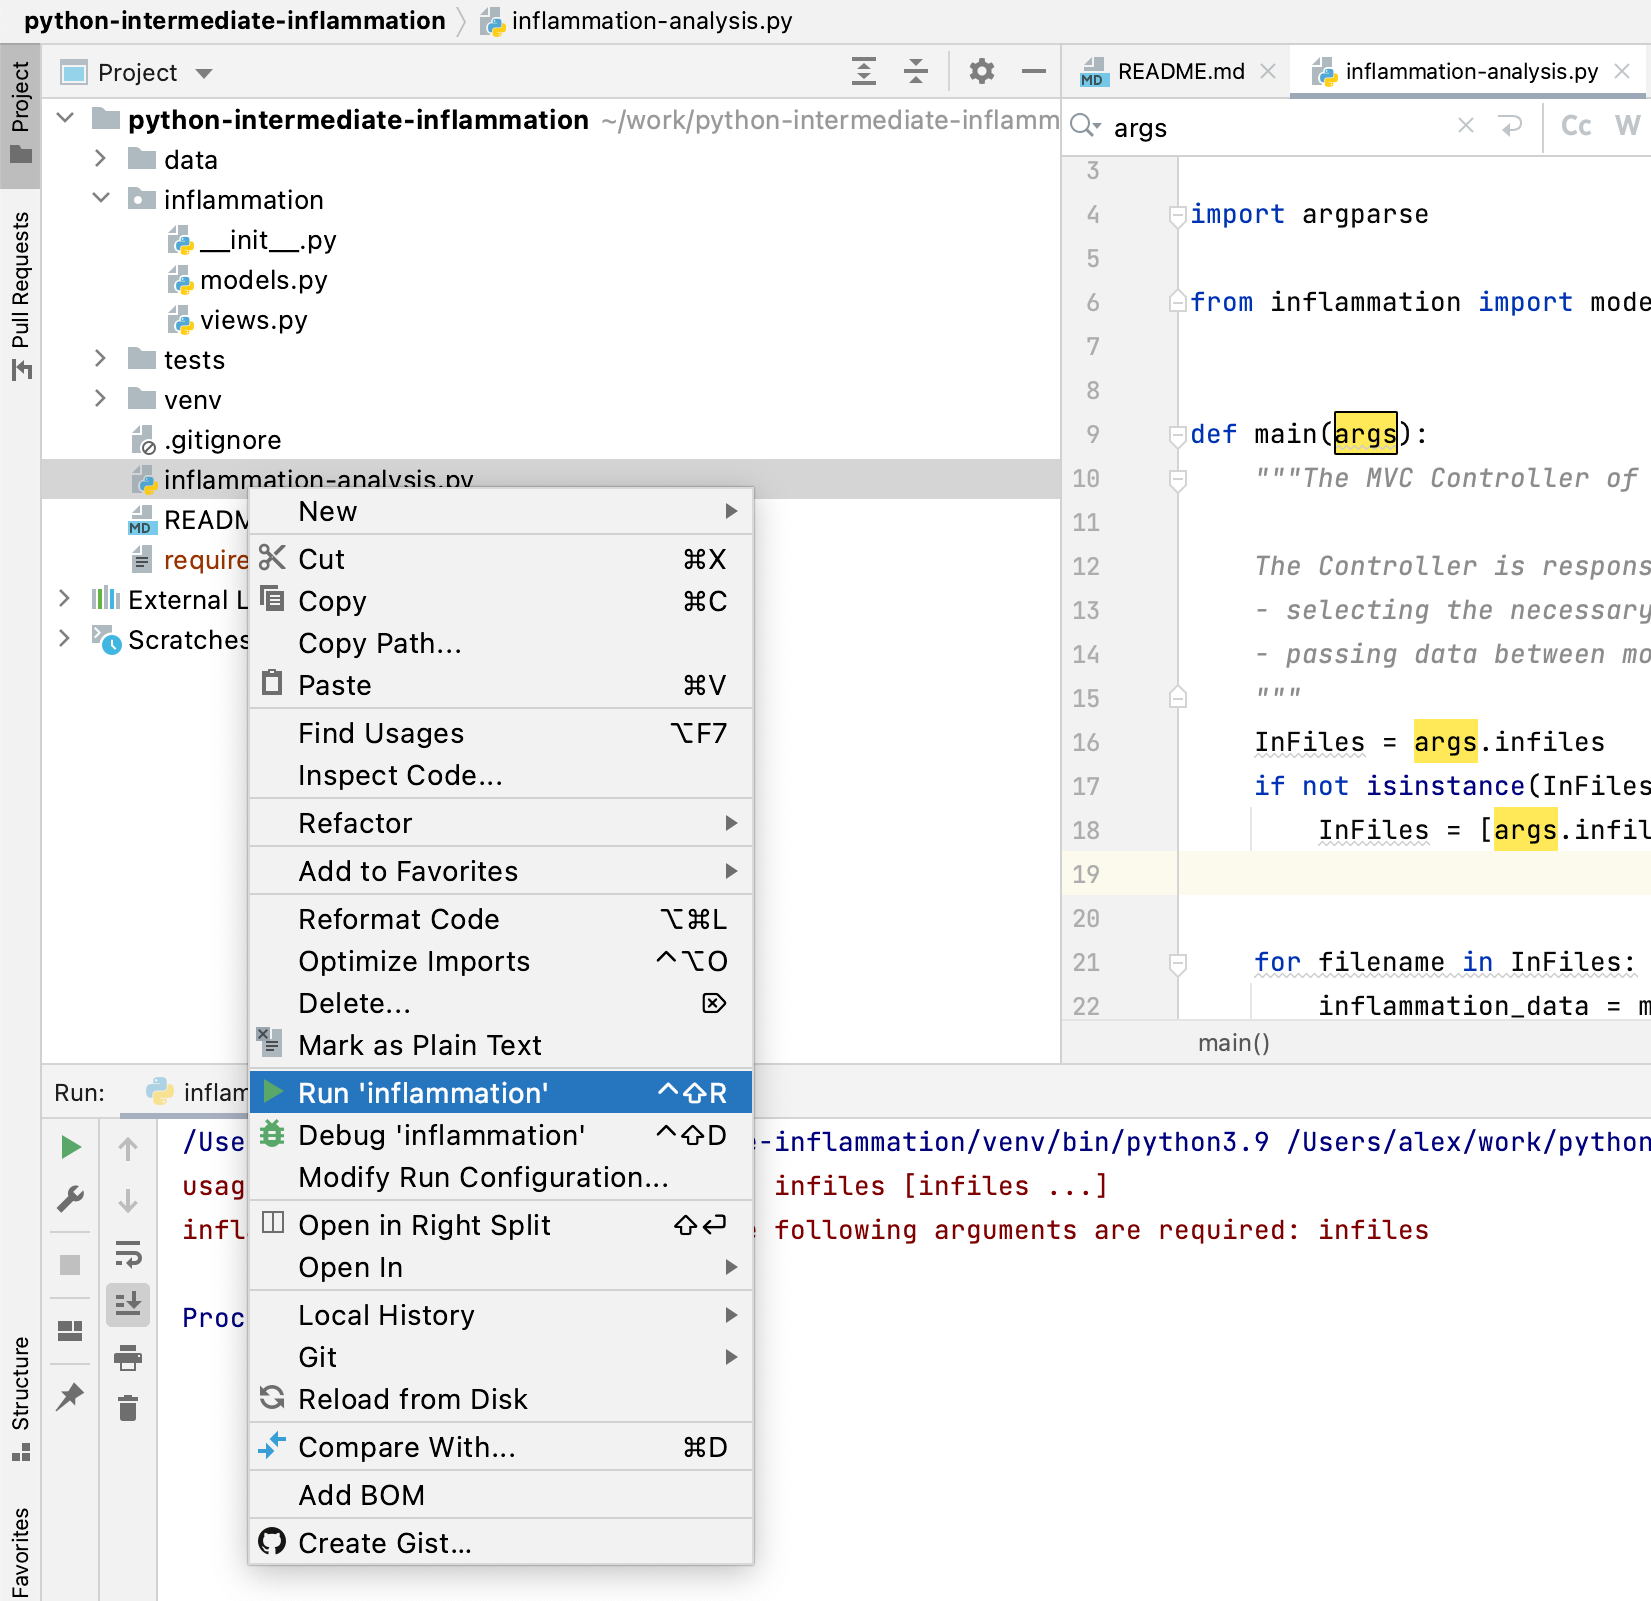
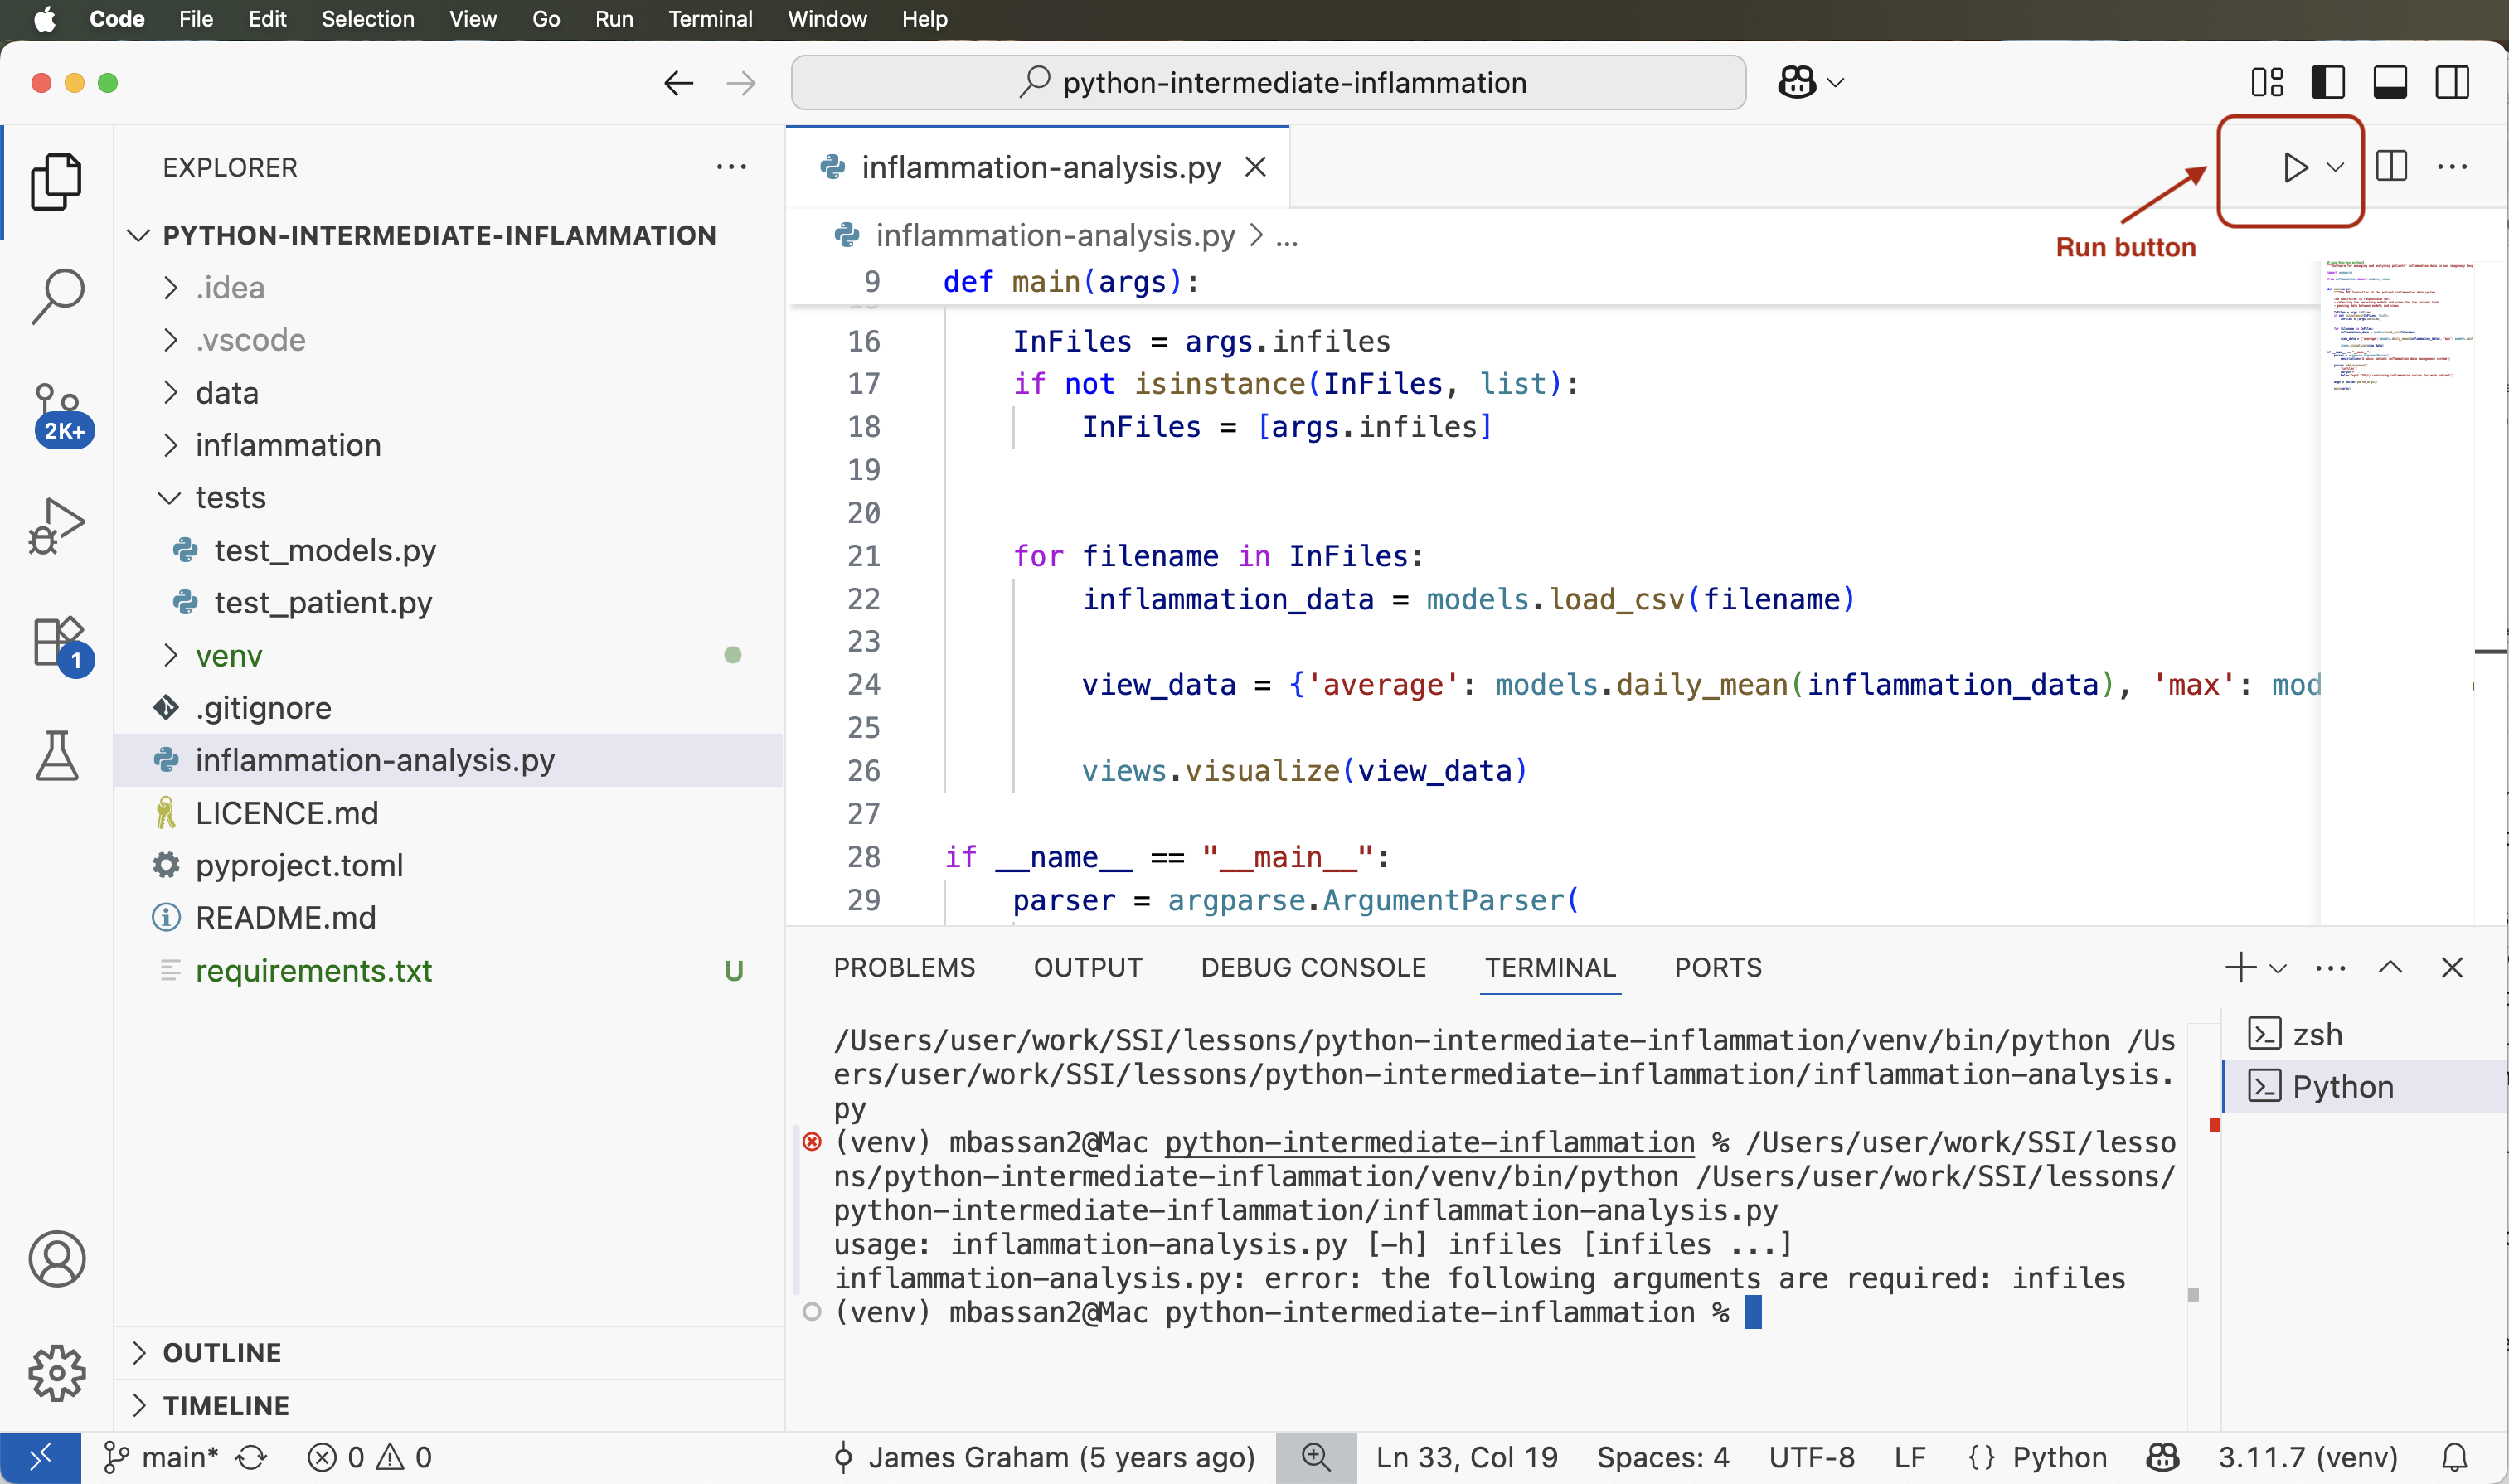
Running Code from IDE
We have configured our environment and explored some of the most commonly used IDE features and are now ready to run our Python script from the IDE.
Running code using the graphical interface of an IDE provides a simple, user-friendly way to execute programs with just a click, reducing the need type commands manually in the command line terminal. On the other hand, running code from a terminal window in an IDE offers the flexibility and control of the command line — both approaches complement each other by supporting different user preferences and tasks within the same unified environment.
In this lesson, we prioritise using the command line and typing commands whenever possible, as these skills are easily transferable across different IDEs (with a note that you should feel free to use other equivalent ways for doing things that suit you more). However, for tasks like debugging - where the graphical interface offers significant advantages — we will make use of the IDE’s built-in visual tools.
The new terminal window will open at the bottom of the IDE window (or could be on the side - depending on how panes are split in your IDE), the script will be run inside it and the result will be displayed as:
OUTPUT
/Users/alex/work/python-intermediate-inflammation/venv/bin/python /Users/alex/work/python-intermediate-inflammation/inflammation-analysis.py
usage: inflammation-analysis.py [-h] infiles [infiles ...]
inflammation-analysis.py: error: the following arguments are required: infiles

Process finished with exit code 2
This is the same error we got when running the script from the
command line! Essentially what happened was the IDE opened a command
line terminal within its interface and executed the Python command to
run the script for us (python3 inflammation-analysis.py) -
saving us some typing. You can carry on to run the Python script in
whatever way you find more convenient - some developers prefer to type
the commands in a terminal manually as that gives the feel of having
more control over what is happening and what commands are being
executed.
We will get back to the above error shortly - for now, the good thing is that we managed to set up our project for development both from the command line and IDE and are getting the same outputs. Before we move on to fixing errors and writing more code, let us have a look at the last set of tools for collaborative code development which we will be using in this course - Git and GitHub.
Optional exercises
Checkout this optional exercise to try out different IDEs and code editors.
- An IDE is an application that provides a comprehensive set of facilities for software development, including syntax highlighting, code search and completion, version control, testing and debugging.
- IDEs like PyCharm and VS Code recognise virtual environments
configured from the command line using
venvandpip.

