All Images
Introduction
Accessing packages
Figure 1
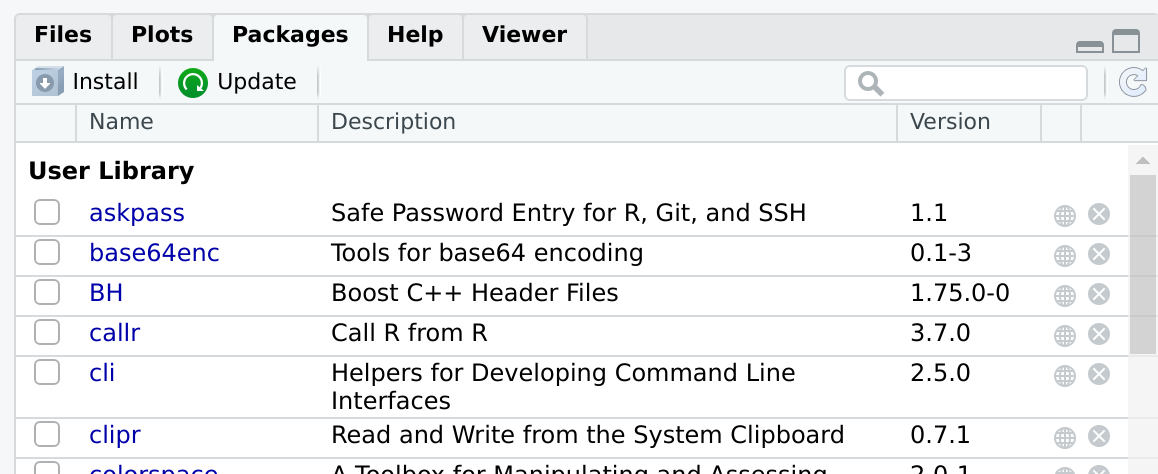
Packages tab
Figure 2

Install prompt
Figure 3
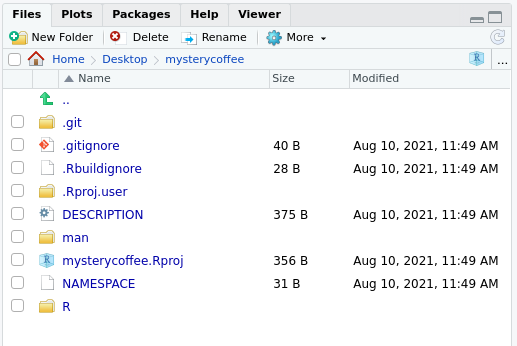
Build
Getting started
Figure 1
New project menu
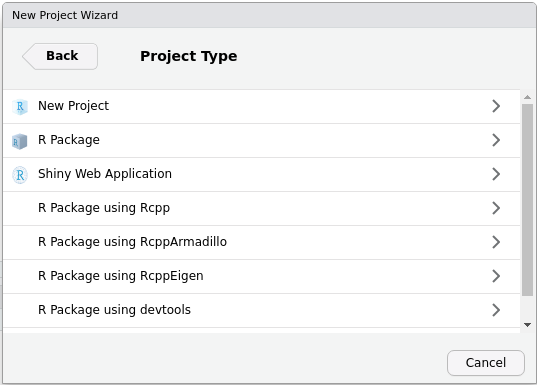
Figure 2
New project menu
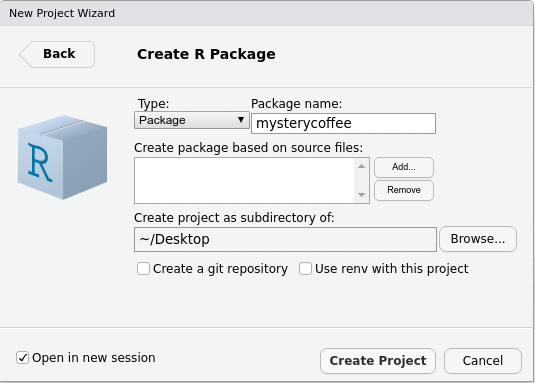
Figure 3
New project menu
Figure 4
Install and restart
Writing our own functions
Licenses
Testing
Figure 1
Test package
Figure 2
Check package
Managing dependencies
Documenting your package
Figure 1
Build More Configure Build Tools. You’ll see a menu like
this: 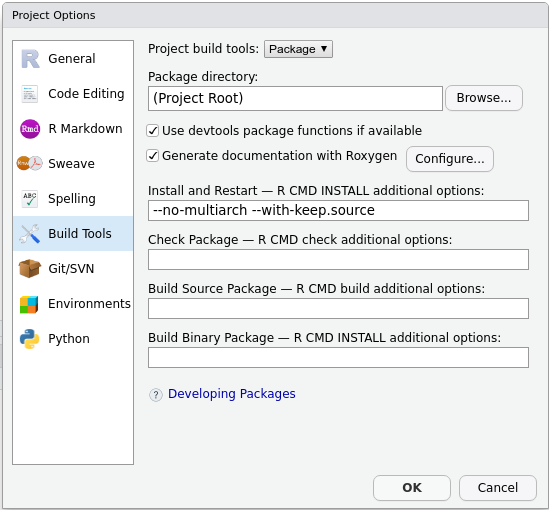
Figure 2
Generate documentation with Roxygen. A new menu
will appear: 
Figure 3
Roxygen skeleton
Figure 4
Document
Figure 5
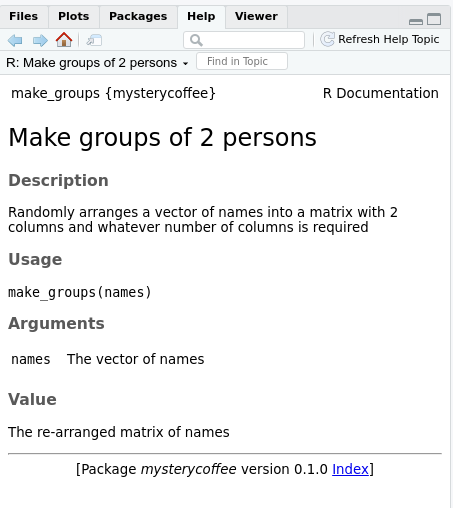
Help
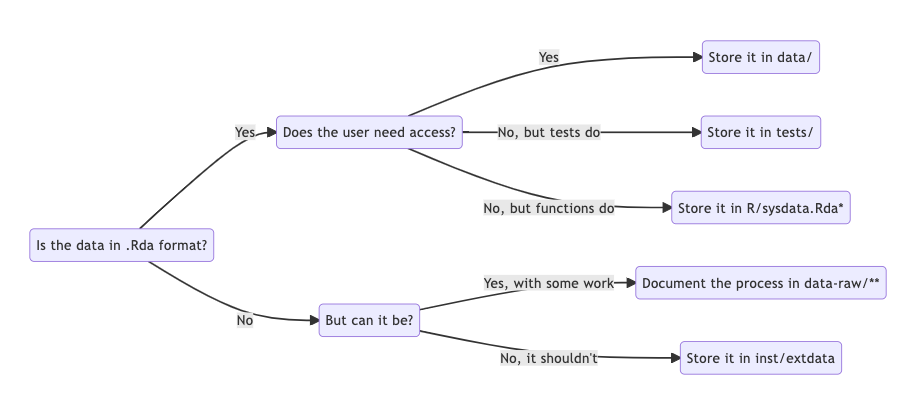
Data
Figure 1
Vignettes
Figure 1
Knitting an R Markdown document