Image 1 of 1: ‘Blue Carpentries hex person logo with no text.’

You belong in The Carpentries!
Image 1 of 1: ‘An image of the Raspberry Pi Zero’
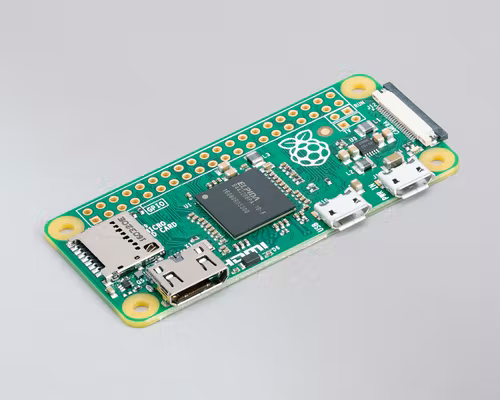 Raspberry Pi Zero
|
Image 1 of 1: ‘An image of the Raspberry Pi Zero W’
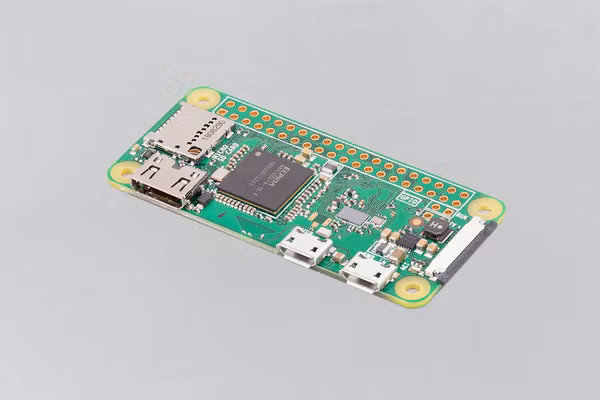 Raspberry Pi Zero W
|
Image 1 of 1: ‘An image of the Raspberry Pi Zero 2W’
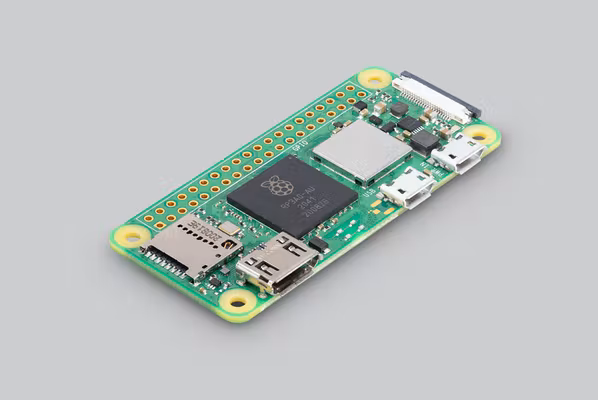 Raspberry Pi Zero 2W
|
Image 1 of 1: ‘An image of the Raspberry Pi 3 model A+’
 Raspberry Pi 3 model A+
|
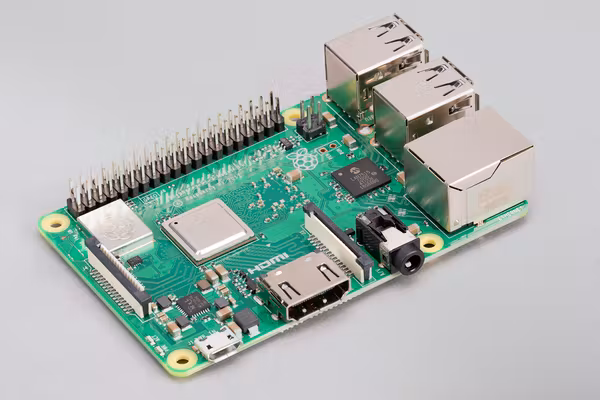
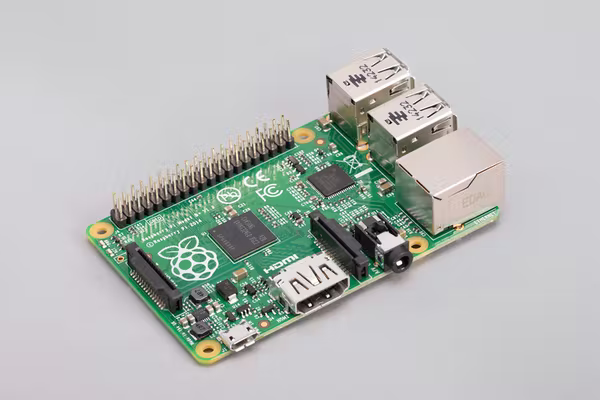
Image 1 of 1: ‘An image of the Raspberry Pi 3 model B’
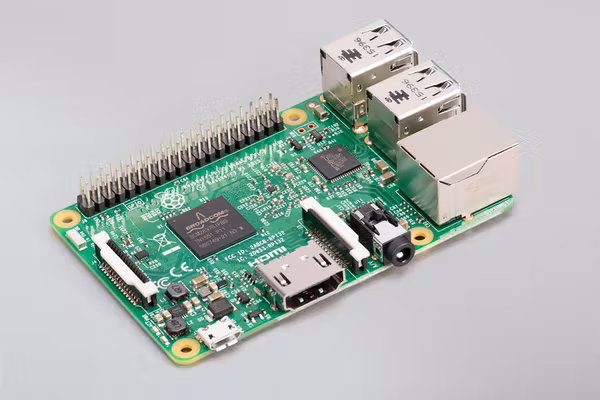 Raspberry Pi 3 model B
|
Image 1 of 1: ‘An image of the Raspberry Pi 3 model B+’
 Raspberry Pi 3 model B+
|
Image 1 of 1: ‘An image of the Raspberry Pi 4 model B’
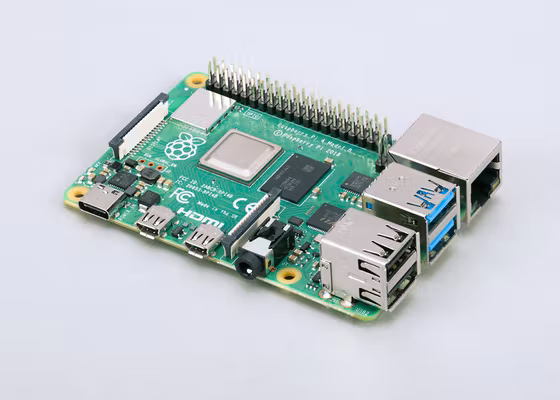 Raspberry Pi 4 model B
|
Image 1 of 1: ‘An image of the Raspberry Pi 400’
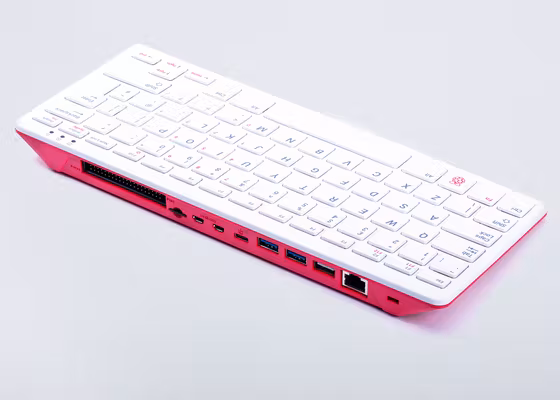 Raspberry Pi 400
|
Image 1 of 1: ‘An image of the Raspberry Pi pico’
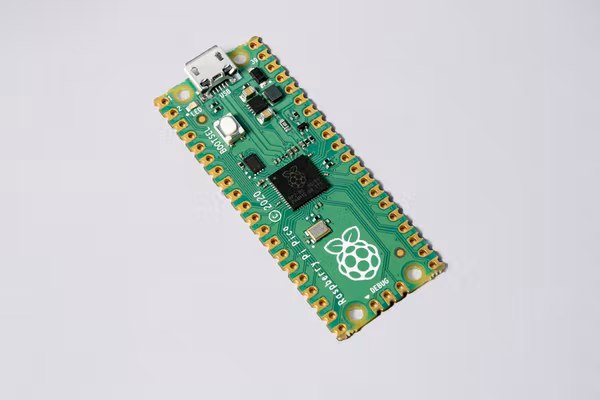 Raspberry Pi pico
|
Image 1 of 1: ‘An image of the Raspberry Pi 1 model A+’
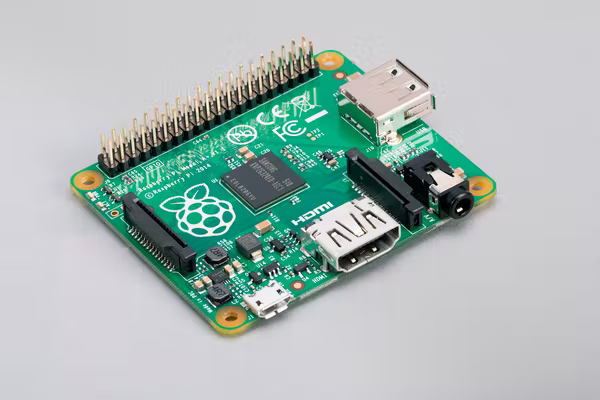 Raspberry Pi 1 model A+
|
Image 1 of 1: ‘An image of the Raspberry Pi 1 model B+’
 Raspberry Pi 1 model B+
|
Image 1 of 1: ‘An image showcasing three types of SD card (standard, mini, and micro)’
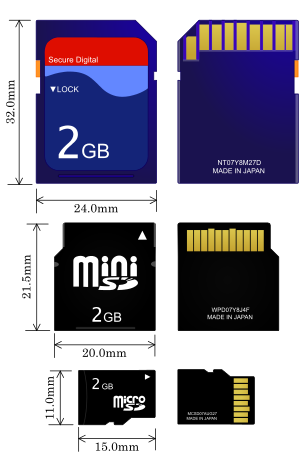
毛抜き,
CC BY-SA
3.0, via Wikimedia Commons
Image 1 of 1: ‘An image of the Raspberry Pi Imager software intro screen’
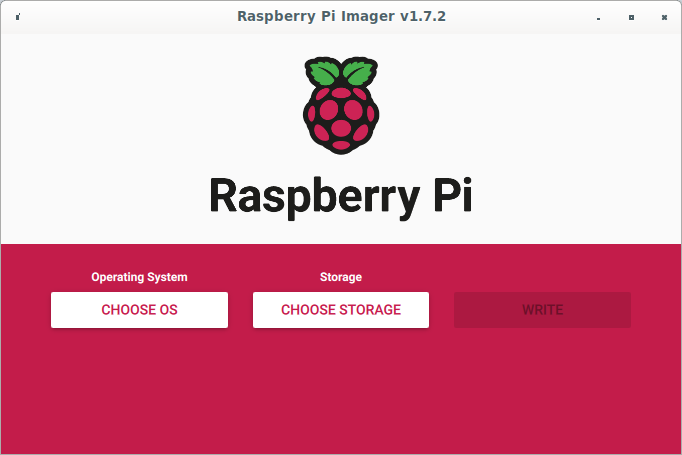
The Raspberry Pi Imager
Image 1 of 1: ‘An image of the RPi Imager software screen for selecting an image to be written to the SD card’
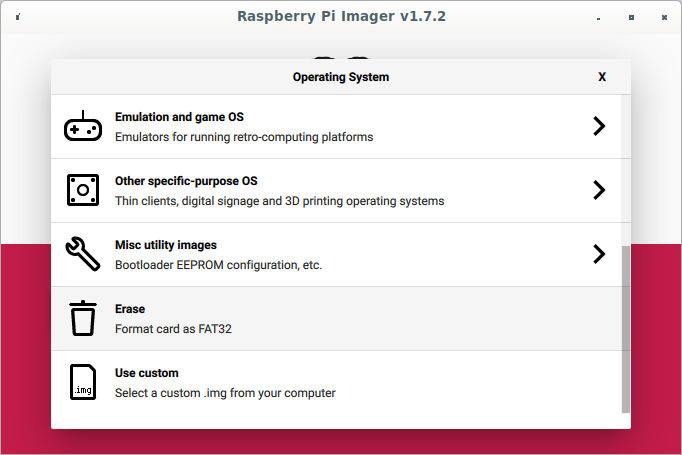
Selecting an image to write to the SD card
Image 1 of 1: ‘An image of the RPi Imager software screen for selecting the device to be written to’

Select a device to write the image to
Image 1 of 1: ‘An image of the RPi Imager software screen for confirming to overwrite the SD card’
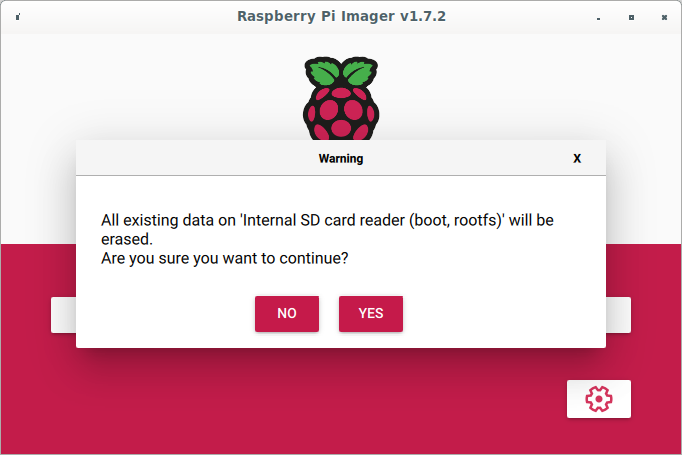
Prompt to overwrite the SD card
Image 1 of 1: ‘An image of the RPi Imager software screen while writing the image to the SD card’
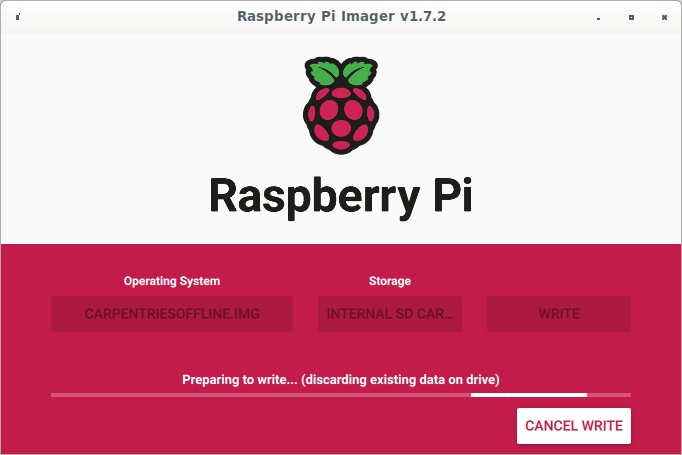
Overwriting the SD card
Image 1 of 1: ‘An image of the RPi Imager software screen after the image has been written succesfully.’
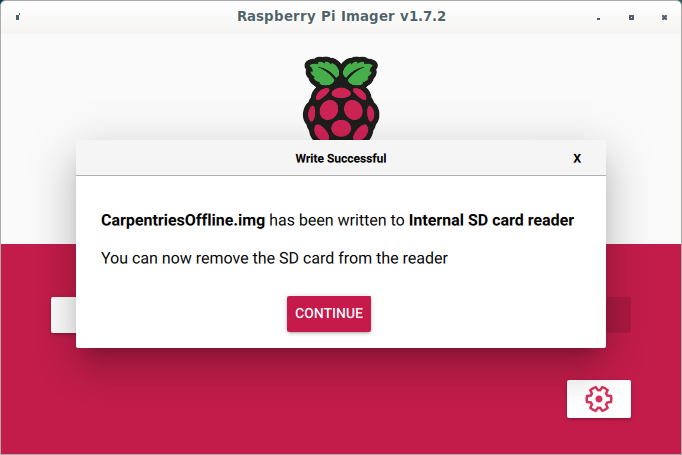
Write Successful
Image 1 of 1: ‘Blue Carpentries hex person logo with no text.’
You belong in The Carpentries!