Summary and Setup
This short course is teaching tools and practices for producing and sharing quality, sustainable and FAIR (Findable, Accessible, Interoperable and Reusable) research software to support open and reproducible research. The course can be delivered over 2 full or 4 half days.
Target Audience
- Post-graduate students or early career researchers who are starting their research projects and want to develop software to support their research using established best practices
- Researchers or scientists who had foundational software training before but wish to refresh, reinforce or improve their skills and practices in the wider context of FAIR research and sharing and writing software for open and reproducible research
Check out a few example learner profiles, to see if this course is a right fit for you.
Learning Objectives
After attending this training, you will be able to:
- List challenges typically faced by researchers developing software and managing data for modern computational research, including requirements commensurate with the FAIR (Findable, Accessible, Interoperable, Reusable) principles
- List some tools and practices that can help make your research, data and software open and FAIR
- Automate your research and enable replication of your research results by writing software to implement the research methodology
- Share and version control your software using Git and GitHub
- List best practices for developing and sharing open and sustainable software (including writing readable code,
- code documentation, licencing and citation)
- Assess if the code does what it intends to do
- List tools and techniques for collaborative and sustainable software development and maintenance
Prerequisites
Before joining this training, participants should have foundational knowledge of Python or another programming language used to write scientific code, Git and a command line (shell) tool. While we are not focussing on teaching you to code in Python or write Command Line tool scripts, we will be using code and command examples and will be teaching you how to use these tools in combination to make your research and work more automated and reproducible so basic understanding would be very beneficial. Attending a Software Carpentry or a similar course could help with these requirements and gaining necessary prerequisite skills.
Please also make sure you have the required software installed before attending this course.
Setup
To go through the course material on your own or at a workshop, you will need the following software installed and working correctly on your system:
-
Command line tool (such
as Bash, Zsh or Git
Bash)
- Git version control program
- GitHub account
- Python 3
- Visual Studio Code (VS Code) integrated development environment (IDE)
- Astronaut data and analysis code which we will be used for exercises in the course
The installation instructions for these tools are below.
Command Line Tool
You will need a command line tool (also referred to as a terminal or a shell) in order to run Python scripts, various commands that interact with your filesystem and use Git.
Windows
Windows users will have to install Git Bash (which is included in Git For Windows package). This will install the Bash command line tool emulation and Git command line tool together (which will behave in the same way as in Linux environments).
Note that the use of Windows command line tools
Powershell or cmd is not suitable for the
course. We also advise against using Windows Subsystem
for Linux (WSL) for this course as we do not provide instructions
for troubleshooting any potential issues between WSL and Visual Studio
Code (VS Code).
The Git Bash installation presents the user with lots of configuration options - we recommend changing the following two and accepting the default values for all of the others:
- “Git Editor” option for Git Bash - by default this is set to
Vim; make sure to select VS Code
instead -
if that option is available to you - otherwise accept the default option and we will help you change that later on; - “Adjusting the name of the initial branch in new repositories” option - by default this is set to “Let Git decide”; make sure to select the “Override the default branch name for new repositories” option and type the name “main” in the text field.
macOS and Linux
MacOS and Linux users will already have a command line tool available on their systems. You can use a command line tool such as Bash, or any other command line tool that has similar syntax to Bash, since none of the content of this course is specific to Bash. Note that starting with macOS Catalina, Macs will use Zsh (Z shell) as the default command line tool instead of Bash.
Git Version Control Program
Git is a program that is run from within a command line tool to provide version control for your work. Git is also used to interact with online code and project sharing platform GitHub.
Follow the installation instructions below, then proceed to test and configure Git on your machine in additional steps.
Windows
Windows users will have to use Git Bash - as explained in the command line tool installation section.
macOS and Linux
On macOS, Git is included as part of Apple’s Xcode tools and should be available from the command line as long as you have Xcode. If you do not have Xcode installed, you can download it from Apple’s App Store or you can install Git using alternative methods.
On Linux, Git can be installed using your favourite package manager.
Testing Git
To test your Git installation, start your command line tool and type:
If your Git installation is working you should see something like:
OUTPUT
usage: git [-v | --version] [-h | --help] [-C <path>] [-c <name>=<value>]
           [--exec-path[=<path>]] [--html-path] [--man-path] [--info-path]
           [-p | --paginate | -P | --no-pager] [--no-replace-objects] [--bare]
           [--git-dir=<path>] [--work-tree=<path>] [--namespace=<name>]
           [--config-env=<name>=<envvar>] <command> [<args>]

These are common Git commands used in various situations:

start a working area (see also: git help tutorial)
   clone     Clone a repository into a new directory
   init      Create an empty Git repository or reinitialize an existing one

work on the current change (see also: git help everyday)
   add       Add file contents to the index
   mv        Move or rename a file, a directory, or a symlink
   restore   Restore working tree files
   rm        Remove files from the working tree and from the index

examine the history and state (see also: git help revisions)
   bisect    Use binary search to find the commit that introduced a bug
   diff      Show changes between commits, commit and working tree, etc
   grep      Print lines matching a pattern
   log       Show commit logs
   show      Show various types of objects
   status    Show the working tree status

grow, mark and tweak your common history
   branch    List, create, or delete branches
   commit    Record changes to the repository
   merge     Join two or more development histories together
   rebase    Reapply commits on top of another base tip
   reset     Reset current HEAD to the specified state
   switch    Switch branches
   tag       Create, list, delete or verify a tag object signed with GPG

collaborate (see also: git help workflows)
   fetch     Download objects and refs from another repository
   pull      Fetch from and integrate with another repository or a local branch
   push      Update remote refs along with associated objects

'git help -a' and 'git help -g' list available subcommands and some
concept guides. See 'git help <command>' or 'git help <concept>'
to read about a specific subcommand or concept.
See 'git help git' for an overview of the system.
Configuring Git
When you use Git on a machine for the first time, you also need to configure a few additional things:
- your name,
- your email address (the one you used to open your GitHub account with, which will be used to identify your commits),
- preferred text editor for Git to use (e.g. Nano or another text editor of your choice),
- whether you want to use these settings globally (i.e. for every Git project on your machine).
This can be done from a command line tool as follows:
GitHub Account
GitHub is a free, online host for Git repositories that you will use during the course to store your work in so you will need to open a free GitHub account unless you do not already have one.
Configuring GitHub Account
In order to access GitHub using Git from your machine securely, you need to set up a way of authenticating yourself with GitHub through Git. The recommended way to do that for this course is to set up SSH authentication which requires a pair of keys - one public that you upload to your GitHub account, and one private that remains on your machine.
GitHub provides full documentation and guides on how to:
A short summary of the commands you need to perform is shown below.
To generate an SSH key pair, you will need to run the
ssh-keygen command (included with your command line tool)
and provide your identity for the key pair (e.g. the
email address you used to register with GitHub) via the -C
parameter as shown below.
You will then be prompted to answer a few questions - e.g. where to
save the keys on your machine and a passphrase to use to protect your
private key. Pressing ‘Enter’ on these prompts will get
ssh-keygen to use the default key location (within
.ssh folder in your home directory) and set the passphrase
to empty.
OUTPUT
Generating public/private ed25519 key pair.
Enter file in which to save the key (/Users/<YOUR_USERNAME>/.ssh/id_ed25519):
Enter passphrase (empty for no passphrase):
Enter same passphrase again:
Your identification has been saved in /Users/<YOUR_USERNAME>/.ssh/id_ed25519
Your public key has been saved in /Users/<YOUR_USERNAME>/.ssh/id_ed25519.pub
The key fingerprint is:
SHA256:qjhN/iO42nnYmlpink2UTzaJpP8084yx6L2iQkVKdHk your-github-email@example.com
The key's randomart image is:
+--[ED25519 256]--+
|.. ..            |
| ..o A           |
|. o..            |
| .o.o .          |
| ..+ =  B        |
| .o = ..         |
|o..X *.          |
|++B=@.X          |
|+*XOoOo+         |
+----[SHA256]-----+
Next, you need to copy your public key (not your private key
- this is important!) over to your GitHub account. The
ssh-keygen command above will let you know where your
public key is saved (the file should have the extension “.pub”), and you
can get its contents from a command line tool as follows:
OUTPUT
ssh-ed25519 AABAC3NzaC1lZDI1NTE5AAAAICWGVRsl/pZsxx85QHLwSgJWyfMB1L8RCkEvYNkP4mZC your-github-email@example.comCopy the line of output that starts with “ssh-ed25519” and ends with your email address (it may start with a different algorithm name based on which one you used to generate the key pair and it may have gone over multiple lines if your command line window is not wide enough).
Finally, go to your GitHub Settings -> SSH and GPG keys -> Add New page to add a new SSH public key. Give your key a memorable name (e.g. the name of the computer you are working on that contains the private key counterpart), paste the public key from your clipboard into the box labelled “Key” (making sure it does not contain any line breaks), then click the “Add SSH key” button.
Python 3 Distribution
You will need Python 3 for this course (note that while Python 2 may work as well, it is not supported by this course). You may already have Python 3 installed on your system, in which case you do not have to do anything.
To download the latest Python distribution for your operating system, please head to Python.org. Then use an appropriate command for your platform (see below) to test your installation.
Windows users should make sure to check the “Add python.exe to PATH” option to make sure that Python executable is found after installation.
Testing Python 3
You can check that you have Python 3 installed correctly from the command line using the commands below.
BASH
$ python3 --version # on macOS/Linux
$ python --version # on Windows — Windows installation comes with a python.exe file rather than a python3.exe file
You should see something like the output below.
OUTPUT
Python 3.11.7Callout
If you are using Windows and invoking python command
causes your Git Bash terminal to hang with no error message or output,
you may need to create an alias for the Python executable
python.exe like so:
This alias will be valid for the duration of the shell session. For a more permanent solution, from the shell do:
Visual Studio Code (VS Code)
We will use Microsoft Visual Studio Code (VS Code) as an Integrated Development Environment (IDE) to type and execute Python code and run command line and Git commands (through its integrations with the tools we have installed separately so far).
Please make sure to download VS Code for your platform.
Command Line Tool & Git Integration in VS Code
On macOS and Linux systems, VS Code will typically recognise a command line tool you already have on your system (along with all programs/commands such as Git you can run from it) and you will not need to do anything and it will be available as a “Terminal” in VS Code.
On Windows, if VS Code does not automatically recognise Git Bash as a
command line tool to be used as a “Terminal”, installing VS Code
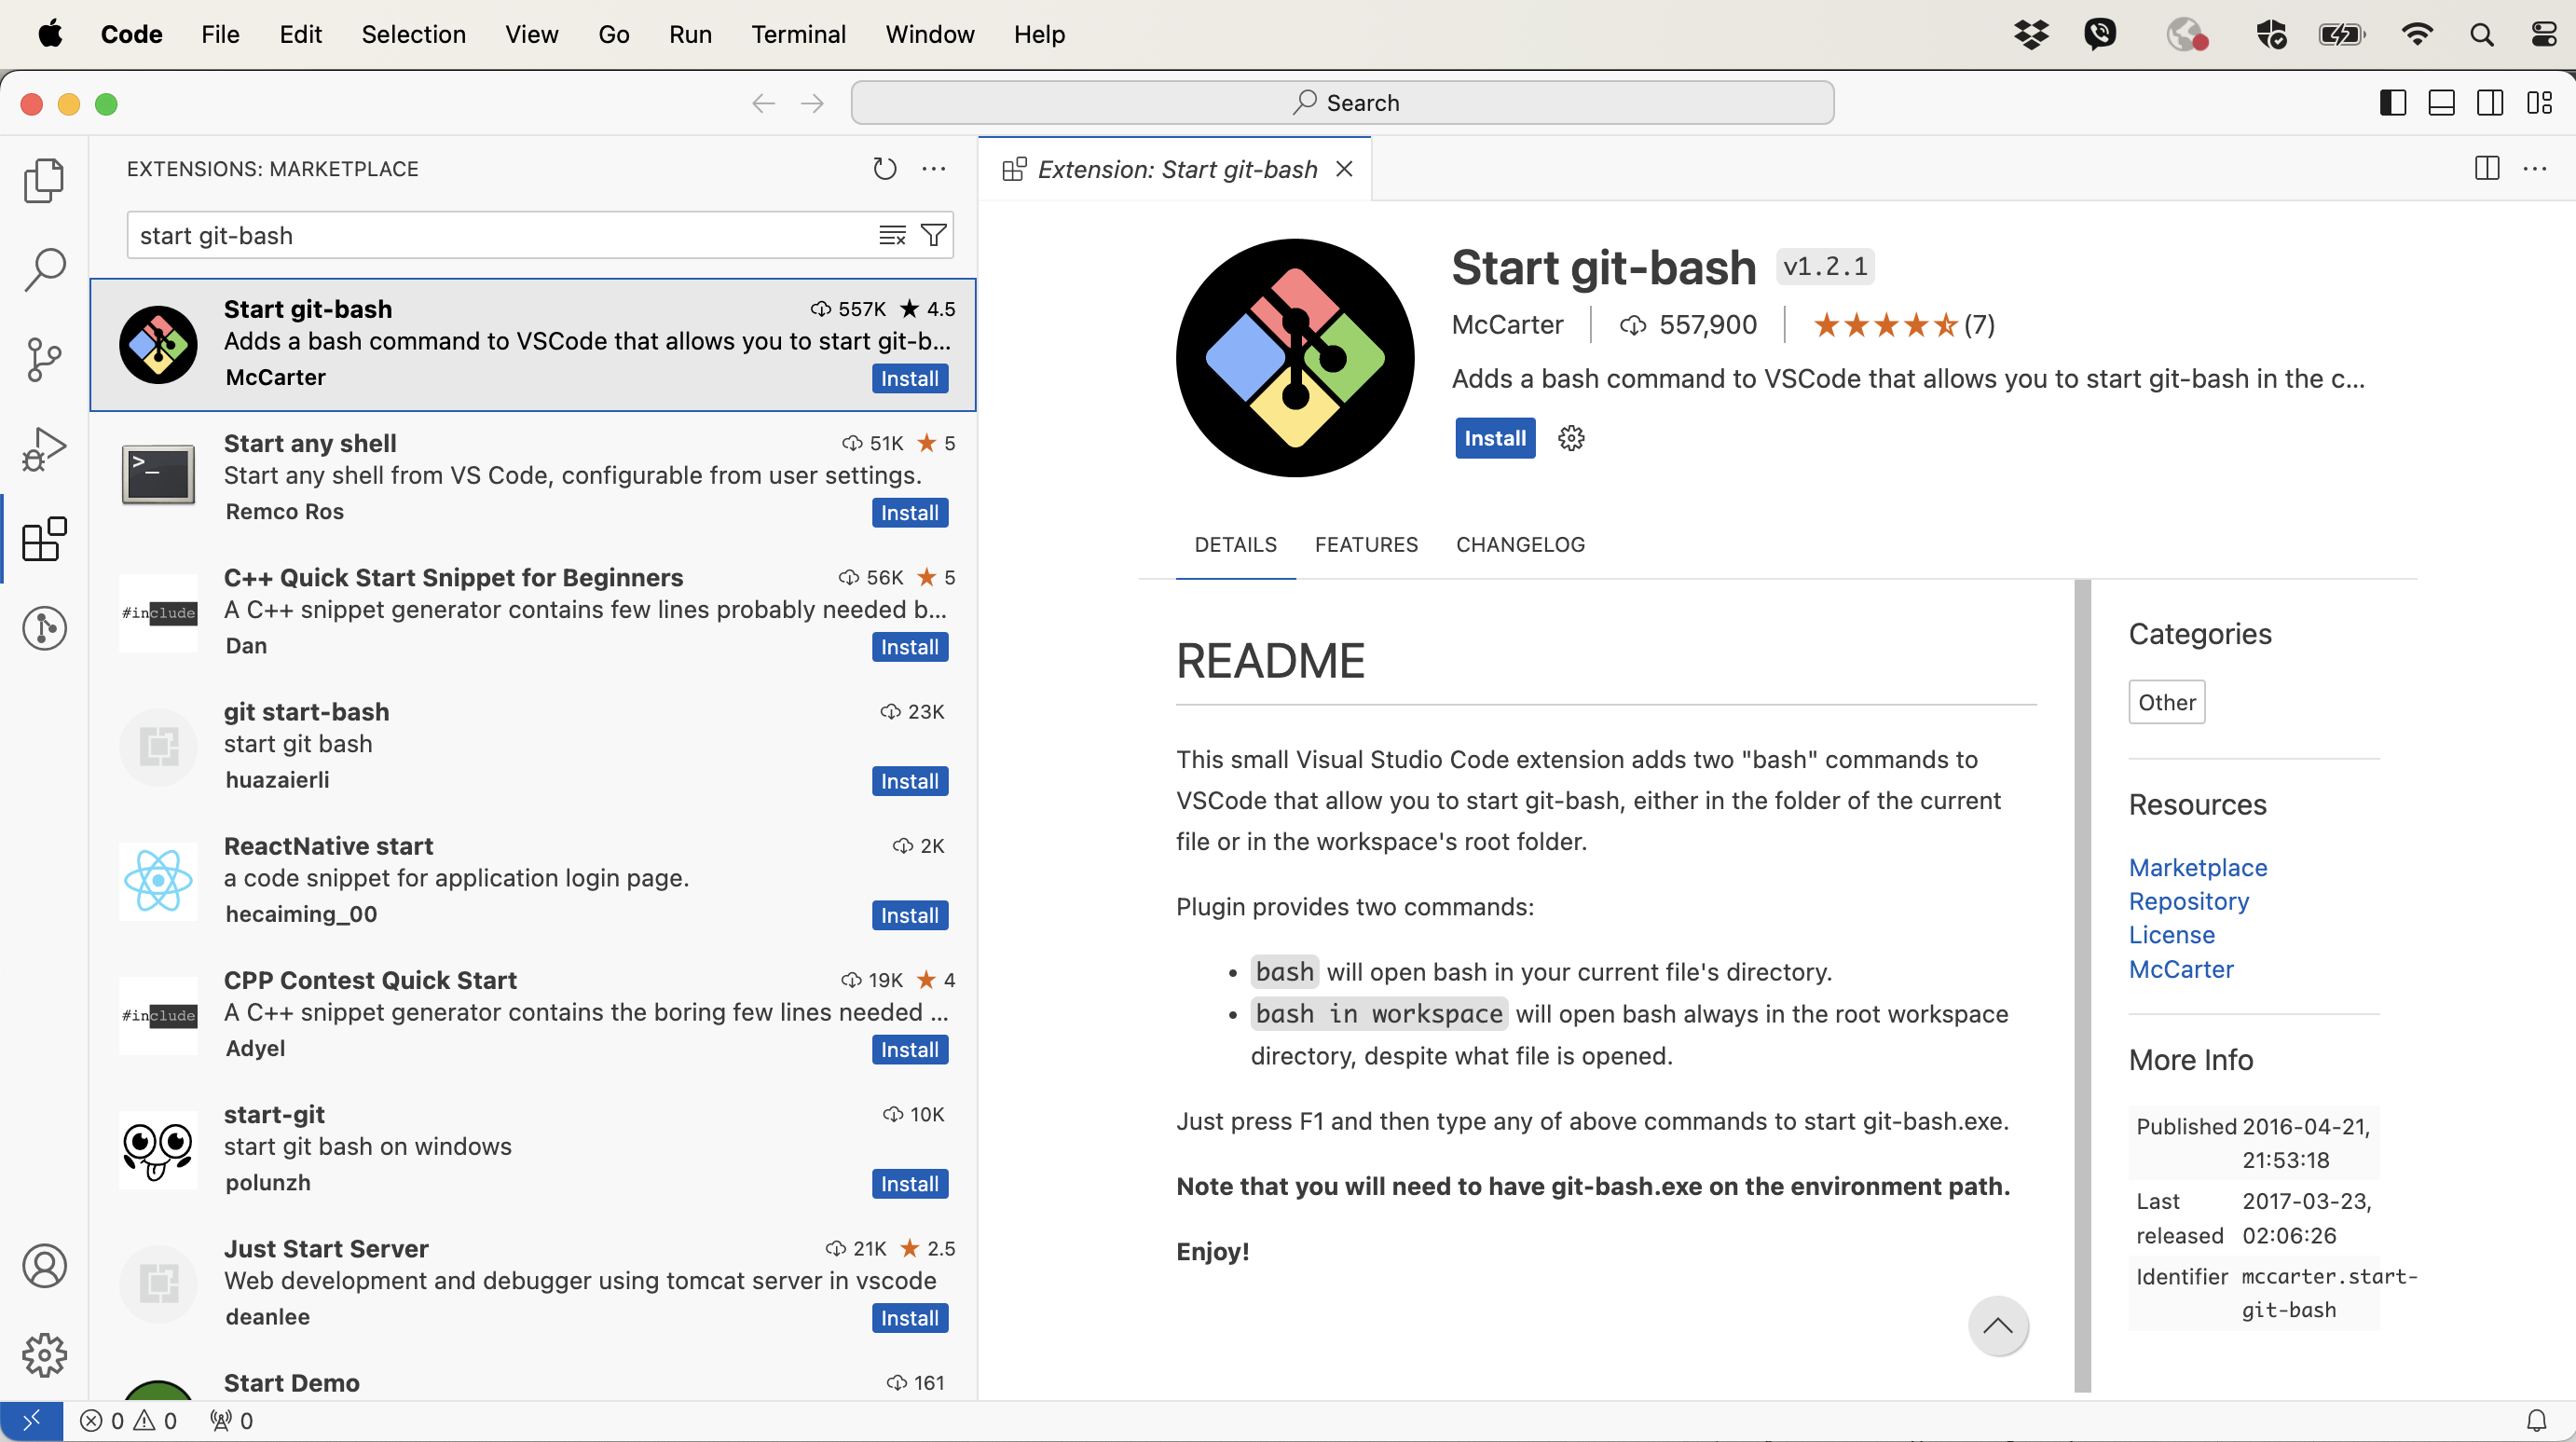
extension “Start git-bash” should help (to view available and installed
extensions, go to View > Extensions from the top-level
menu).
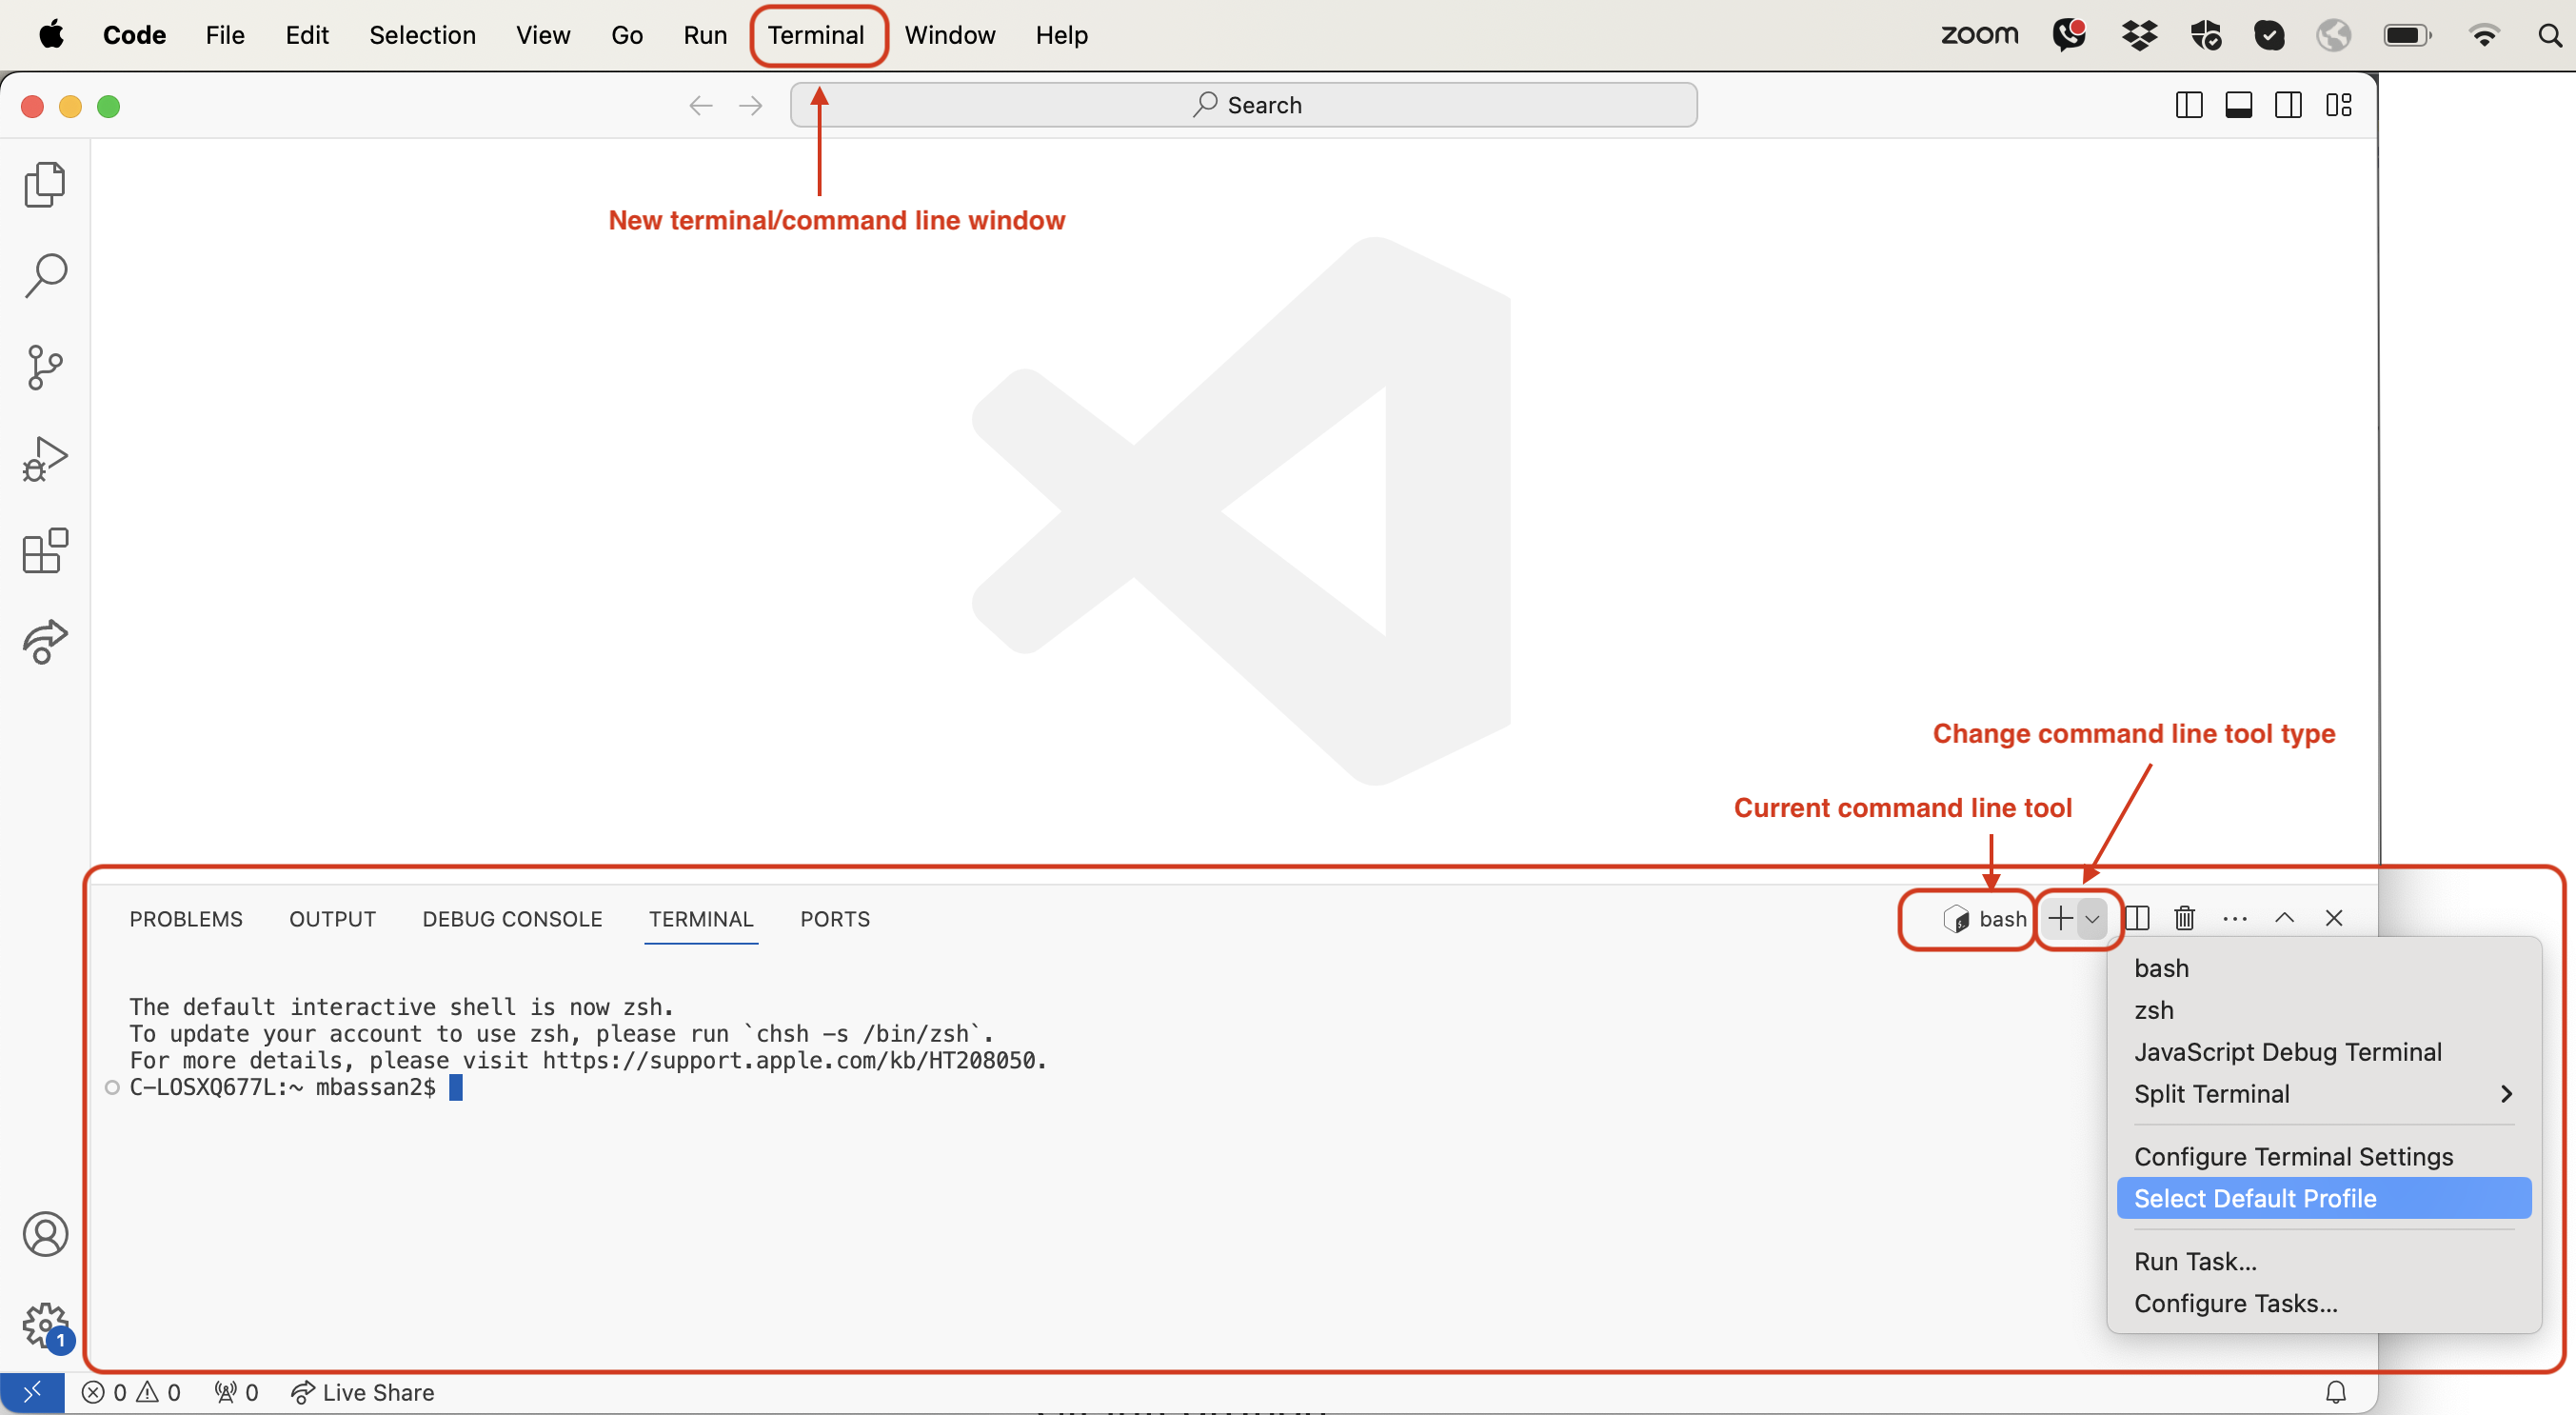
To check the command line tool integration and that VS Code knows
about different command line tool(s) installed on your system select
“Terminal -> New Terminal” from the top level menu. This should open
a terminal window within VS Code. Within the terminal window, the
command line tool the terminal is using is indicated towards the right
of the window (e.g. in the image below, the current command line tool is
bash). This can be changed (provided you have more command
line tools installed on your machine) by clicking the “+” drop-down menu
button next to the command line tool indicator. Windows users may have
“Powershell” selected by default here - you should select “Git Bash”
from the list.
You can also change the default command line tool from the same drop down menu by using the option “Select Default Profile” (so it will use that one next time you open a terminal window).
VS Code Extentions for Git
You could also install the following VS Code extensions (from
View > Extensions top-level menu) to make your Git
experience in VS Code better:
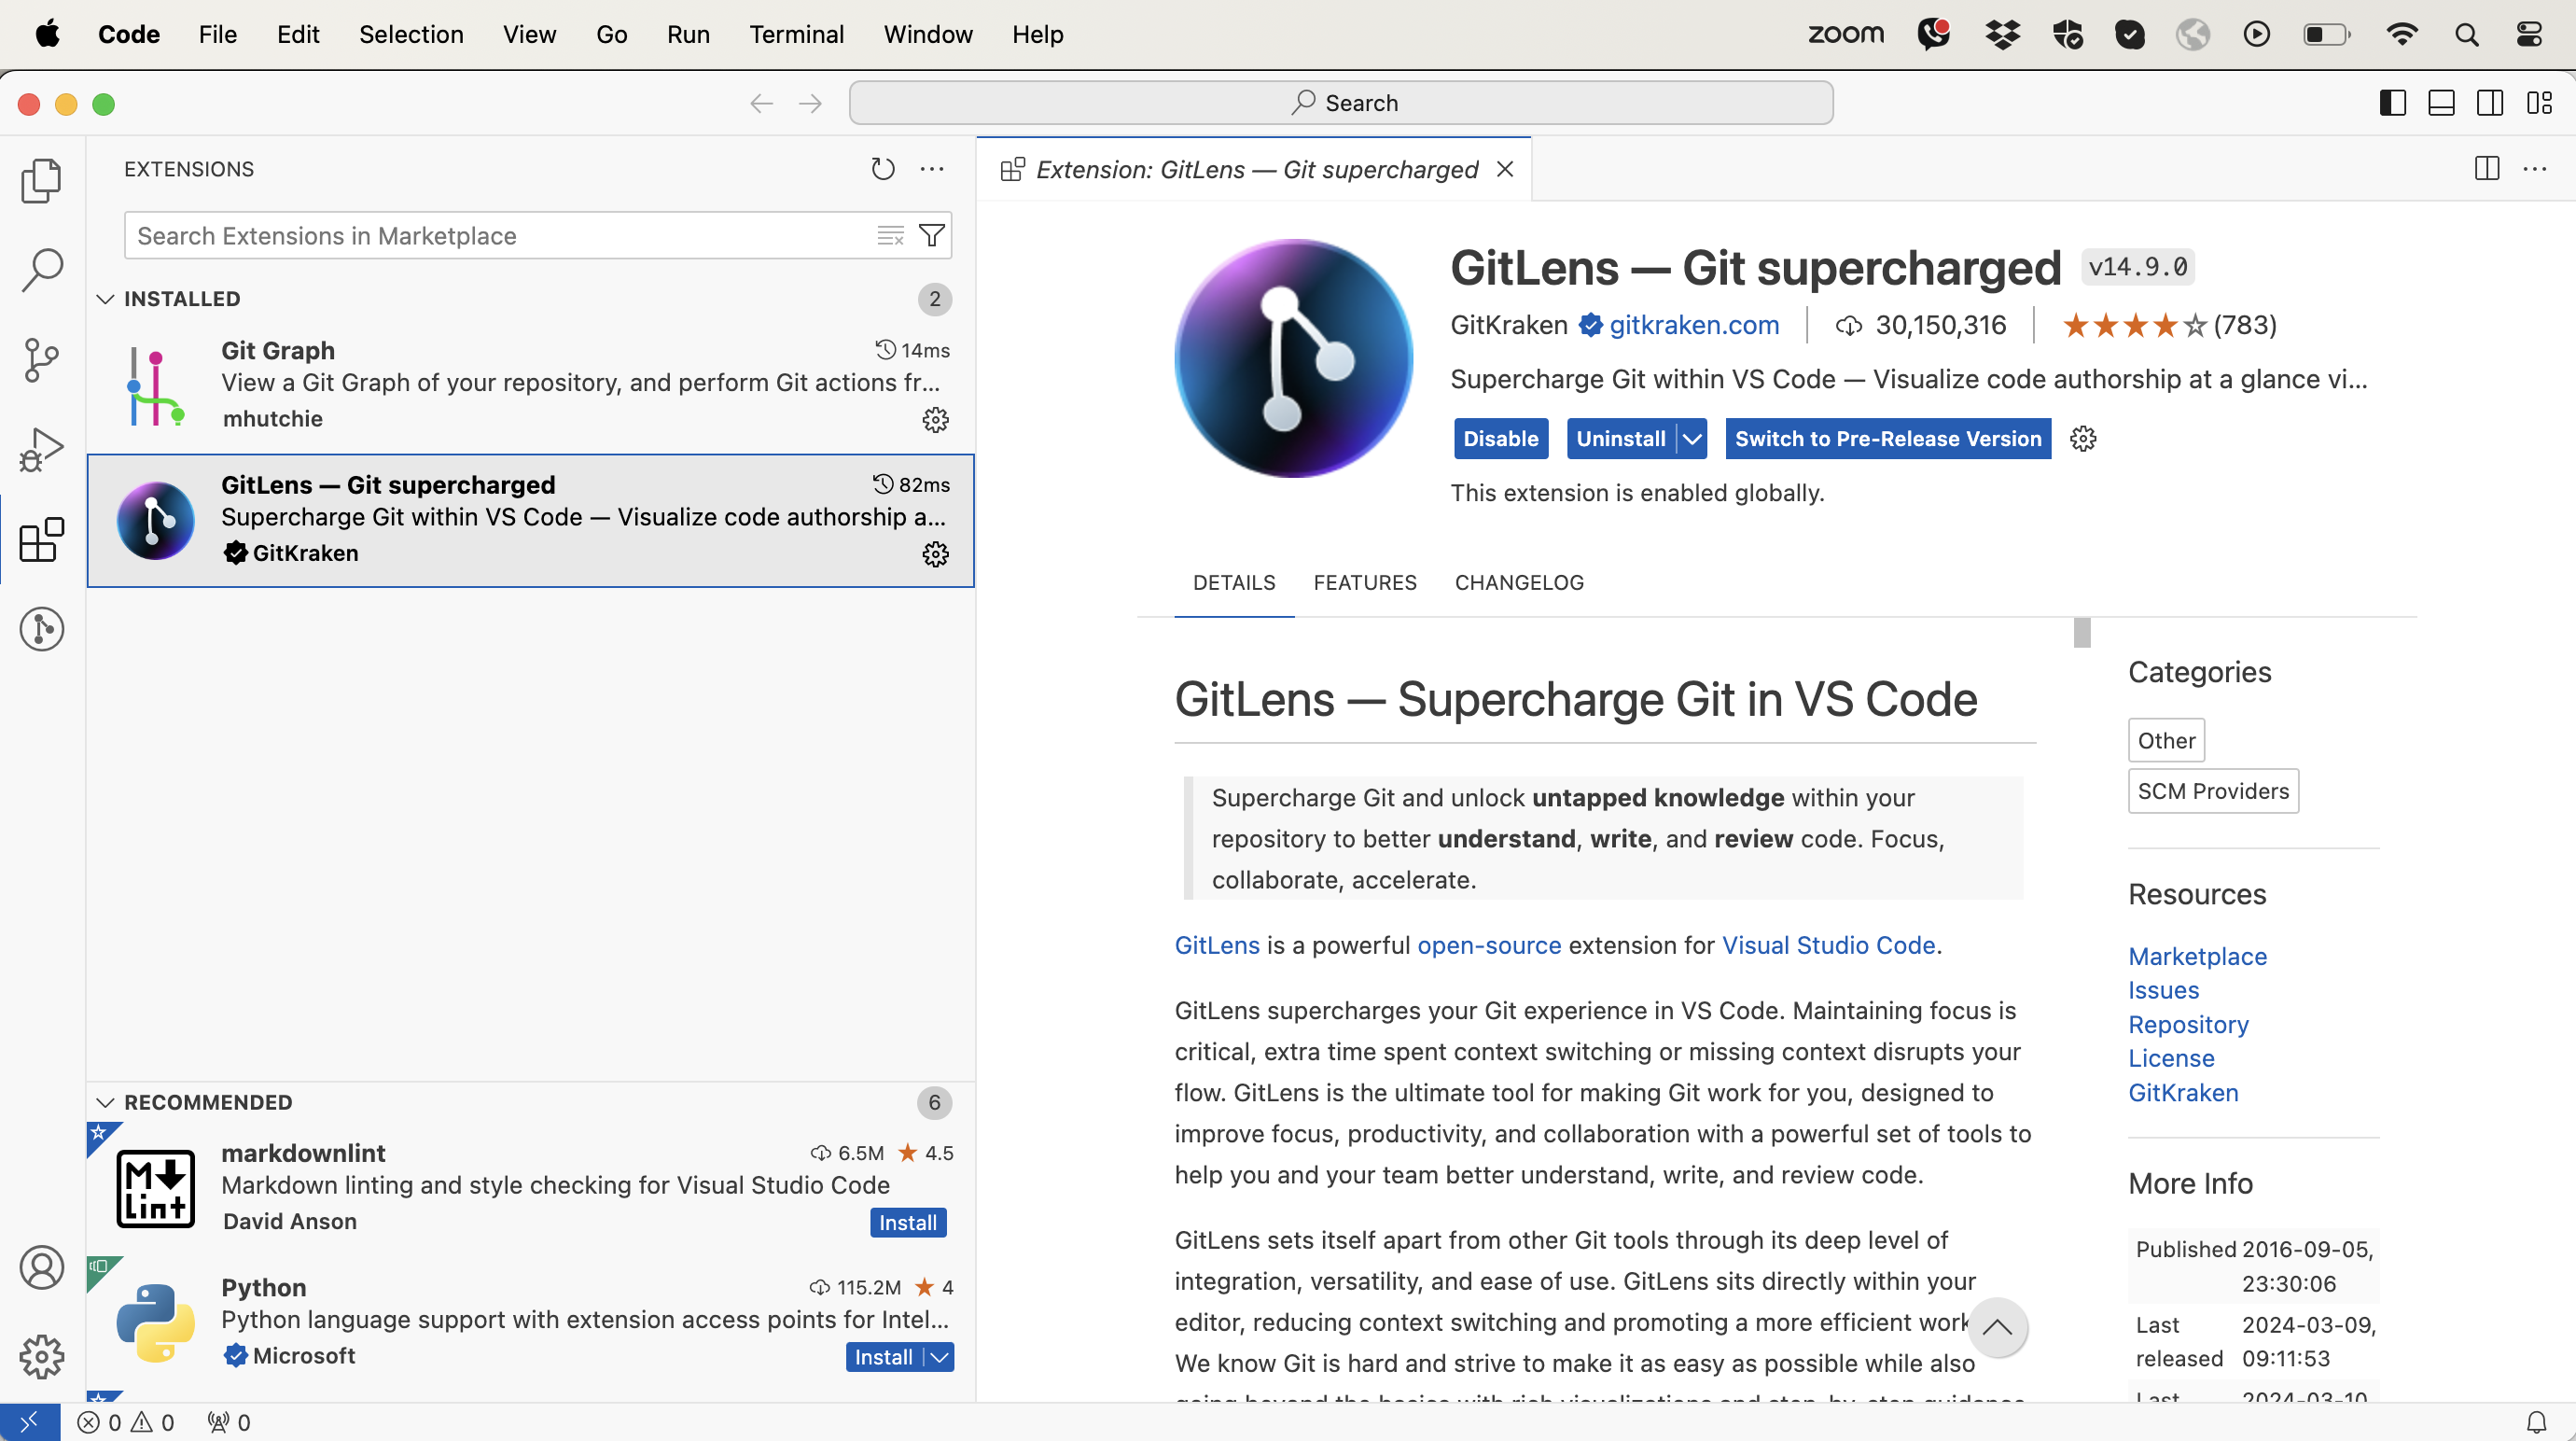
- GitLense - Git Supercharged (adds a few nice additions to Git support in VS Code)
- Git Graph (provides nice graphs and visualisations of a Git repository in VS Code)
Python Integration in VS Code
If you open an existing Python file or create a new blank one (with extension “.py”) from VS Code - it should recognise it as a Python file already. VS Code may ask you to select a Python interpreter if you try to run the file, at which point you should select the Python 3 you installed.
VS Code Extensions for Python
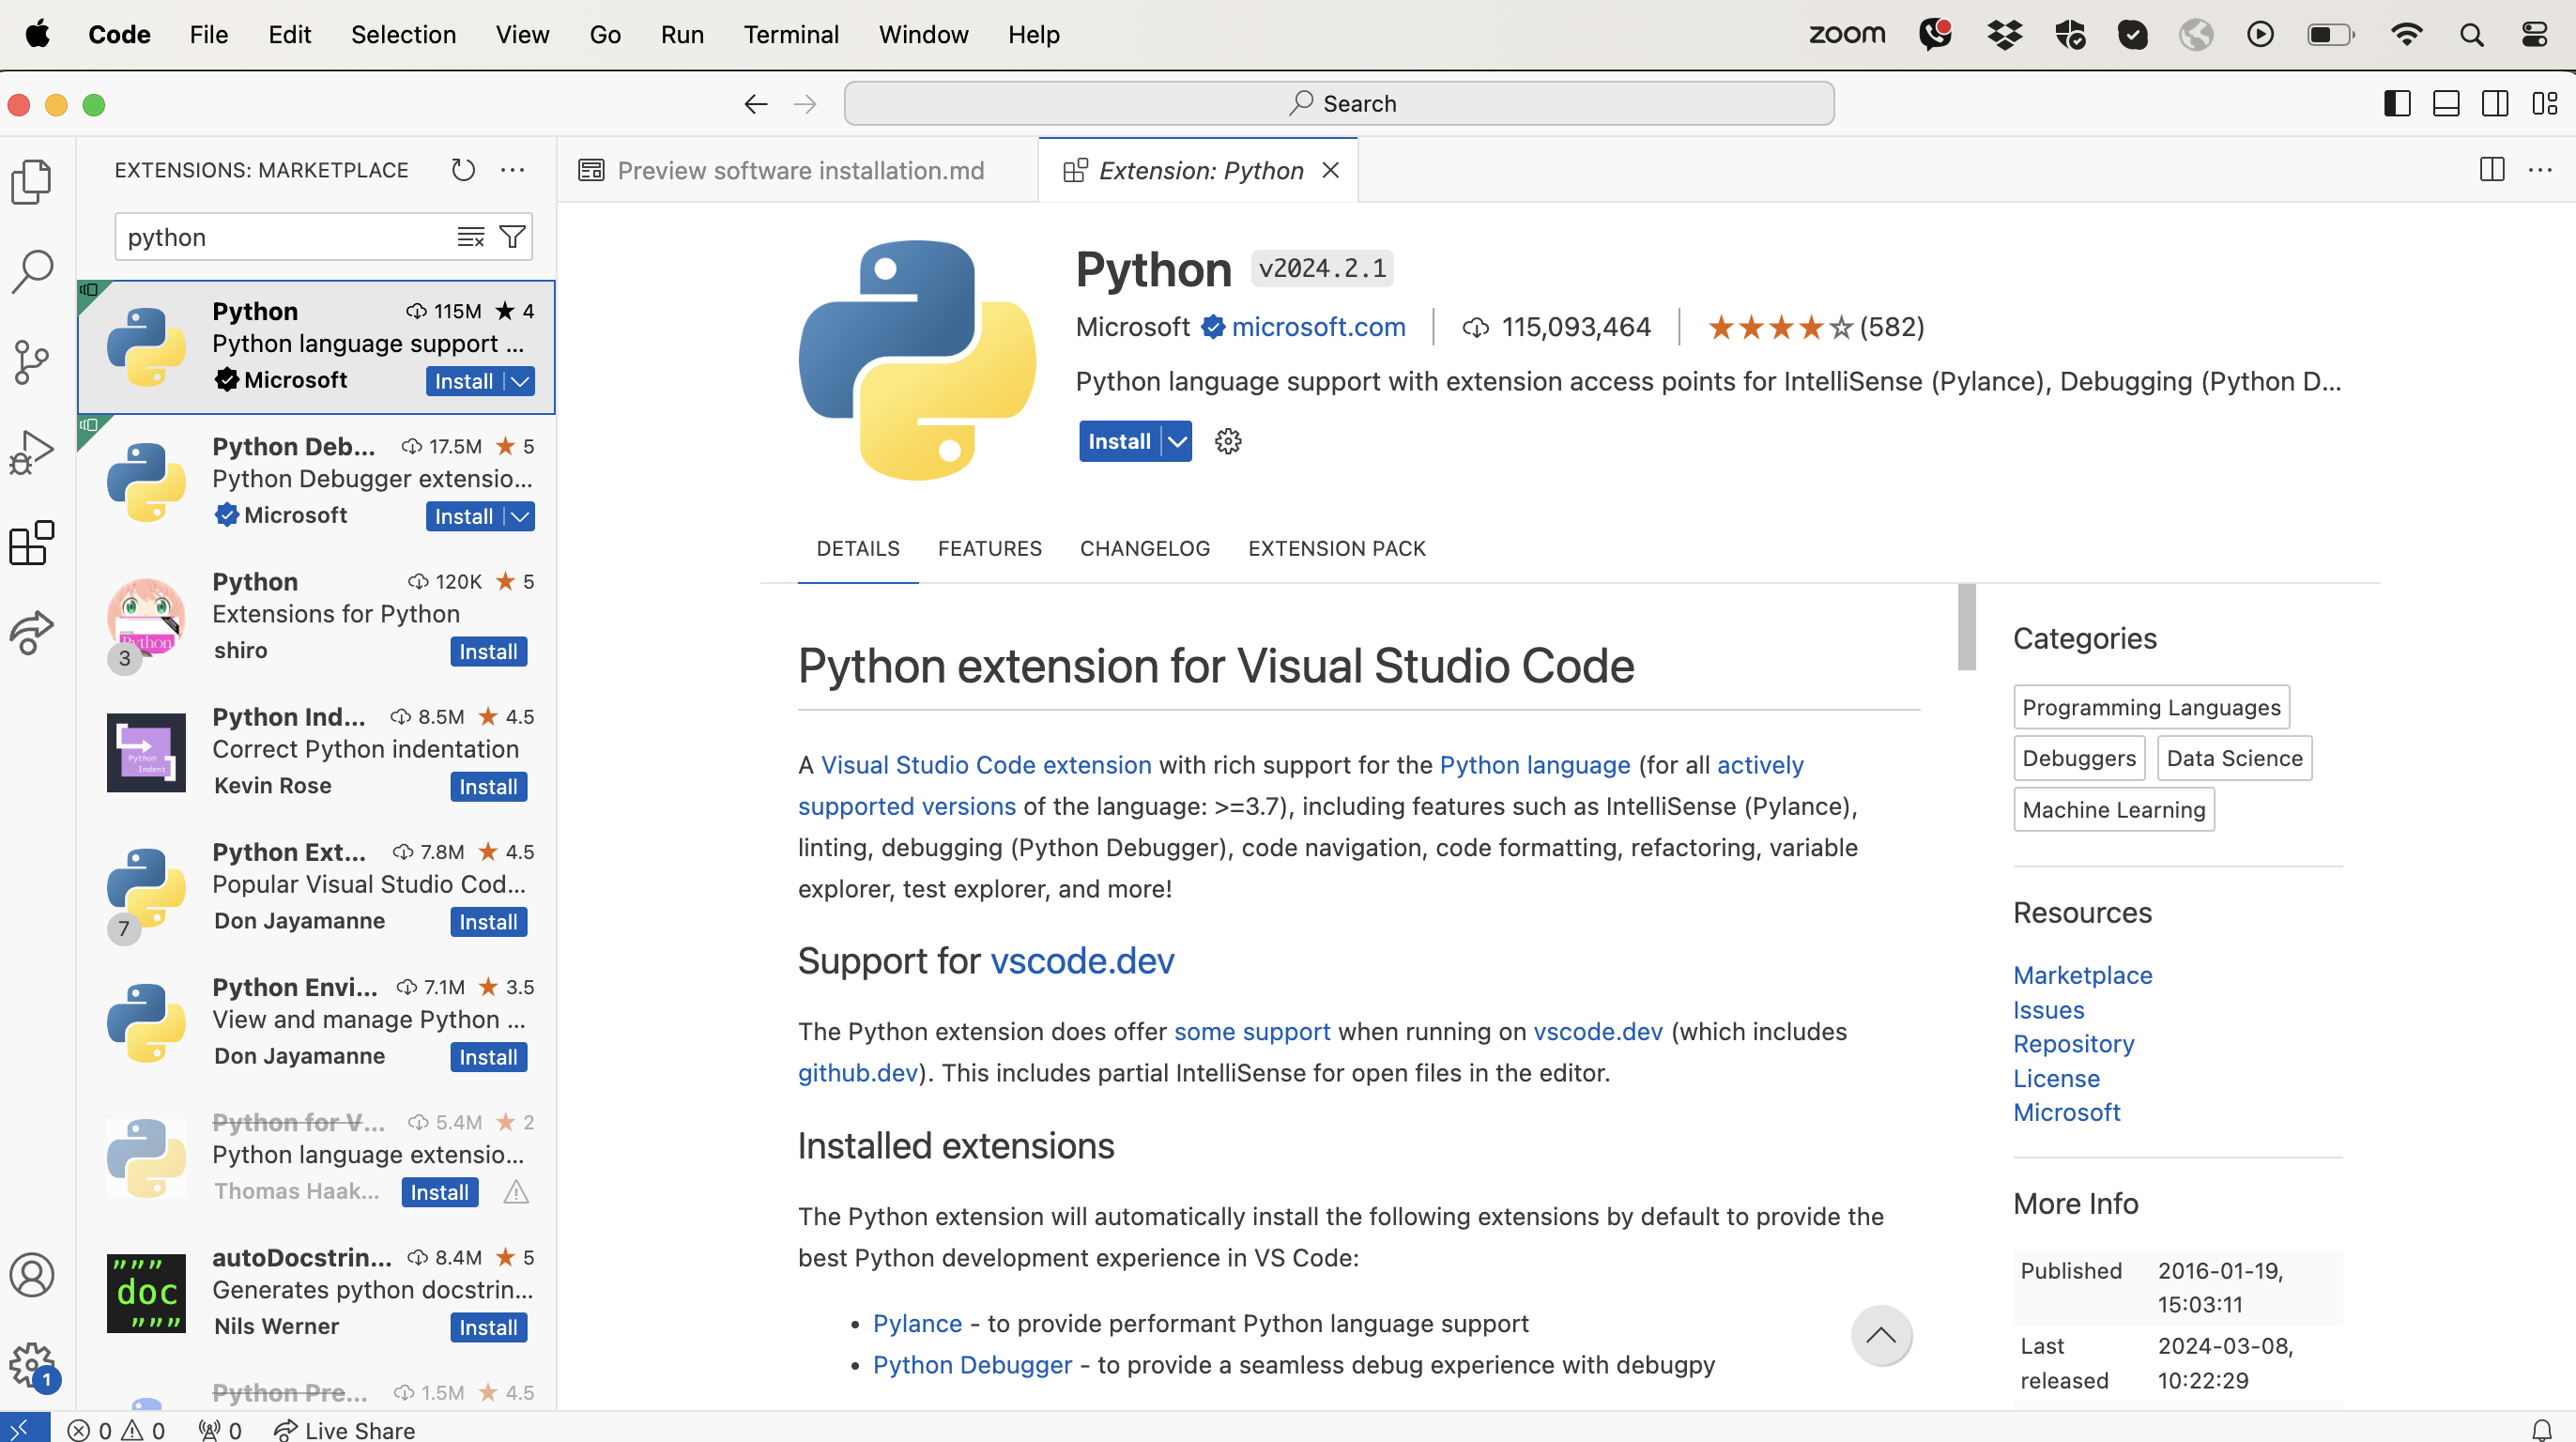
You should also install the Python extension for VS Code by Microsoft
(from View > Extensions top-level menu) to make your
Python experience in VS Code better.
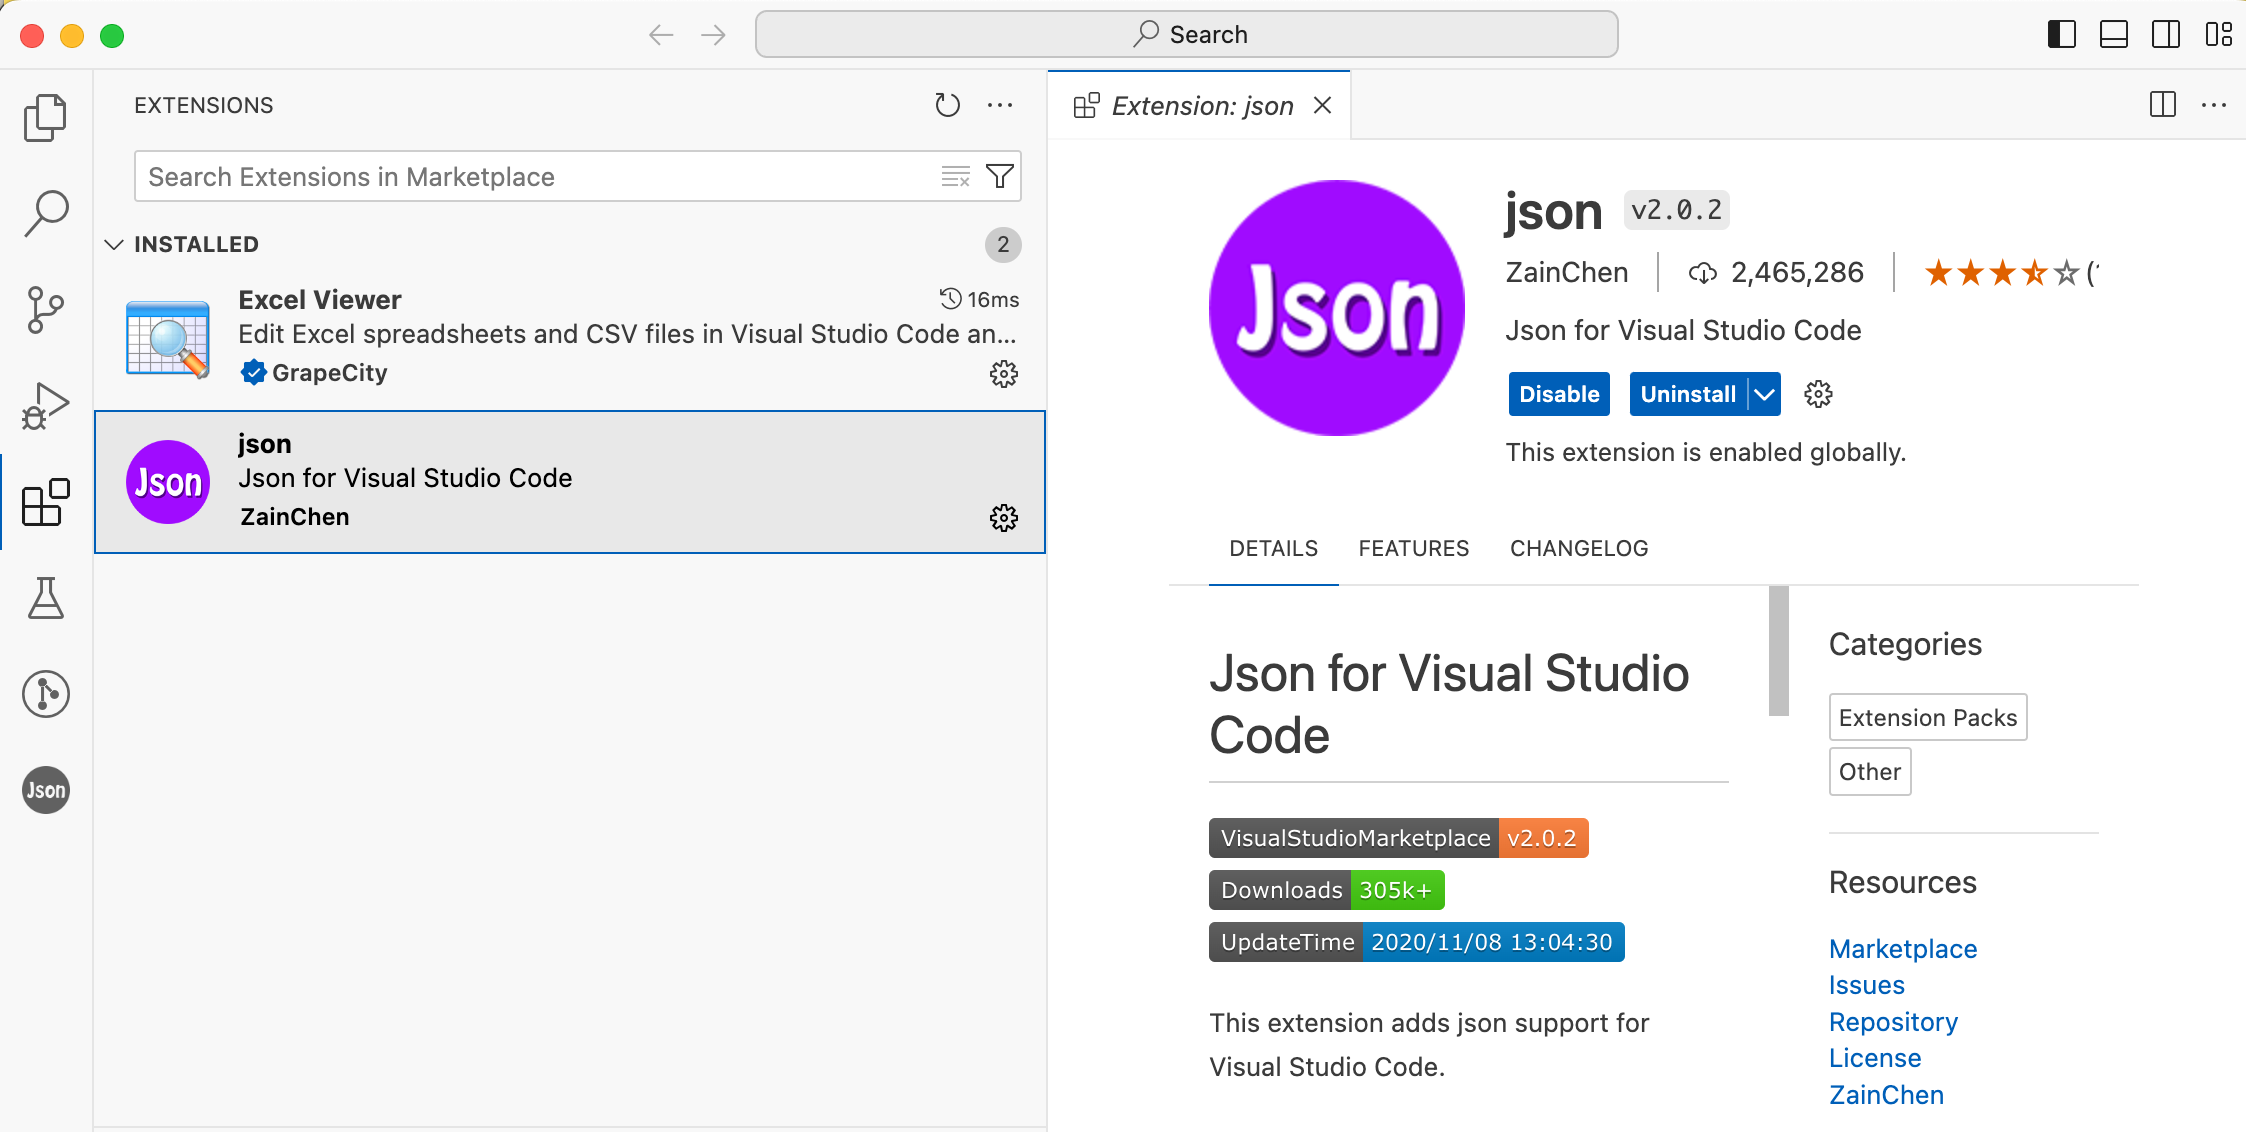
VS Code Extentions for Viewing Data
You should install the following extensions for viewing and editing data in VS Code:
- Excel Viewer - custom editor and previewer for CSV files and Excel spreadsheets
- JSON - custom editor and previewer for JSON files
Astronaut data and analysis code
Download the data and code from the software
repository by clicking the green <> Code button,
then selecting Download ZIP option from the drop-down
menu.
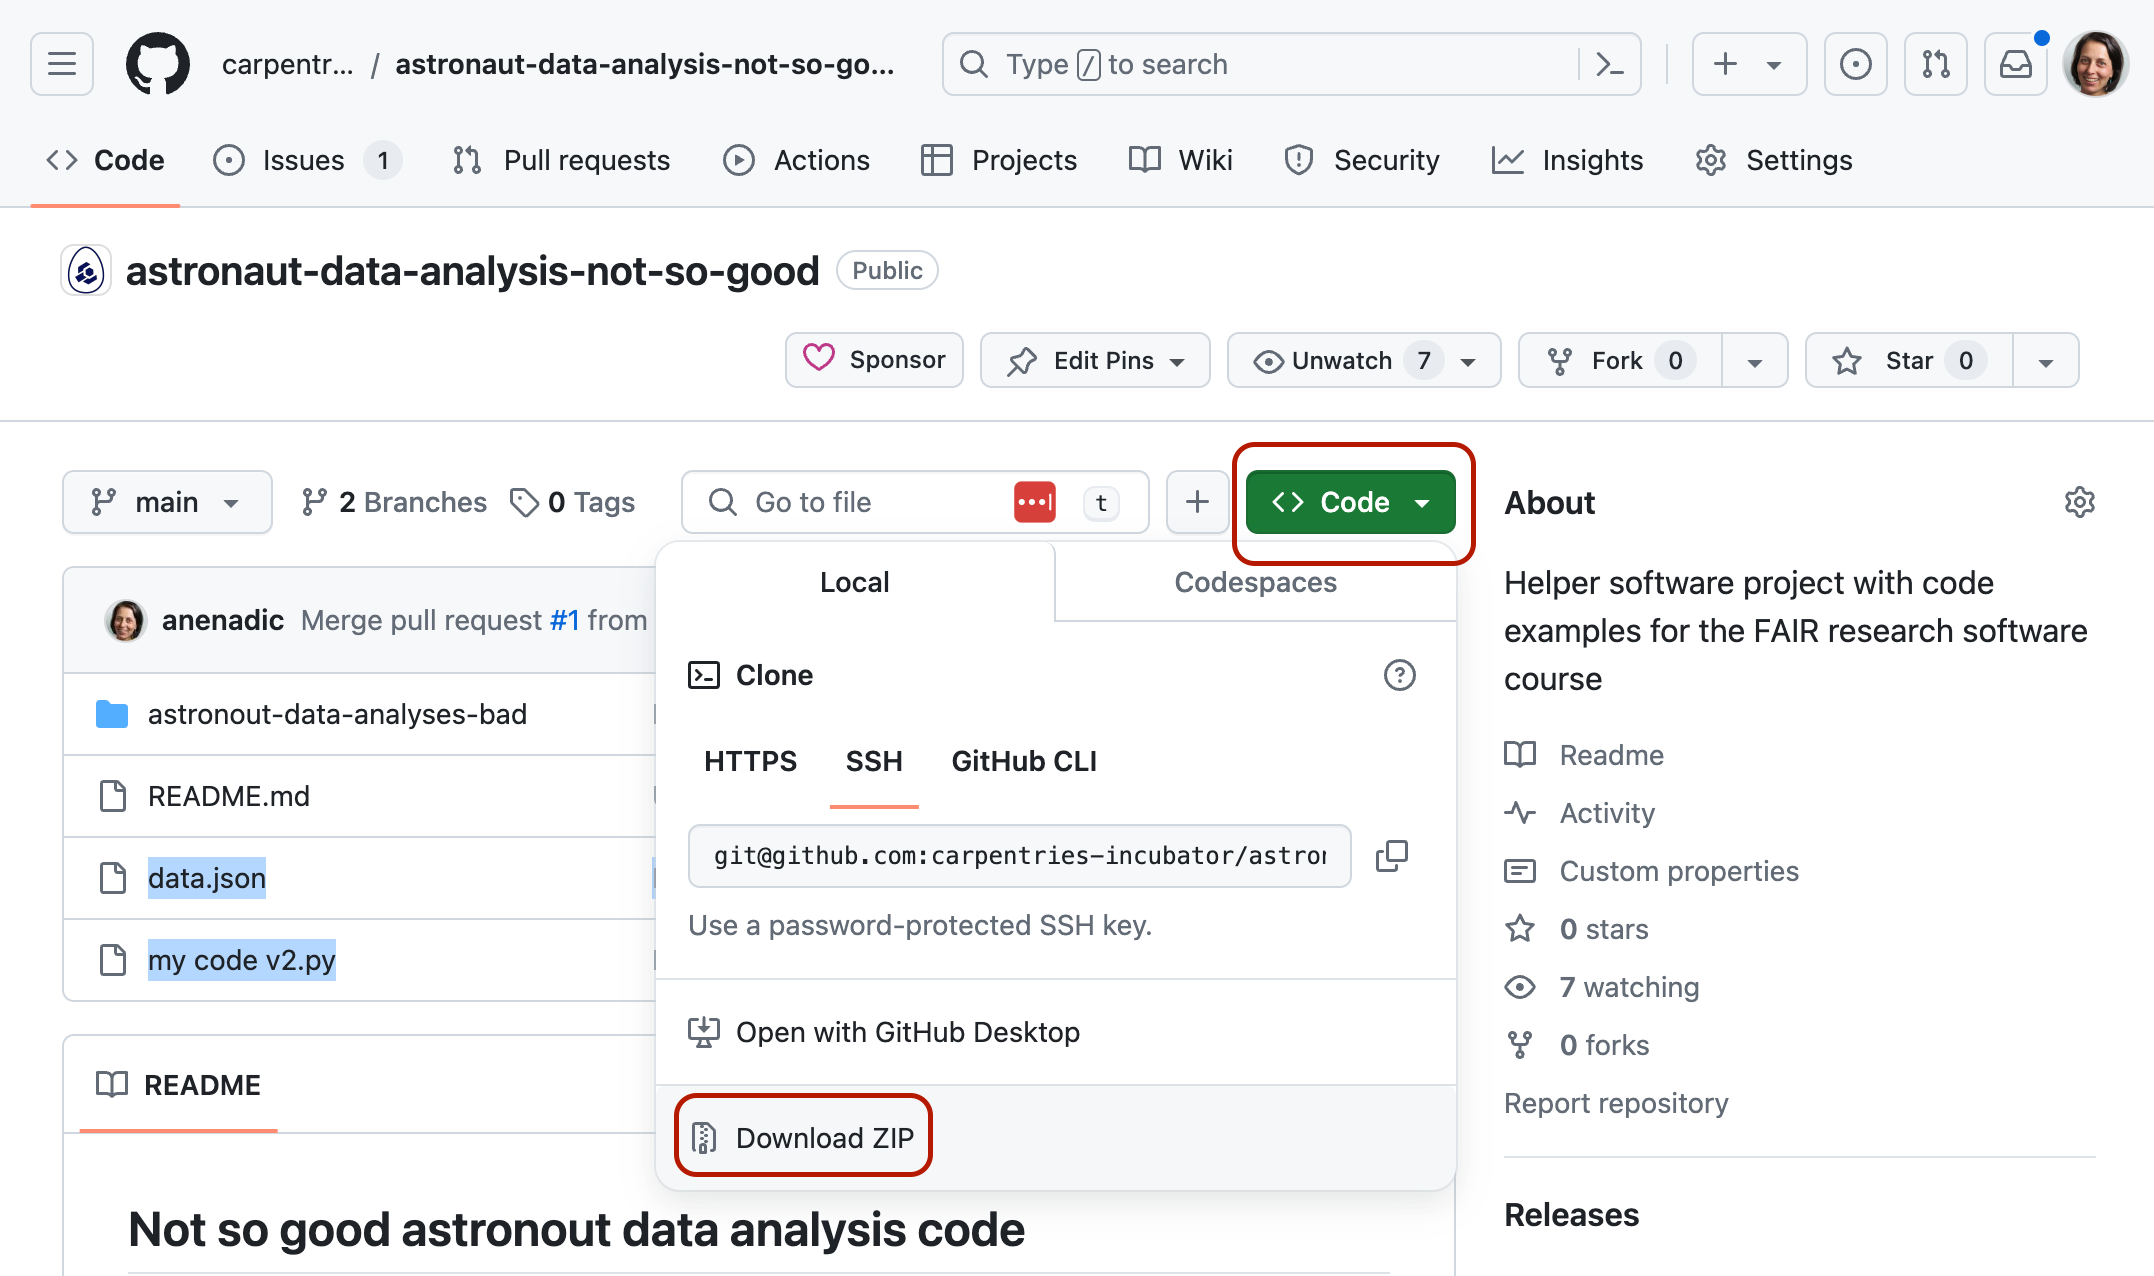
This repository contains data on spacewalks (extravehicular activities, EVAs) by astronauts and some code to analyse and plot this data. We will use it for code examples and exercises throughout this course.