Nextflow Best Practices
Overview
Teaching: 40 min
Exercises: 0 minQuestions
How can I make my pipeline run on any computer?
How can I make my pipeline easy to understand?
What is the best way to handle errors?
Objectives
Make your pipelines easy to understand and maintain
Separating the workflow logic from the configuration
NextFlow allows us to define parameters in our main.nf file, and use these parameters as part of the logic of the workflow.
NextFlow also allows us to define parameters in a configuration file (such as nextflow.config) which are then able to be used within the .nf file.
The hierarchy of how parameters are used is as follows:
- parameters defined on the command line using
--paramname - parameters defined in the user config file(s) supplied via
-c my.config(in the order that they are provided) - parameters defined in the default config file
nextflow.config* - parameters defined within the
.nffile
*Note that if the user specifies -C my.config (capital C) then only that config file will be read, and the nextflow.config file will be ignored.
Having multiple places where parameters can be defined provides some flexibility but can be super confusing for anyone trying to modify or use the workflow.
To reduce the confusion we recommend that a workflow keep the .nf file free of user configurable parameters, but instead keep them all in a nextflow.config file.
As we noted in the Nextflow Orchestration episode,
it is important to remember to keep anything that is computer specific in the nextflow.config.
This will ensure that your pipeline can be run on any computer (laptop, supercomputers or cloudcomputing) without having to edit the workflow script.
It is much easier for a user to edit the nextflow.config file to run the pipeline how they see fit.
It should also be a long term goal to make a single config/profile for each computer that can be used by many pipelines.
Making a –help
Unlike Python, NextFlow doesn’t have a module designed to help you create a --help so we have to do this manually.
You should write a help for all of your NextFlow scripts to make them easier to use.
Without a help, a user would have to read your script and config to find all of your params and guess how they’re used.
The help should be put after your params are defined (most of this should be in your nextflow.config) and before any of your processes and calculations.
Here is a short example of --help:
// in nextflow.config
params.input_file = example.data
params.use_thing = false

// in your_script.nf
if ( params.help ) {
    help = """your_script.nf: A description of your script and maybe some examples of how
             |                to run the script
             |Required arguments:
             |  --input_file  Location of the input file file.
             |                [default: ${params.input_file}]
             |
             |Optional arguments:
             |  --use_thing   Do some optional process.
             |                [default: ${params.use_thing}]
             |  -w            The NextFlow work directory. Delete the directory once the process
             |                is finished [default: ${workDir}]""".stripMargin()
    // Print the help with the stripped margin and exit
    println(help)
    exit(0)
}
As the above example shows you will have to manually indent your help (unless someone wants to share a nice trick?). It can be helpful to split your help into difference sections such as “Required arguments” to let users know the bare minimum they need to include to get the script running.
You may have noticed that the defaults are declared with [default: ${params.input_file}].
This is a good habit to get into as your defaults may change based on the configuration you are using so the help can be used to help remind yourself of your current defaults.
The example help also includes the -w which is a NextFlow param, not a user declared param. Explaining some NextFlow params these can be useful for users that aren’t familiar with some of NextFlow’s arguments.
Documenting your work
As with any type of scripting, coding, or software development, documenting your work is extremely important for anyone else (including future you) who will come to use, modify, or debug your work. There are a few types of documentation that you should consider, the main two being:
- documentation for people who are using your workflow,
- documentation for people who are developing your workflow.
Documentation for users starts with the descriptions given in the --help noted above.
However, this usually assumes that the users understand the purpose and operation of the workflow and want to know more about how to control it.
You should consider creating documentation that includes:
- an overview of what your workflow is intended to do,
- a description of what your workflow will produce (the results),
- a description of the required and optional inputs,
- a quick-start guide for new users, ideally including some example data,
- a set of frequently asked questions (with answers!),
- links to where people can find the source code, download/install the workflow, and
- an indication of how users should credit your work in any publications that they produce (cite/link/co-author).
There are a number of places that this documentation can be created including:
- as part of the GitHub wiki associated with your repository,
- using the
README.mdfile in the root of your repository as the first page of the documentation (linking to more), - a series of linked
.md(or other format) files in thedocs/directory of your repository, - a separate website like ReadTheDocs.
NextFlow does not include any simple way for you to create documentation from your code in the way that Python does with docstrings. However, inline comments can still be used to explain the intent and logic of your processes, operators, and workflows.
If you have separated your workflow (.nf) from your configuration (.config) then the comments within these files naturally serve two audiences.
Comments in the .config file can be verbose and explain the intent of the workflow as well as how all the different parameters should be set and will be used.
Comments in the .nf file can be more technical and explain the logic behind the implementation.
Metadata for your workflow
NextFlow has many different configuration scopes within which you can define variables.
We have seen the params scope earlier when we defined variables like params.my_var.
The manifest configuration scope is intended for you to define some meta-data information needed when publishing your pipeline project (eg on GitHub), or when running your pipeline.
The following settings are useful meta-data that you should consider including:
| Name | Description |
|---|---|
| author | Project author name (use a comma to separate multiple names) |
| description | Free text describing the workflow project |
| doi | Project related publication DOI identifier |
| homePage | Project home page URL |
| mainScript | Project main script (default: main.nf) |
| name | Project short name |
| nextflowVersion | Minimum required Nextflow version (format) |
| version | Project version number |
A full list of settings is available here.
To set variables within a scope you can use either of the following:
manifest.author = "me"
manifest.version = "1.0.0"
// or
manifest {
    author = "me"
    version = "1.0.0"
}
(This format can also be used for defining variables within the params scope).
This metadata should be defined within your nextflow.config file.
Sadly the manifest object doesn’t get passed to your .nf file on execution so if you want to access the contents of the manifest then you’ll have to do:
params.manifest=manifest
With this in place you can access the manifest variables params.manifest.version from within your .nf file.
NextFlow runtime metadata
NextFlow defines a range of variables that relate to the running of your workflow. These variables are part of the workflow object. A summary of some more of the useful variables are:
| Name Description | |
|---|---|
| scriptName | Project main script file name. |
| scriptFile | Project main script file path. |
| projectDir | Directory where the workflow project is stored in the computer. |
| launchDir | Directory where the workflow execution has been launched. |
| workDir | Workflow working directory. |
| homeDir | User system home directory. |
| userName | User system account name. |
| configFiles | Configuration files used for the workflow execution. |
| container | Docker image used to run workflow tasks. When more than one image is used it returns a map object containing [process name, image name] pair entries. |
| containerEngine | Returns the name of the container engine (e.g. docker or singularity) or null if no container engine is enabled. |
| commandLine | Command line as entered by the user to launch the workflow execution. |
| profile | Used configuration profile. |
| runName | Mnemonic name assigned to this execution instance. |
| start | Timestamp of workflow at execution start. |
You can include some of these variables in your --help or in the welcome banner that you might have when running the script.
The following shows and example of a welcome banner that you might include at the start of your workflow and how to use information from the params, manifest, and workflow to summarize how the workflow is being run:
log.info """\
         ${params.manifest.name} v${params.manifest.version}
         ==========================
         input from   : ${params.input_file}
         output to    : ${params.output_dir}
         --
         run as       : ${workflow.commandLine}
         started at   : ${workflow.start}
         config files : ${workflow.configFiles}
         container    : ${workflow.containerEngine}:${workflow.container}
         """
         .stripIndent()
Which would produce output like this:
Example v1.0.0
==========================
input from   : images.txt
output to    : results/
--
run as       : nextflow /pawsey/mwa/software/python3/robbie/master/bin/robbie.nf
started at   : 2022-10-15T14:22:07.073+08:00
config files : [/pawsey/mwa/software/python3/robbie/master/bin/nextflow.config, /astro/mwasci/phancock/D0009/nextflow.conf
ig]
container    : singularity:file:////pawsey/mwa/singularity/robbie/robbie-next_2.3.0.sif
Embedding metadata into your workflow outputs
From the previous few sections we have seen how you can set/access the various metadata related to your workflow and how it was run. The most basic way to record this data is to pipe the data into a text file that is updated each time you run a process:
process final{
  output:
  path("metadata.txt")

  script:
  """
  cat <<EOF > metadata.txt
  ${params.manifest.author}
  ${params.manifest.version}
  ${workflow.workDir}
  ${workflow.userName}
  ${workflow.start}
  """
}
This process can then be used to log all the metadata that you want to store about each run of the workflow.
Suggested uses of metadata information:
- use
sethead(from WCSTools) to update the headers of.fitsfiles to include relevant information as keywords or history - prepend
.csvor other ascii type files with metadata as comments (eg. lines starting with#)
Making your workflow easy to read and understand
Use whitespace to improve readability.
Nextflow is not sensitive to whitespace which allows you to use indentation, vertical spacing, new-lines, and increased spacing to improve code readability.
#! /usr/bin/env nextflow

// Tip: Separate blocks of code into groups with common purpose
//      e.g., parameter blocks, include statements, workflow blocks, process blocks
// Tip: Align assignment operators vertically in a block
params.label      = ''
params.input_list = ''
params.my_db      = '/path/to/database'

workflow {

    // Tip: Indent process calls
    // Tip: Use spaces around process/function parameters
    foo ( Channel.fromPath( params.input_list, checkIfExists: true ) )
    bar ( foo.out )
    // Tip: Use vertical spacing and indentation for many parameters.
    baz (
        Channel.fromPath( params.input_list, checkIfExists: true ),
        foo.out,
        bar.out,
        path( params.my_db, checkIfExists: true )
    )

}
Use comments
Comments are an important tool to improve readability and maintenance. Use them to:
- Annotate data structures expected in a channel.
- Describe higher level functionality.
- Describe presence/absence of (un)expected code.
- Mandatory and optional process inputs.
workflow comment_example {

    take:
    reads        // queue channel; [ sample_id, [ path(read1), path(read2) ] ]
    reference    // path( "path/to/reference" )

    main:
    // Quality Check input reads
    read_qc ( reads )

    // Align reads to reference
    if( params.run_type == 'common' ){
        common (
            read_qc.out.reads,
            reference
        )
        reads_ch = common.out.bam
    } else if ( params.run_type == 'other' ) {
        other (
            read_qc.out.reads,
            reference
        )
        reads_ch = other.out.bam
    }
    reads_ch.view()

    emit:
    bam = reads_ch   // queue channel: [ sample_id, path(bam_file) ]

}

process example {

    input:
    // Mandatory
    tuple val(sample), path(reads)  // [ 'sample_id', [ read1, read2 ] ]: Reads in which to count kmers
    // Optional
    path kmer_table                 // 'path/to/kmer_table': Table of k-mers to count

    ...
}
Name output channels
Output channels from processes and workflows can be named
using the emit: keyword, which helps readability.
process make_bam {

    ...

    output:
    tuple val(sample), path("*.bam"), emit: bam
    tuple val(sample), path("*.log"), emit: summary
    path "versions.yml"             , emit: versions

    ...
}

workflow bam {

    ...

    emit:
    output = make_bam.out.bam

}
Making modular workflows
As you create several large pipelines, parts of your pipelines may be used in several places. To prevent having duplicate code, which is harder to maintain, you can make your workflows modular. To understand how to do this lets first look into the full format of a workflow.
A workflow is a collection of processes that can help make your pipelines very modular. You are probably familiar with the unnamed workflow, which can be thought of as the main workflow for that script. You can create additional workflows in the format:
workflow workflow_name {
    take:
        some_channel
        another_channel
    main:
        foo(some_channel)
        bar(another_channel)
    emit:
        foo.out
        bar.out
}
where take is the input channels, main are the workflow processes and emit is the output channels.
You can split your pipeline into several workflows to help them become more modular. For example, you may have a module for processing raw data and another for searching for the processed data for a signal. You can use these workflows in several scripts that only process the raw data, search for a signal, or do both.
Here is an example where we have a process_module.nf which contains a workflow called process, and we want to combine it with another workflow:
// import the workflow from the process_module.nf file
include { process } from './process_module'

workflow search {
    take: processed_data
    main:
        find_signal(processed_data)
        filter_cands(find_signal.out)
    emit:
        filter_cands.out
}

workflow {
    take: data
    main:
        process(data)
        search(process.out)
}
You may have noticed that the module include command (include { process } from './process_module') is a relative directory call.
The easiest way to handle this, is keep all of your files within the same directory and add this directory to your PATH.
Error strategy
By default, if a single job fails then Nextflow will stop your pipeline and output the error so you can investigate it.
This is not always the behavior we require so Nextflow has some useful options of how to handle errors.
These options are the process directives errorStrategy and maxRetries.
A simple way to use errorStratgey is to instruct it to ignore errors for the process like so:
process ignoreAnyError {
  errorStrategy 'ignore'

  script:
  <your command string here>
}
This will record any failures but not stops the pipeline.
You can retry processes using ‘retry’:
process retryIfFail {
  errorStrategy 'retry'

  script:
  <your command string here>
}
Which will retry the process once by default. Some say insanity is doing the same thing and expecting a different result. We can instead increase the number of retries and progressively give the process more resources (RAM).
process retryIfFail {
  errorStrategy 'retry'
  maxRetries 2
  memory { task.attempt * 10.GB}

  script:
  <your command string here>
}
In the above example we have used a closure (curly brackets) to calculate how much memory to give to each attempt. So the process will ask for 10 GB, then 20 GB and finally 30 GB and if the job still fails with 30 GB then it stops the pipeline and outputs the error.
nf-core
You can think of nf-core as place to store Nextflow pipelines and modules the same way that Conda and PyPi store python modules. While it is out of the scope of this workshop to go into nf-core in detail, it is useful to know about nf-core. An end goal for many of your pipelines should be that they are easy to use, install and collaborate on. Nf-core is an excellent place for your pipelines and modules (individual processes) to end up as they enforce best practices which will help future astronomers spend less time creating pipelines and more time doing science.
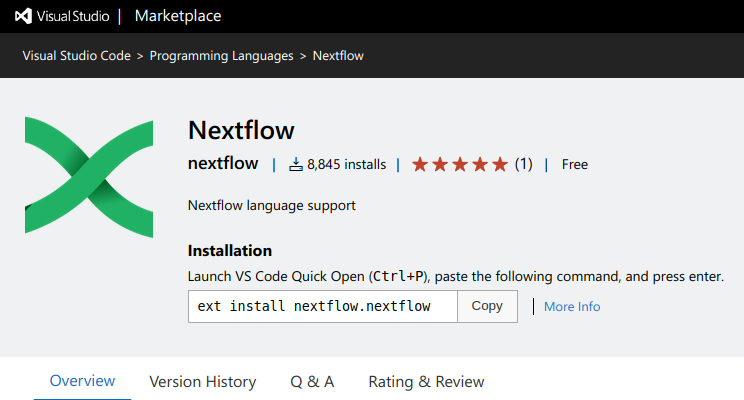
VSCode integrations
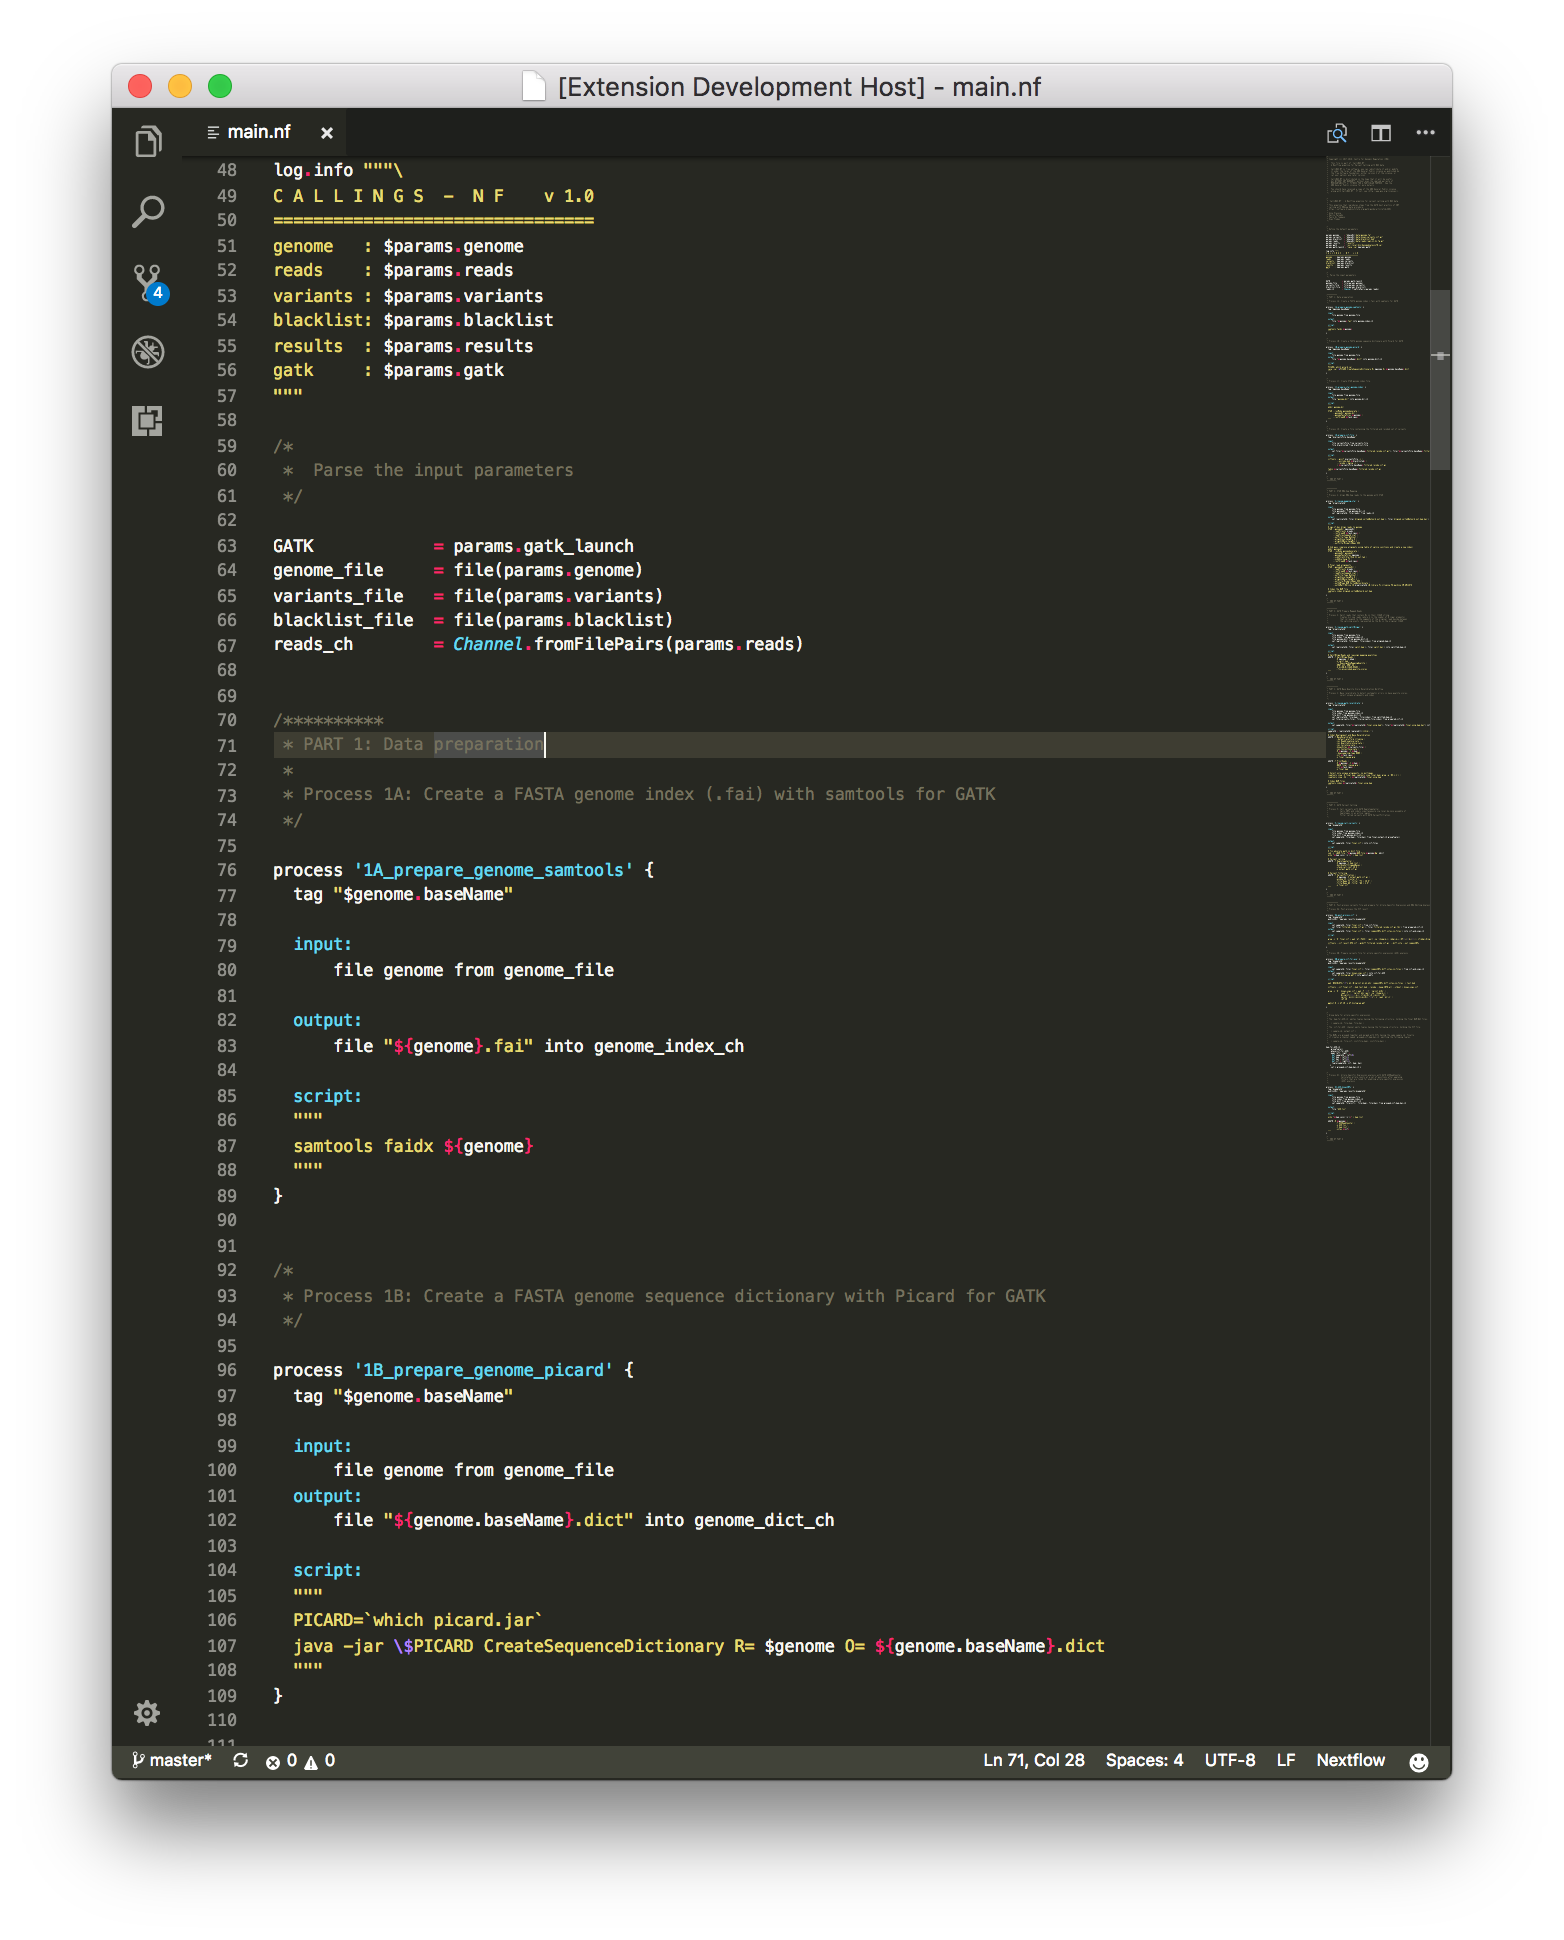
You can use an IDE such as VSCode to edit your workflows. An advantage of using VSCode is that there are many extensions available on the marketlace including one for NextFlow:
Which will provide syntax highlighting for both your .nf and .config files like this:
Other useful extensions include:
- Git Things
- GitHub: Makes branch/merge very easy.
- GitHub Pull Requests: for managing pull requests within VSCode
- GitBlame: To see who last changed each line of a file
- GitGraph: For a tramlines view of all your commits and branches
- Docker: manage/run/create containers
Key Points
All computer dependant settings should be put in the nextflow.config
Creating a –help and documentation makes your pipelines easier to use
Outputing metadata makes it clearer how you created your workflow results
Make your workflows modular to prevent repeating yourself
You can repeat errored jobs with more resources